To detect a pool leak, start by monitoring your water level for drops exceeding 1/4 inch daily. Perform a bucket test by placing a water-filled bucket on the pool step and marking both water levels; if the pool level drops more than the bucket, you’ve got a leak. Use pool dye near suspicious areas with the pump off to pinpoint exact locations. Watch for wet spots in your yard and higher water bills. Professional detection tools can uncover even the most elusive leaks.
Signs That Your Pool May Be Leaking
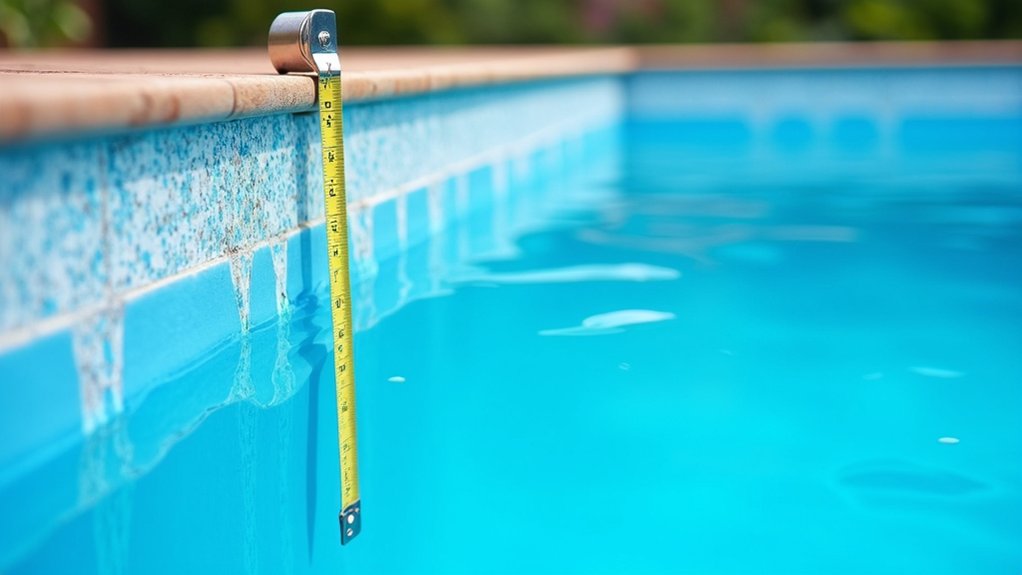
A leaking pool often reveals itself through multiple warning signs before causing serious damage. The most obvious pool leak symptoms include water level drops exceeding 1/4 inch daily, wet spots in your yard, and unexplained increases in your water bills. You’ll notice your pool chemicals dissipating faster than usual, while maintaining proper water chemistry becomes increasingly difficult. Using specialized listening devices can help pinpoint the exact location of underwater leaks that might otherwise go undetected. Increased algae growth commonly appears in areas where water consistently seeps from the pool structure. If you suspect a major leak, draining the pool may be necessary to properly inspect and repair structural damage.
When creating your pool inspection checklist, look for structural red flags like cracks in tiles, bulging surfaces, or eroding grout lines. Watch for unusually green patches of grass near your pool, standing water when it hasn’t rained, or soft spots in the surrounding soil. If your pool equipment starts running dry or making unusual noises, or you’re seeing persistent air bubbles in the return lines, it’s time to investigate further.
Performing the Bucket Test
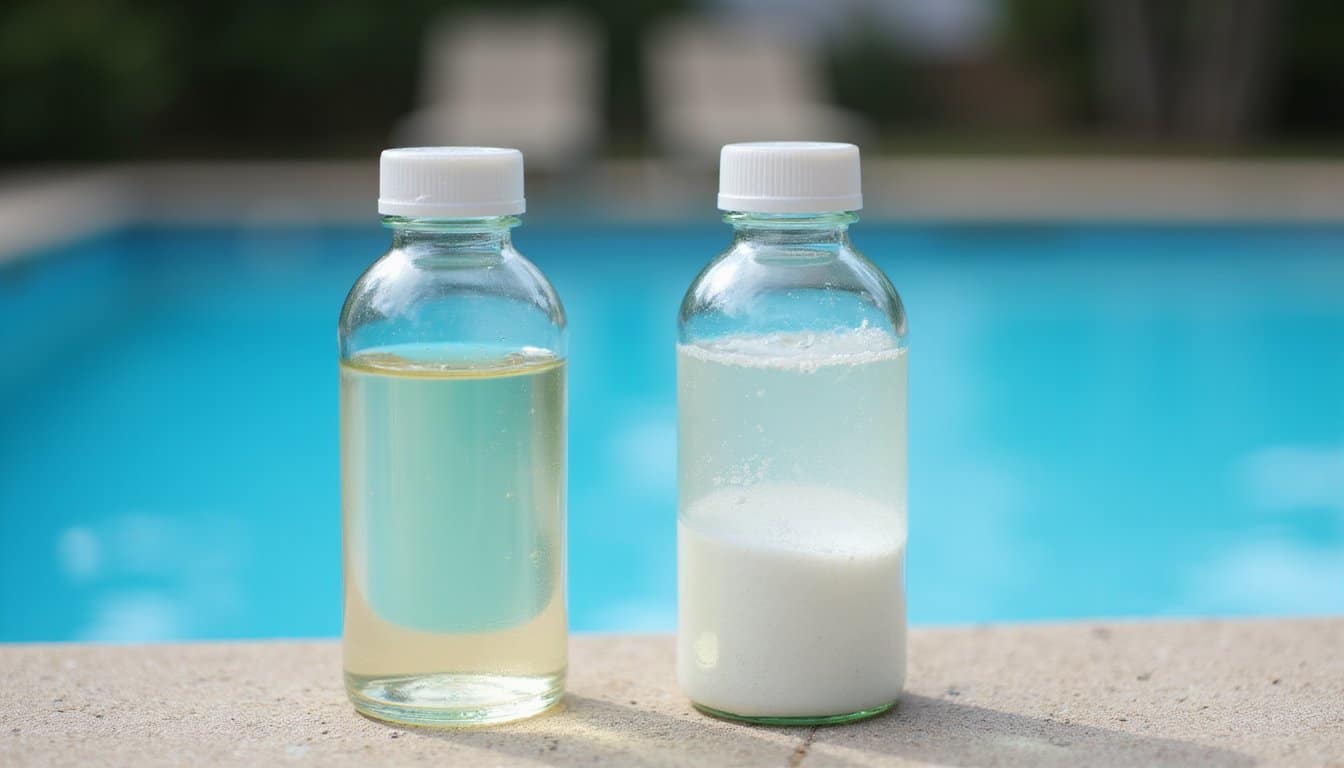
When detecting pool leaks, the bucket test provides a reliable method to distinguish between normal water evaporation and actual leakage.
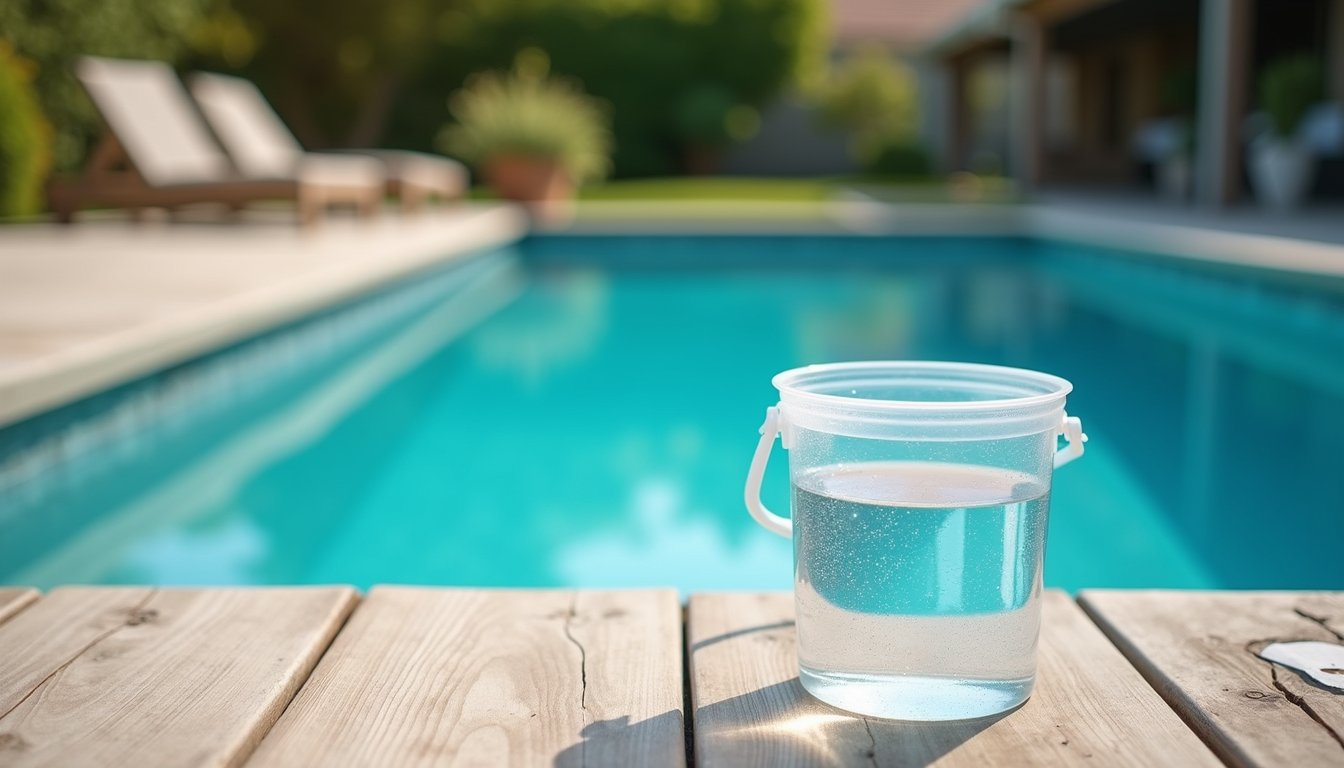
Start by filling a 5-gallon bucket with pool water to about an inch from the top. Place it on the first or second pool step, ensuring it’s partially submerged while remaining stable. You’ll need to weight the bucket down if necessary. Mark both the inside and outside water levels on the bucket with a marker or tape. The test must be performed when rainfall isn’t expected to ensure accurate results.
Turn off any autofill valves and pool pump equipment before beginning the 24-hour test period. Don’t swim or add water during this time. After exactly 24 hours, compare the marked levels. If the pool water has dropped more than the bucket water, you’ve got a leak. Equal drops indicate normal evaporation only. If you discover a leak, consulting a professional is recommended to properly diagnose and repair the issue.
Using Dye Testing to Locate Leaks

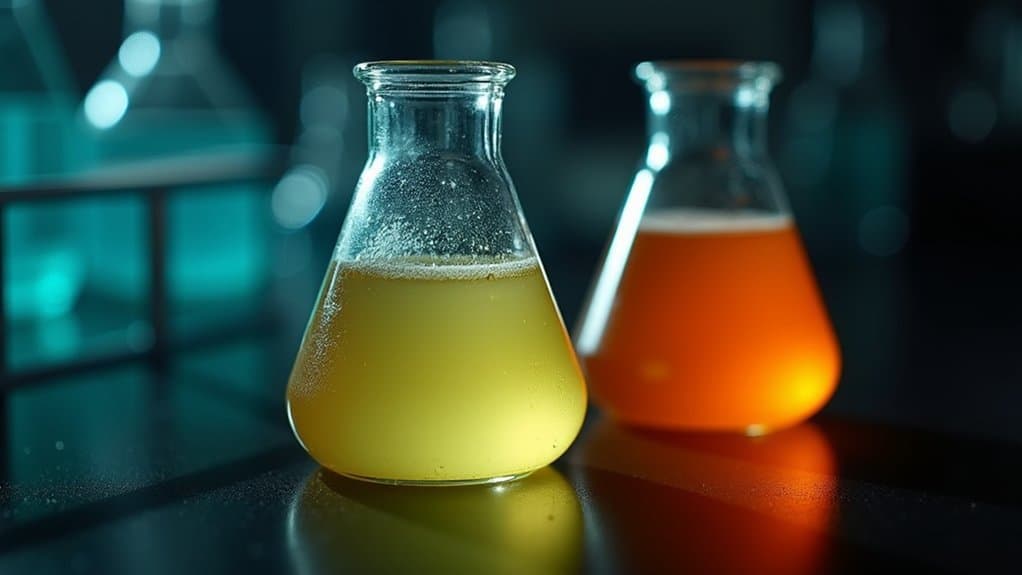
Once you’ve confirmed a leak through the bucket test, dye testing helps pinpoint its exact location. Start by turning off your pool’s pump and filtration system to guarantee still water. Choose a commercial pool dye or food coloring, and gather an applicator like a syringe or eyedropper. High pressure areas will show water movement more clearly when testing for leaks. Before testing, look for signs of wetness around the pool’s perimeter.
Approach suspected leak areas carefully, injecting a small amount of dye about half an inch from the surface. Since concentrated dye settles naturally in the water, you’ll get clearer results when testing potential leaks. If there’s a leak, the dye will get pulled directly into cracks, gaps, or seams. For underwater locations, you’ll need goggles to observe the dye’s movement clearly. Mark any detected leaks immediately with waterproof tape.
Remember that dye testing works best during calm weather and requires still water. If the dye simply dissipates or floats away, move on to testing other suspicious spots.
Professional Detection Methods and Tools
Professional leak detection requires specialized electronic and ultrasonic equipment that can pinpoint water escaping from your pool’s structure or plumbing system. You’ll find that electronic leak detectors use sensitive microphones to amplify the sound frequencies of escaping water, while ultrasonic devices convert high-frequency vibrations into audible signals for precise location identification. A thorough inspection typically starts at the pool equipment pad where many common leaks originate. These advanced tools, combined with pressure testing equipment that checks pipe integrity, enable technicians to locate even minute leaks through concrete, soil, and around fittings without destructive exploration. The expertise of professional technicians helps ensure accurate leak diagnosis while preventing further damage to the pool structure. Professionals may also utilize dye testing methods to visually confirm structural leaks by observing the movement of colored dye near suspected crack areas.
Specialized Leak Detection Equipment
Several specialized tools and technologies have revolutionized modern pool leak detection, making it possible to identify even the smallest water losses with remarkable precision. The advanced VILO V2 kit represents the latest innovation in professional leak detection equipment. In addition to professional tools, many homeowners are turning to DIY methods to find pool leaks, allowing them to address issues promptly and cost-effectively. Simple techniques, such as the bucket test, can help identify whether the water loss is due to evaporation or a leak.
Electronic listening devices, like hydrophones and geophones, detect the distinct sounds of escaping water through concrete and soil. You’ll find that modern systems like the LT-1000 can filter out ambient noise for precise localization. Professionals often use soil probes to listen through deck surfaces and identify subsurface leaks. The PoolScope can detect even the faintest bubbling sounds when close to a leak source. Dye testing tools, including specialized syringes and cones, help you track water movement from suspected leak areas.
For vinyl pools, electronic scanners like LeakTrac use electrical currents to pinpoint tiny liner breaks. Video inspection systems with 512Hz sonde cameras allow you to examine hidden plumbing lines and document leak conditions. These advanced tools, combined with proper training and certification, greatly improve the accuracy and efficiency of leak detection processes.
Pressure Testing Applications
While electronic detection tools excel at finding surface leaks, pressure testing stands as the gold standard for identifying leaks in underground pool plumbing. Using a pressure test kit helps prevent costly water loss and chemical waste. You’ll need to isolate and pressurize specific pipe segments using mechanical or inflatable plugs to create airtight seals.
Start by installing a pressure testing stick and gradually increase pressure to 10-20 PSI for standard pool testing. You can verify proper setup by checking that all suction valves are correctly positioned. Monitor the pressure gauge for at least 10 minutes; a stable reading indicates no leaks, while pressure drops signal potential problems. For new installations or repairs, you can test up to 60-90 PSI.
If you detect pressure loss, inspect all connections with soapy water to identify bubbles at leak points. Remember to increase pressure gradually in 10 PSI increments to prevent damage to your pool’s plumbing system.
Understanding Water Loss vs. Evaporation
Swimming pool owners must first distinguish between normal evaporation and actual leaks to avoid unnecessary repairs. Your pool typically loses about 1/4 inch of water daily through natural evaporation, which increases during hot, windy, or low-humidity conditions. If you’re losing more than 2 inches weekly (or 3 inches in hot climates), you likely have a leak.
To determine the difference, conduct a bucket test: Fill a bucket with pool water, place it on the pool deck, and mark both the bucket’s and pool’s water levels. Compare the levels after 24 hours. If your pool loses more water than the bucket, you’ve got a leak. Consider installing a pool cover, which can reduce evaporation by 90% and help you monitor water loss more accurately.
Most Common Areas Where Leaks Occur
Understanding where pool leaks typically occur can substantially streamline your detection process. You’ll want to focus on five key areas where most problems develop: skimmers, return lines, pool shell/liner, lights, and equipment pad components. By targeting these specific locations, you can quickly identify potential sources of leaks before they escalate into more significant issues. A comprehensive homeowners guide to check pool leakage can provide you with detailed steps and troubleshooting tips to ensure a thorough examination.
| Area to Check | What to Look For |
|---|---|
| Skimmers | Cracks at joints, separation from wall |
| Return Lines | Underground pipe breaks, connection leaks |
| Shell/Liner | Surface cracks, tears, bubbling seams |
| Pool Lights | Conduit intrusion, damaged seals |
Pay special attention to your skimmer joints, as they’re particularly vulnerable to soil movement and freeze/thaw cycles. For underground plumbing, watch for soggy spots or settling soil. Your pool’s shell or liner might show visible cracks or tears, while light fixtures often leak through deteriorated seals or conduits. Don’t forget to inspect your equipment pad for puddles or drips. Regular monitoring and timely repairs can prevent minor issues from escalating into costly damages. If you notice persistent problems, consider seeking professional pool maintenance solutions to ensure that your pool remains safe and functional.
Frequently Asked Questions
Can Pool Leaks Cause Structural Damage to My House Foundation?
Yes, pool leaks can seriously damage your home’s foundation. When water seeps into surrounding soil, it creates destructive expansion and contraction cycles that destabilize the ground beneath your house. You’ll face risks of foundation settlement, shifting, and cracking as the soil becomes unstable. The increased hydrostatic pressure can cause your foundation walls to bow or bulge. Don’t ignore warning signs like sticking doors, uneven floors, or visible cracks.
How Much Does Professional Pool Leak Detection Typically Cost?
You’ll typically spend between $200-$500 for professional pool leak detection services, though prices can reach $1,000 for complex inground pools. Above-ground pool inspections are generally cheaper, ranging from $100-$700. Your final cost will depend on your pool’s size, type, and liner material. Most services include pressure testing, dye testing, and equipment inspection. Some companies charge hourly rates of $75-$125, while others offer fixed-price packages.
Are Pool Leaks Covered by Homeowner’s Insurance?
Standard homeowner’s insurance typically won’t cover pool leaks caused by normal wear or lack of maintenance. You’ll only receive coverage if the leak results from a sudden, accidental event like storm damage or vandalism. While your policy may cover consequential damage to your home from the leak, it won’t pay for the pool repairs themselves. You’ll need special riders or endorsements for enhanced pool protection, which require additional premiums.
Can I Swim in My Pool While Conducting Leak Detection Tests?
You shouldn’t swim in your pool during leak detection tests. Swimming creates water movement that disrupts test accuracy and can invalidate results, especially during dye tests and bucket measurements. It’s also unsafe, as leaks may harbor bacteria or create unstable conditions. If you must access the pool for testing, limit movement to essential inspection activities only. For best results, keep the pool undisturbed for at least 24 hours during testing periods.
Should I Drain My Pool Completely if a Leak Is Detected?
Don’t drain your pool completely when you detect a leak. Full drainage can cause serious structural damage, including shell pop-out, liner shrinkage, and cracking due to loss of hydrostatic pressure. Instead, you’ll want to lower the water level just below the leak site for repairs. Use underwater sealants, patch kits, or epoxy putty for most fixes. Only consider complete drainage if you need major structural repairs or full liner replacement.