
To find a pool leak, start by conducting a bucket test: place a weighted bucket on your pool steps, mark water levels inside and outside the bucket, then monitor for 24 hours. If your pool loses more water than the bucket, you’ve likely got a leak. Inspect skimmers, liners, return lines, and fittings for cracks, wet spots, or bubbles. While simple leaks can be DIY-detected, complex issues with plumbing or structural damage require professional expertise. Understanding proper detection methods guarantees accurate diagnosis.
Understanding Pool Water Loss: Leak vs. Evaporation
Before diagnosing a potential pool leak, it’s essential to understand the difference between normal water loss and actual leakage. A typical pool loses about 1/4 inch of water daily through evaporation, which can increase to 2 inches weekly during summer months. Stronger winds near the water surface can significantly accelerate water loss rates. However, if you’re noticing water loss beyond these rates, you might have a swimming pool plumbing leak.
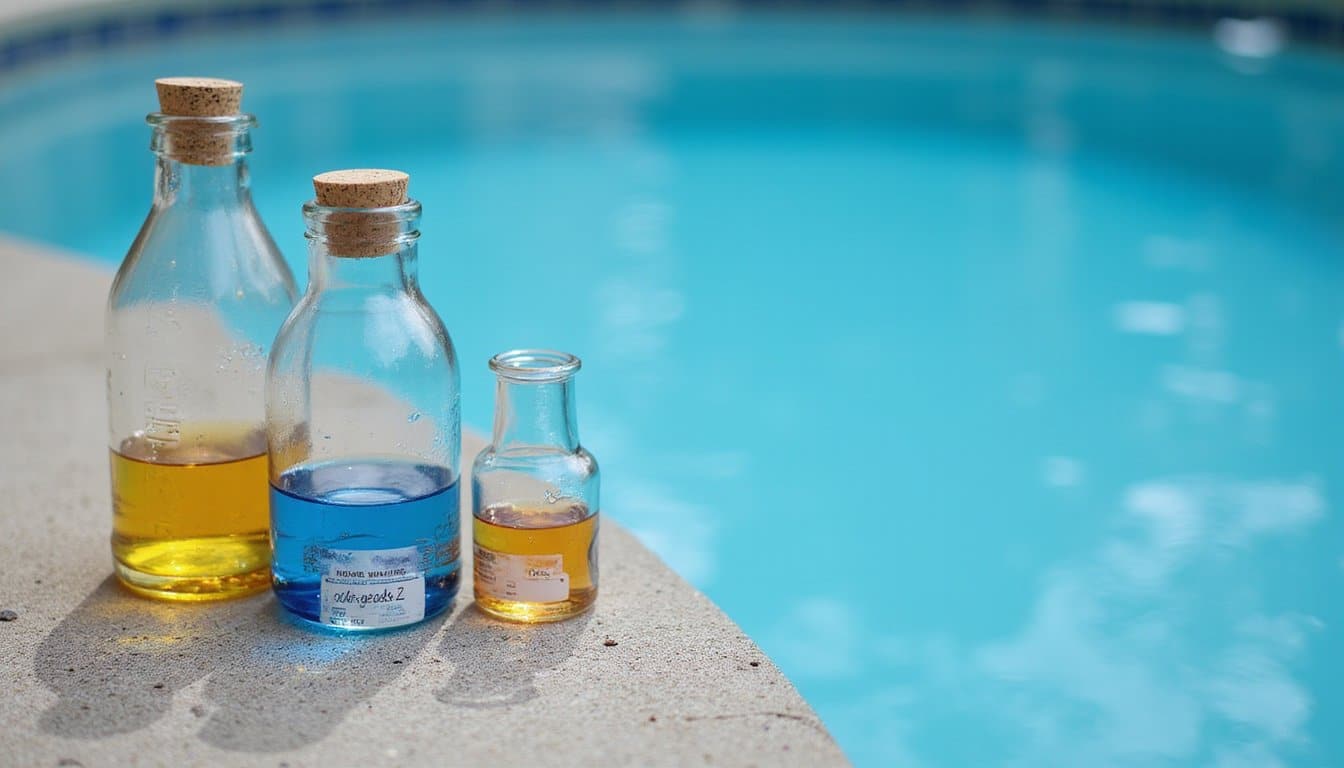
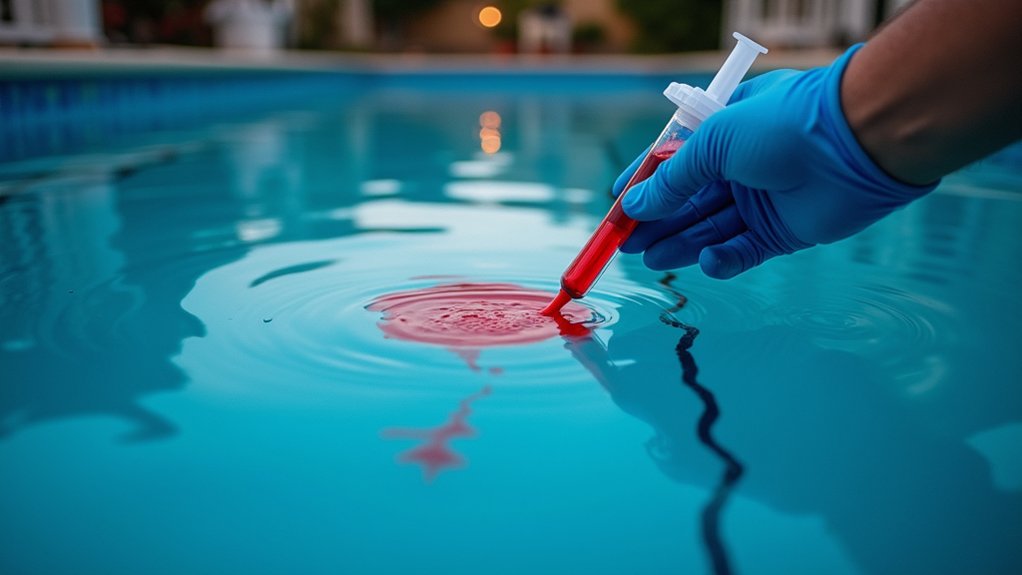
To determine a pool leak location, monitor your water loss patterns carefully. Normal evaporation varies with weather conditions, while leaks cause consistent drops regardless of climate. The pool bucket test offers a dependable method to distinguish between the two: place a water-filled bucket on your pool steps and compare water levels after 24 hours. If the pool loses more water than the bucket, you’re likely dealing with a leak rather than natural evaporation. Along with the bucket test, a dye test is one of the essential tools for pool leak detection, helping you spot leaks early and save on repairs.
Essential Tools and Materials for Pool Leak Detection
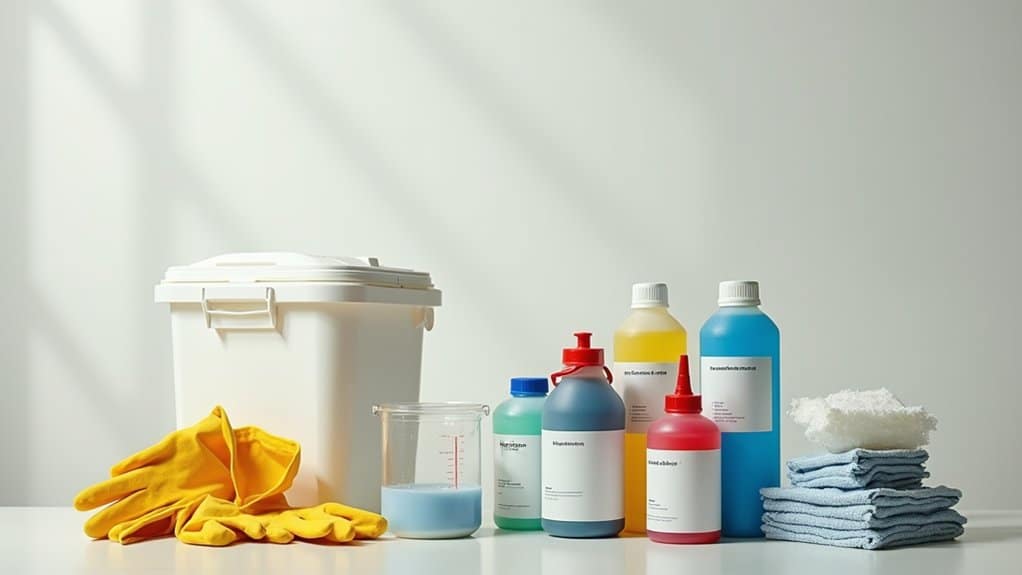
Several essential tools and materials form the foundation of effective pool leak detection. You’ll need electronic listening devices with amplifiers to detect water escaping through hidden cracks, while pressure testing kits help isolate and diagnose leaks in buried plumbing systems. Dye test kits prove invaluable for identifying surface leaks, especially around fixtures and fittings. The LT-2000 Amplifier delivers crystal-clear audio signals that make pinpointing leaks more accurate and efficient. Using multiple detection methods helps achieve optimal results when diagnosing pool issues. Deck plates and soil probes are crucial for sub-surface listening when investigating underground leaks.
For thorough visual inspections, you’ll require underwater cameras, mirrors, and water-resistant flashlights to examine pool floors, walls, and hard-to-reach areas. Don’t forget basic safety equipment like gloves and protective eyewear when handling chemicals or performing underwater work. Keep temporary repair materials such as vinyl patches and epoxy putty on hand for immediate leak containment during your testing process.
Step-by-Step Bucket Test Method
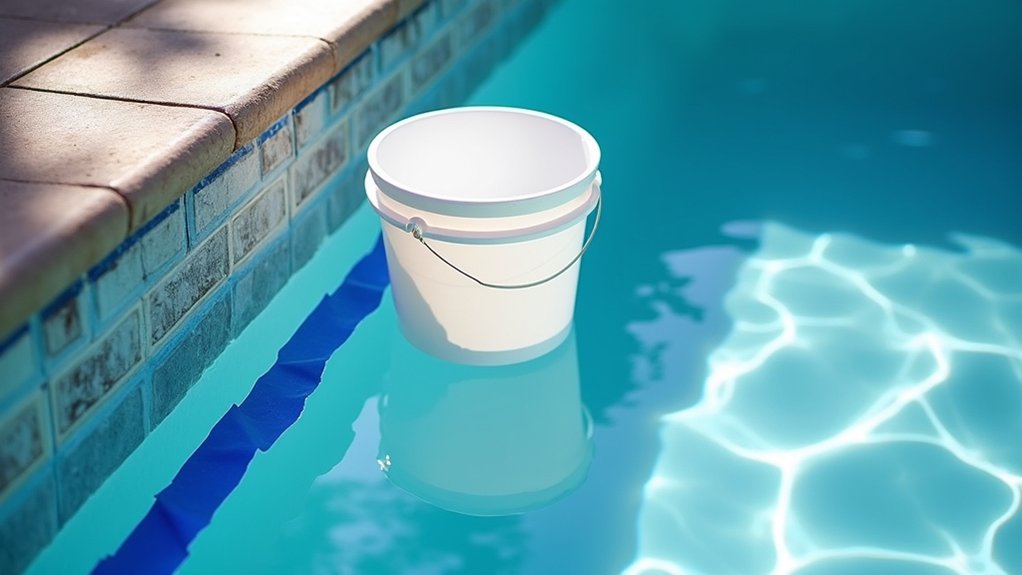
The bucket test stands as one of the most reliable DIY methods for detecting pool leaks. You’ll need a 3-5 gallon bucket, waterproof markers, and a weight to prevent floating. Place the bucket on a pool step, submerging it about 5 inches deep, and mark water levels both inside and outside the bucket. Remember to disable any auto-fill devices before beginning the test. Using this straightforward method helps homeowners accurately determine water loss from evaporation versus leaks. The bucket should be filled to approximately two-thirds height for optimal testing conditions.
| Test Phase | Action |
|---|---|
| Setup | Fill bucket with pool water |
| Placement | Position on step, add weight |
| Marking | Match & mark water levels |
| Duration | Monitor for 24 hours |
| Analysis | Compare water loss rates |
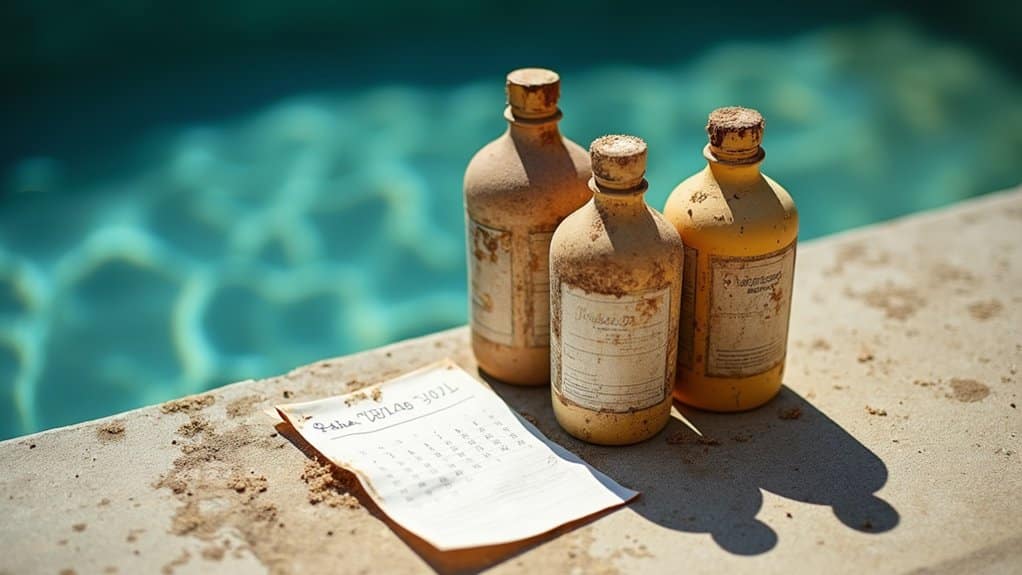
Monitor for 24 hours under normal operating conditions, avoiding swimming or backwashing. If the pool’s water level drops more than the bucket’s, you’ve got a leak. If levels decrease equally, it’s just evaporation. For accurate results, postpone testing during rain or heavy winds, and maintain consistent environmental conditions throughout the test period. Additionally, routinely inspect the pool’s equipment and plumbing for any signs of wear or damage, as these can also contribute to leaks. For those looking for further assistance, a comprehensive homeowners guide to detecting pool leakage can offer step-by-step instructions and tips for identifying and addressing potential problems.
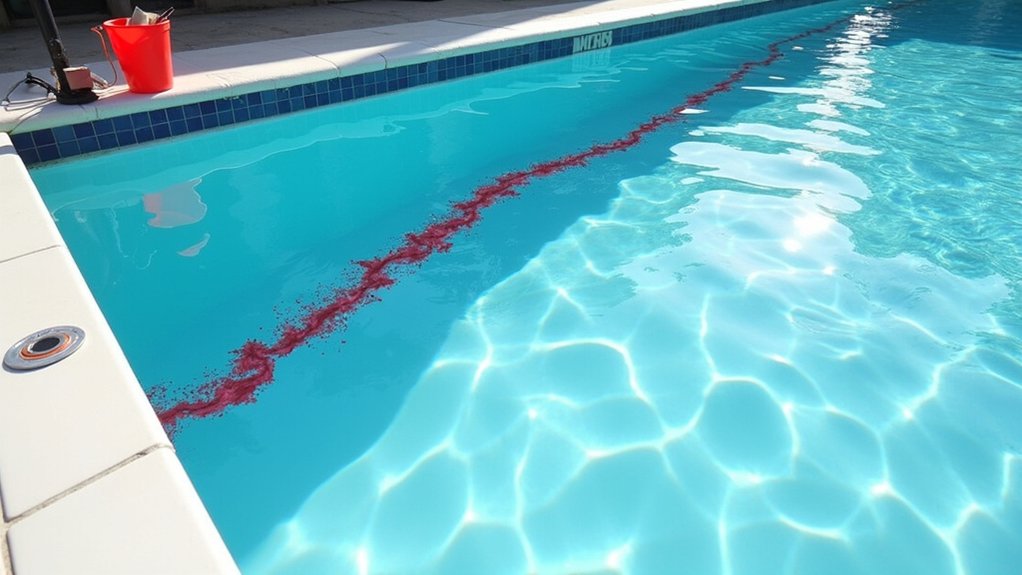
Common Pool Leak Areas and Visual Inspection
Knowing where to look for pool leaks can dramatically streamline your detection efforts. Start by examining your skimmer, where cracks often develop at the seam between the skimmer and pool wall. You’ll want to check if the water level stabilizes just below the skimmer, a telltale sign of leakage. On hot days, remember that water loss from natural evaporation can account for up to 25% of your pool water.
Most pool liners have a lifespan of 8-20 years, so pay special attention to aging liners during your inspection. Inspect return lines and fittings for wet spots on the deck or surrounding soil. Look for bubbles in returns, which indicate suction-side issues. Your pool’s return lines are particularly vulnerable due to their thin construction. Don’t overlook your pool’s structural components – concrete pools may show cracks in the shell or tiles, while vinyl pools commonly leak at seams and cutouts.
Check your equipment pad thoroughly. You’ll find many leaks originate from pump housings, filter tanks, and heater connections. Watch for water puddling or dampness around these components.
When to Call a Professional Pool Leak Specialist
While DIY detection methods can help identify minor leaks, specific situations call for professional pool leak specialists. You’ll need expert help if you’re losing more than 1/8 inch of water daily or experiencing unexplained spikes in water bills. Contact a specialist when DIY tests remain inconclusive, or leaks persist after basic repairs. In addition, a thorough inspection by professionals can uncover hidden leaks that DIY methods may miss, ensuring your pool remains in optimal condition. Regular evaluations and ongoing pool maintenance services can help prevent future issues, saving both water and money.
Structural concerns require immediate professional attention, including visible cracks that continue leaking after patching, underground plumbing issues, or signs of deck movement. Specialists like Paul Tosi rely on electronic leak detection to quickly identify concealed problems. Don’t delay calling an expert if you notice electrical components near leak areas or persistent sewer odors. Professional leak detection services utilize advanced technology like electronic sensors, infrared tools, and acoustic equipment to pinpoint exact leak locations without causing unnecessary damage to your pool’s structure.
Frequently Asked Questions
Can Pool Leaks Cause Structural Damage to My House Foundation?
Yes, pool leaks can severely damage your house’s foundation. When water consistently seeps into the soil, it causes expansion and contraction cycles that destabilize the ground beneath your foundation. You’ll risk structural issues like foundation cracks, uneven floors, and misaligned doors or windows. Even small, undetected leaks can disrupt soil stability over time, while persistent moisture may lead to irreparable foundation damage requiring costly repairs.
How Long Can I Safely Delay Repairing a Confirmed Pool Leak?
You shouldn’t delay pool leak repairs at all. Even small leaks can quickly escalate into severe structural, financial, and safety issues. You’ll face increasing water bills, equipment damage, and potential foundation problems within weeks. If you’ve confirmed a leak, you’ll need to address it immediately to prevent bacterial growth, soil erosion, and system stress. Every day of delay multiplies your repair costs and risks to your property’s integrity.
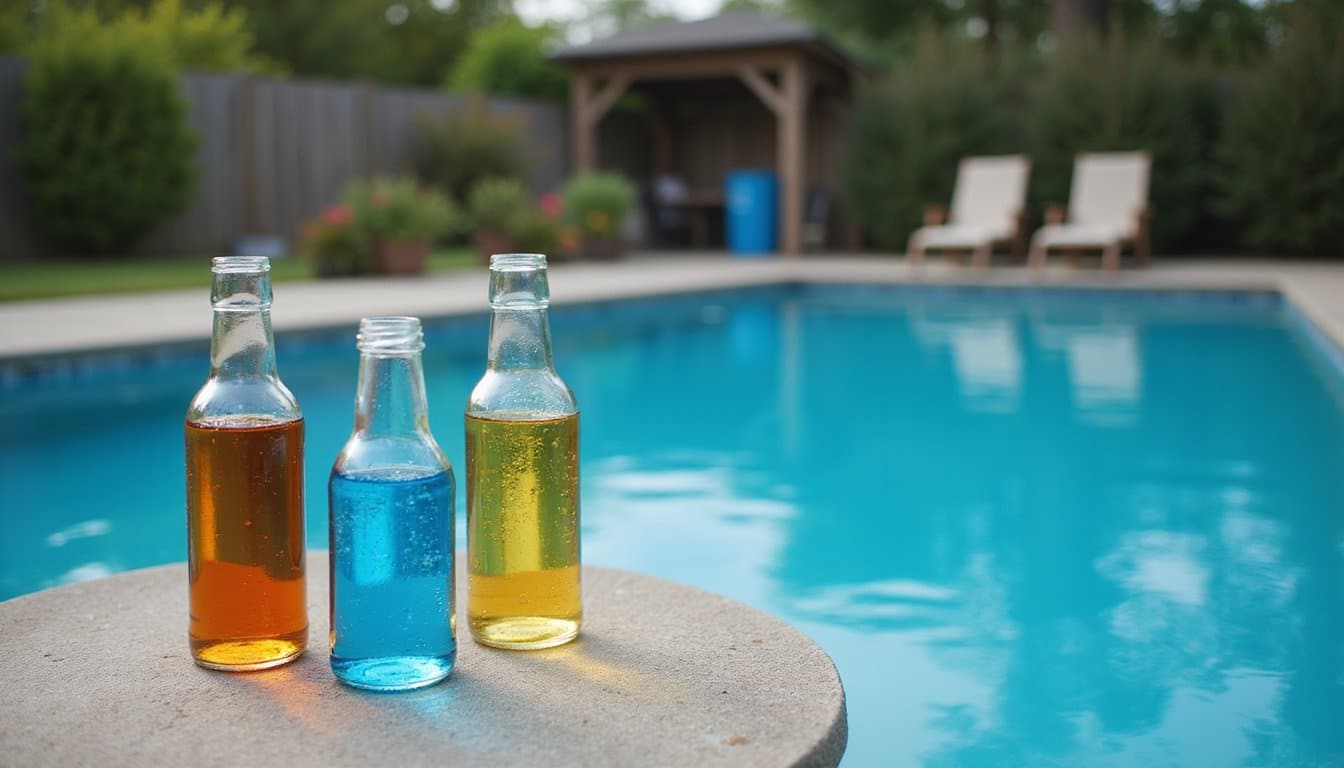
Will Adding Chemicals to My Pool Affect Leak Detection Results?
Yes, chemicals can substantially impact your leak detection accuracy. You’ll need to minimize chemical additions before testing, as high chlorine levels can break down dye tracers and reduce visibility. Wait 24-48 hours after chemical treatments for water parameters to stabilize. Keep chlorine below 3 ppm for ideal dye test results. If you’ve recently shocked your pool, you’ll need to delay testing until chemical levels normalize.
Can Winter Freezing Make Existing Pool Leaks Worse?
Yes, winter freezing will drastically worsen your pool’s existing leaks. When water freezes, it expands and forces cracks wider, turning minor leaks into major problems. You’ll face particular risks if you’ve left water in pipes or equipment, as freezing can cause catastrophic bursts. If you have a vinyl liner, it’s especially vulnerable; leaks under ice sheets can lead to sudden shifts that tear the liner. Don’t ignore pre-winter leaks; they’ll likely become more expensive repairs by spring.
Does Pool Insurance Typically Cover Leak Detection and Repairs?
You’ll find that standard homeowners insurance typically won’t cover pool leak detection costs or repairs unless they’re caused by a sudden, accidental event from a covered peril. While your policy may cover resulting property damage, it won’t pay for the failed pool component itself. You’ll need to pay out-of-pocket for routine leak detection, though some home warranty plans offer optional pool coverage for system component failures.