The three main steps of gunite pool construction begin with thorough excavation and site preparation, ensuring proper soil management and drainage. You’ll then install the structural framework, creating a steel rebar skeleton placed 2-4 inches from excavation walls while integrating plumbing and electrical components. Finally, you’ll apply gunite in 1-2″ layers while rotating the nozzle, followed by immediate troweling and proper curing procedures. Understanding the nuances of each phase will determine your project’s ultimate success.
Planning and Design: Your Pool Project Blueprint
Before breaking ground on your gunite pool project, thorough planning and design serve as the foundational blueprint that determines the project’s success. You’ll need to navigate local zoning laws, obtain necessary permits, and guarantee compliance with safety standards specific to your area.
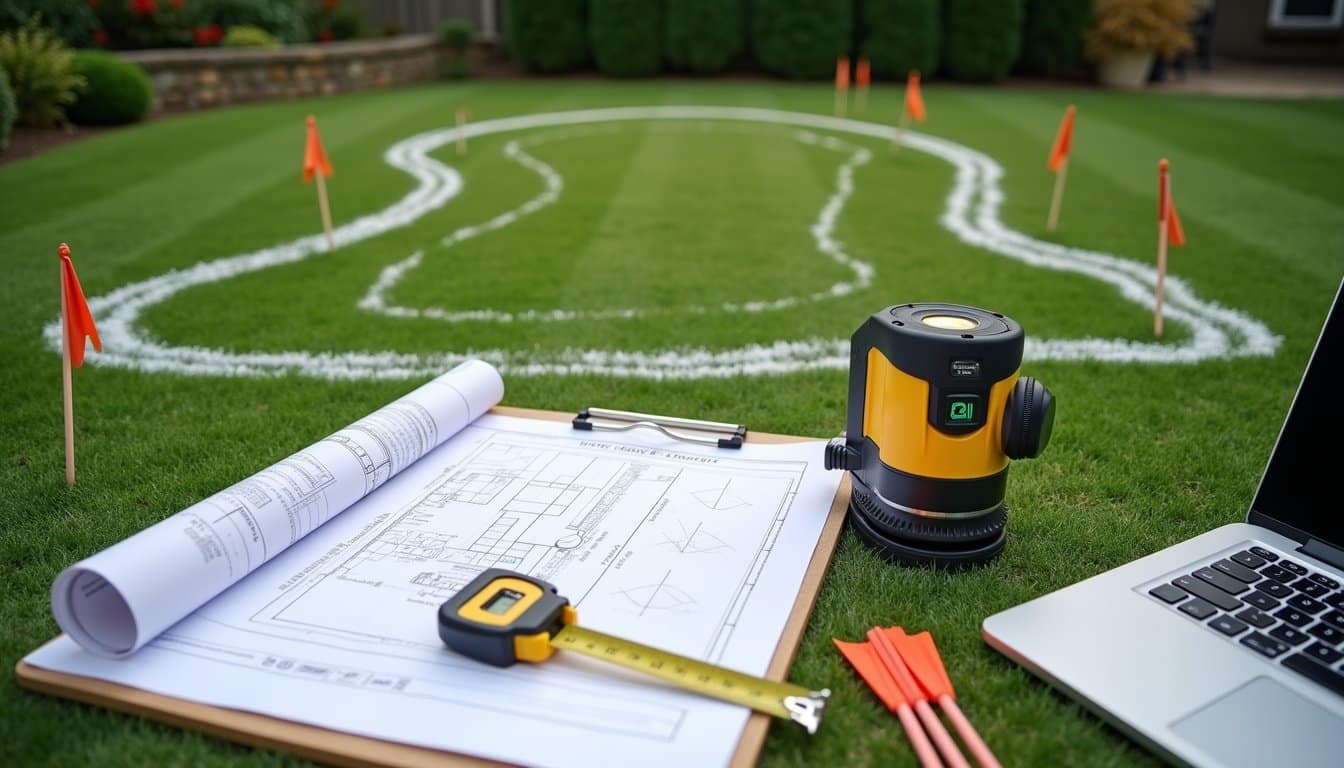
Key design considerations include analyzing your property’s topology, soil composition, and elevation changes. Pool shape flagging helps visualize the layout directly in your yard before any digging begins. The endless design possibilities make it crucial to carefully consider your aesthetic preferences and functional needs. Using 3D modeling software, your contractor will create interactive visualizations to optimize layout and integrate custom features like water elements or sunken seating. Working with a professional pool designer ensures optimal placement and landscape integration. You’ll also need to account for accessibility planning through strategic placement of stairs and ledges.
The permit application process typically requires detailed construction plans, site surveys, and engineering reports. Expect 4-8 weeks for approval, during which you’ll need to document pool dimensions, equipment placement, and required safety features.
Ground Preparation and Excavation Essentials
Once your pool design receives approval, the ground preparation and excavation phase begins with precise site layout procedures. You’ll see crews marking your pool’s perimeter with flags and stakes, guaranteeing exact dimensions and elevation requirements are met before any digging starts.
Proper soil management follows, where your topsoil is carefully stripped and stockpiled for later use. This strategic approach prevents additional costs for soil replacement and simplifies future landscaping work. Removing fences and trees may be necessary to create clear access for excavation equipment. Advanced excavation techniques then come into play, utilizing excavators and front-end loaders for efficient digging, while hand-shaping ensures uniform walls for gunite application. A hydrostatic relief valve is installed during this phase to prevent groundwater pressure from damaging the pool structure. The team installs a stone bed foundation across the entire floor to create a stable base for construction.
Before excavation begins, crews will clear obstacles, mark utility lines, and create equipment pathways. Final grading after excavation establishes proper drainage slopes and creates a uniform base for your pool’s construction.
Installing the Structural Framework
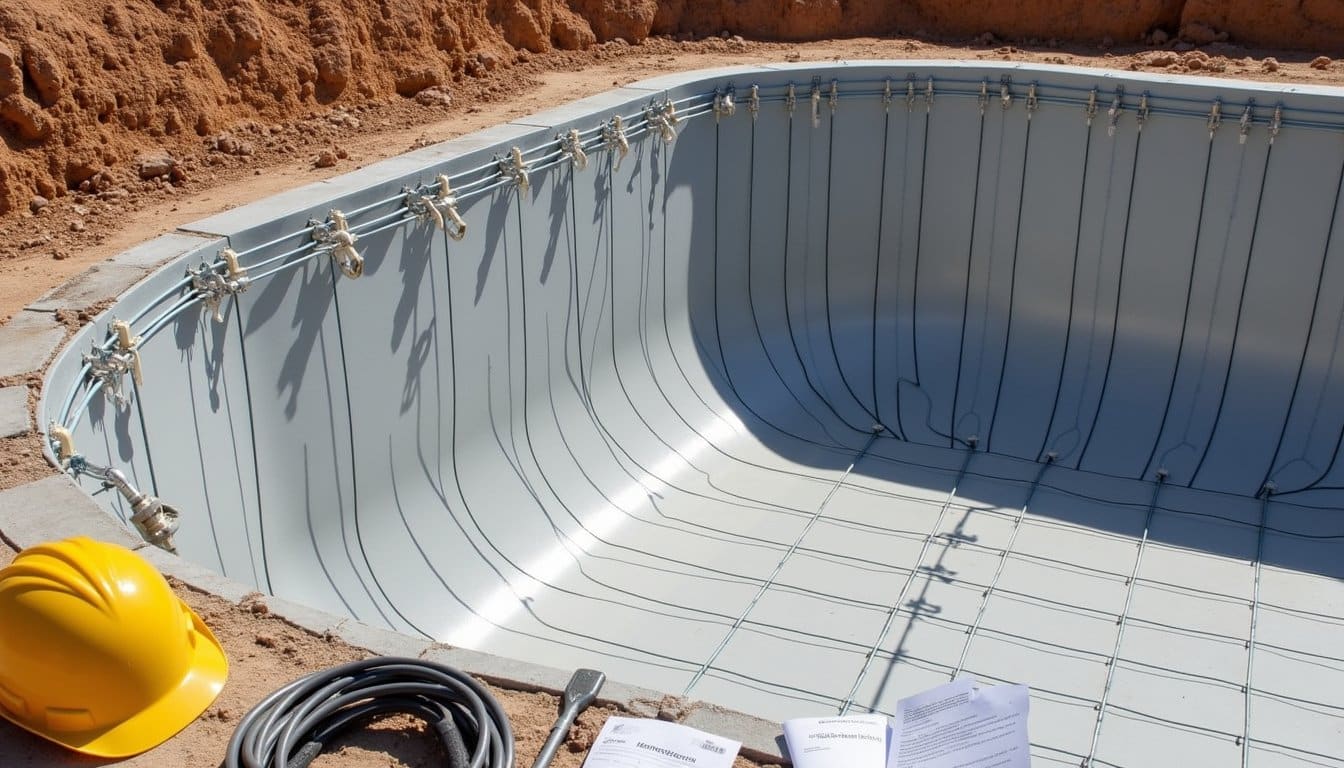
The structural framework stage transforms your excavated pool site into an engineered foundation for the gunite shell. The process begins with precise rebar techniques, creating a steel skeleton that’s placed 2-4 inches from excavation walls. You’ll need to verify the rebar follows your pool’s curves while maintaining a grid-like mesh pattern for ideal load distribution. Installing durable rebar framework provides a lasting foundation that can help your pool endure for decades to come. Using ½-inch 8-gage steel ensures optimal structural integrity throughout the framework. Your contractor should have state permits before beginning any framework installation.
During this phase, you’ll integrate plumbing components and electrical infrastructure. Skimmers, return jets, and drain lines are secured to the rebar using specialized brackets, while bonding wire installation prevents electrolysis. Your framework must meet structural standards through proper spacing and density requirements. Don’t overlook code compliance every component from GFCI protection to plumbing alignment must follow local building regulations. Regular quality control checks during installation will prevent potential defects in your final gunite shell.
The Art of Gunite Application
Successful gunite application relies on three critical phases: material preparation, precise spray techniques, and controlled curing. You’ll need to store your cement-sand mixture in airtight containers while maintaining separate hoses for water and dry materials to prevent clogs.
When applying gunite, you’ll spray in 1-2″ layers while rotating the nozzle to fully encapsulate the rebar framework. Your crew must use vibrators to eliminate air pockets and immediately trowel the surface to prevent crusting. Since gunite pools are known for their structural integrity, proper application techniques ensure decades of reliable performance. It’s crucial to verify uniform shell depth throughout the process.
During curing, you’ll need to protect the shell from rapid drying through misting or shade cover. Monitor the hardness over 3-7 days while keeping heavy machinery away from the site. This careful attention to spray techniques and curing methods guarantees ideal plaster adhesion later.
Final Touches and System Integration

After completing the gunite shell application, your focus shifts to integrating essential systems and applying final surface treatments. The process requires careful attention to plumbing integration and electrical bonding, ensuring all components work seamlessly together while maintaining safety standards. Professional services can expedite this critical phase significantly. Weather conditions can impact the curing process and final quality of surface treatments.
Installing pool systems demands precision, with proper integration of plumbing and electrical components essential for lasting performance and safety.
Key system components you’ll need to address include:
- Installation of skimmers, returns, and cleaner lines, followed by thorough debris removal from plumbing
- Connection of grounding wire to the pool shell for electrical bonding and light niche placement
- Application of two-stage plastering with immediate water filling to prevent cracking
You’ll finish with the installation of a 6″ ceramic border tile and coping material of your choice either concrete bullnose cantilever or paver bricks. During this phase, maintain strict quality control measures, checking for surface defects and ensuring proper curing conditions.
Frequently Asked Questions
How Long Should I Wait Before Swimming After Gunite Pool Installation?
You’ll need to wait at least 28 days after gunite installation before swimming to guarantee proper pool curing and swim safety. During this critical period, your pool’s structural integrity develops as the gunite reaches its full strength. Though the surface may feel hard after 7-10 days, it’s crucial to complete the entire curing cycle, including plastering and chemical balancing, before entering the water. Rushing this process could compromise your pool’s durability.
What Maintenance Costs Can I Expect Annually for a Gunite Pool?
You’ll need to budget between $2,700-$4,000 annually for standard gunite pool upkeep. Here’s your cost breakdown: basic maintenance services ($960-$1,800), chemicals ($175-$750), electricity ($800-$1,200), water ($50-$250), and minor repairs ($400-$1,000). If you’re in a colder climate, add $650-$1,000 for seasonal opening/closing services. Don’t forget to factor in liability insurance at $204-$300 yearly and periodic equipment replacements.
Can Existing Trees Near the Construction Site Affect My Pool’s Foundation?
Yes, existing trees can notably impact your pool’s foundation. Tree roots can compromise soil stability by causing lateral soil movement and creating moisture fluctuations that lead to ground heave. You’ll need to take into account installing root barriers and deeper footings (minimum 6 inches) near trees. It’s essential to conduct pre-construction soil borings and root mapping to identify potential risks. Think about consulting an arborist to assess tree placement and develop mitigation strategies.
Does Weather Significantly Impact the Timeline of Gunite Pool Construction?
Yes, weather conditions greatly impact your gunite pool construction timeline. You’ll face delays during rain and storms since wet conditions compromise soil stability and prevent proper gunite application. Weather considerations can extend your project by weeks, especially in storm-prone regions. You’ll need to account for seasonal factors like soil moisture levels, curing times, and regional climate patterns. Construction delays are common when dealing with excessive precipitation or extreme weather events.
How Does Salt Water Versus Chlorine Affect Gunite Pool Longevity?
While salt water benefits include gentler, more consistent sanitization through electrolysis, you’ll need proper protective measures like epoxy-coated rebar and sacrificial anodes to prevent corrosion. Chlorine drawbacks involve more aggressive chemical reactions that can accelerate plaster deterioration, especially during pH imbalances. However, with proper maintenance and balanced chemistry (200-400 ppm calcium hardness), you can achieve similar gunite pool longevity (10-15 years) regardless of your sanitization choice.