

You’ll save thousands with these three budget-friendly DIY pool patio ideas. Create a simple but elegant gravel and paver surround by properly preparing the ground and installing layers of crushed stone and sand. Build a floating deck using pressure-treated lumber and deck blocks for a modern look. Transform a galvanized stock tank into a charming pool area with custom curved edges and multi-level decking. Each option offers detailed steps to help you craft the perfect backyard refuge.
Creating a Simple Gravel and Paver Pool Surround
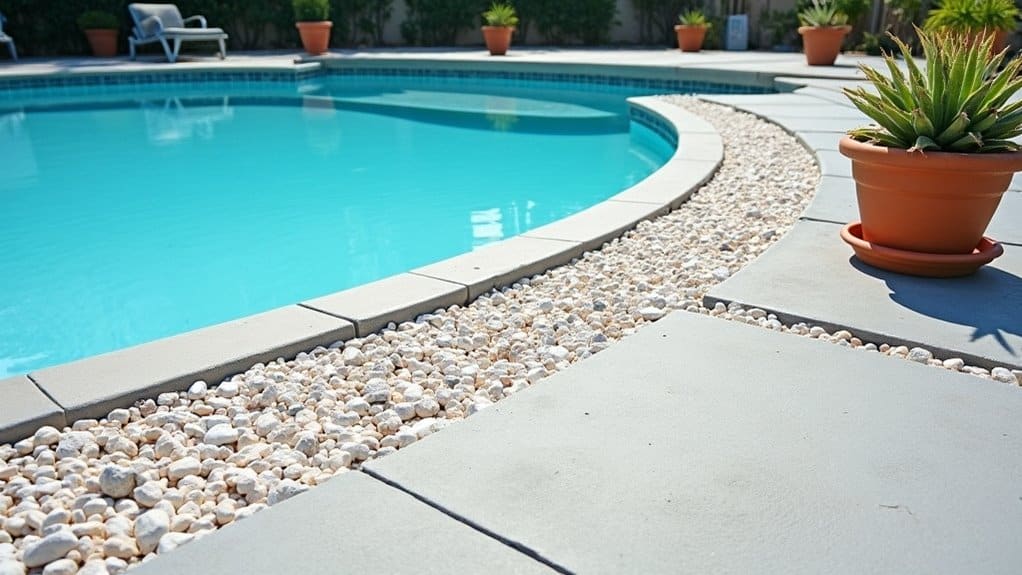
When planning a gravel and paver pool surround, proper preparation and measurement are essential to your project’s success. Start by marking your pool deck boundaries with stakes and string, ensuring a slope of 1/8″ to 1/4″ per foot for proper drainage. Using white marking paint, extend your marked area 6 inches beyond where the final paver edge will be. Before excavation, contact utility companies to locate buried lines.
Dig down 6-12 inches, depending on your soil type, then install geotextile fabric for clay soils. Add and compact 3/4-inch crushed stone in 2-3 inch lifts using a vibrating compactor. Layer 1-2 inches of concrete sand or chip stone as bedding material. For optimal stability, use a plate compactor with at least 5,000 lbs of force when compacting each layer. Natural stone pavers offer superior durability against pool chemicals and constant exposure to water. When choosing paver patterns, start from one corner and work outward, using a rubber mallet for proper placement. Finish by installing border restraints and sweeping polymeric sand between joints. Maintaining paver surface requires periodic reapplication of joint sand and occasional pressure washing.
Building a Budget-Friendly Floating Deck
Building a budget-friendly floating deck around your pool creates an attractive, functional space without breaking the bank. By selecting a flat, accessible area and using pressure-treated lumber with deck blocks, you’ll establish a durable foundation that complements your water-wise terrain. Using pre-drilled deck screws ensures secure attachment of all components for lasting stability. The entire project requires over 100 hours of dedicated work to complete properly.
| Task | Materials | Cost-Saving Tips |
|---|---|---|
| Foundation | Deck blocks, pea gravel | Buy during off-season |
| Framework | 2×6 pressure-treated lumber | Cut to standard lengths |
| Decking | Wood or composite boards | Consider reclaimed wood |
| Finishing | Sealant, custom deck furnishings | DIY decorative elements |
Start by mapping your deck footprint using the 3-4-5 rule for square corners. Install landscape fabric and level the ground before placing deck blocks in parallel rows. Secure your framework with galvanized fasteners and hurricane ties, then attach decking boards with proper spacing for drainage. You’ll save substantially by handling the construction yourself while creating a perfect poolside retreat.
Designing a Multi-Level Stock Tank Pool Area
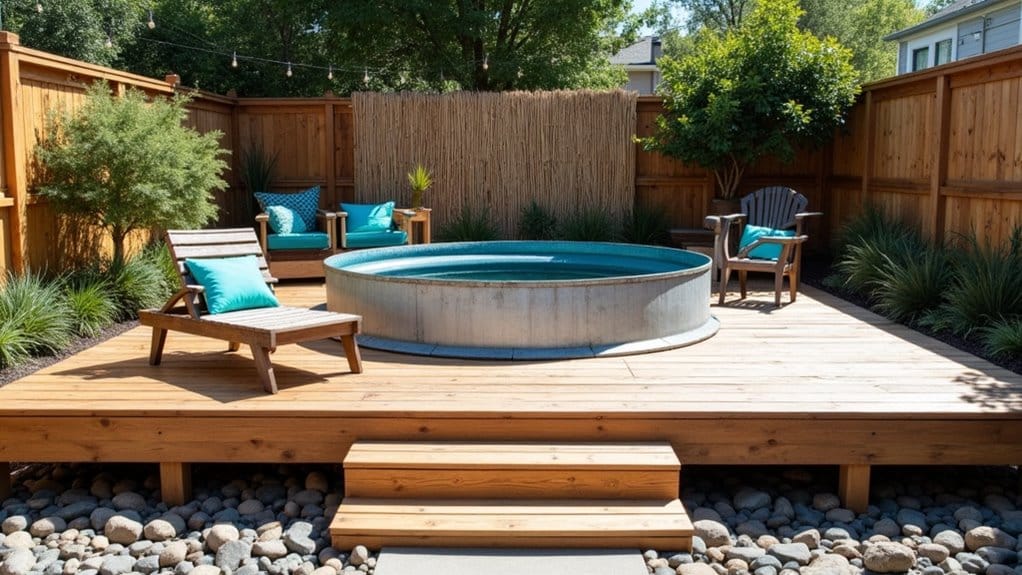
Transform your backyard into a multi-level haven by strategically positioning a stock tank pool within different deck elevations. Start by planning your space around an 8-ft diameter galvanized tank, ensuring proper foundation with leveled ground and sand cushioning. When framing your composite deck, create custom-curved edges that seamlessly wrap around the pool’s circumference.
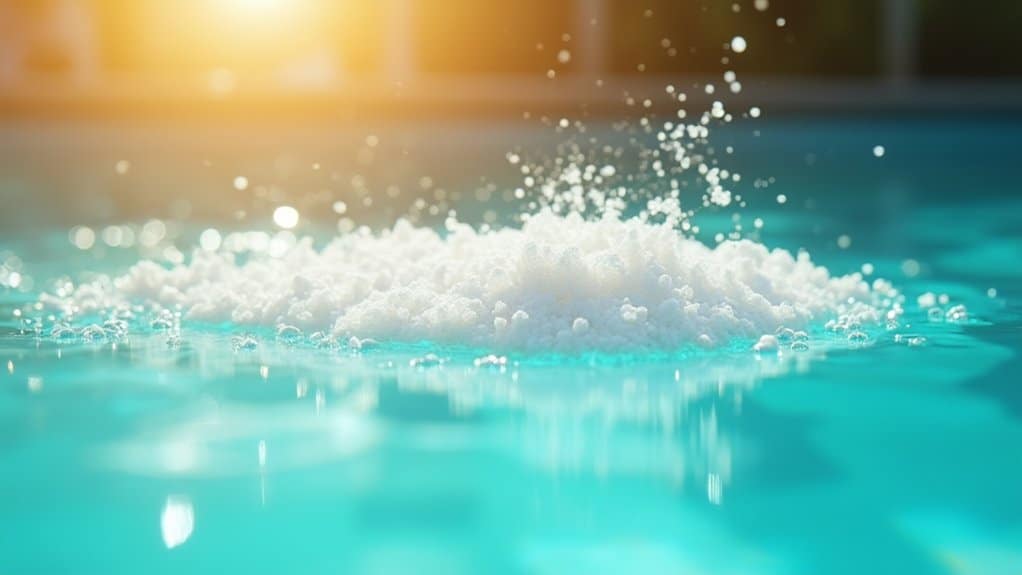
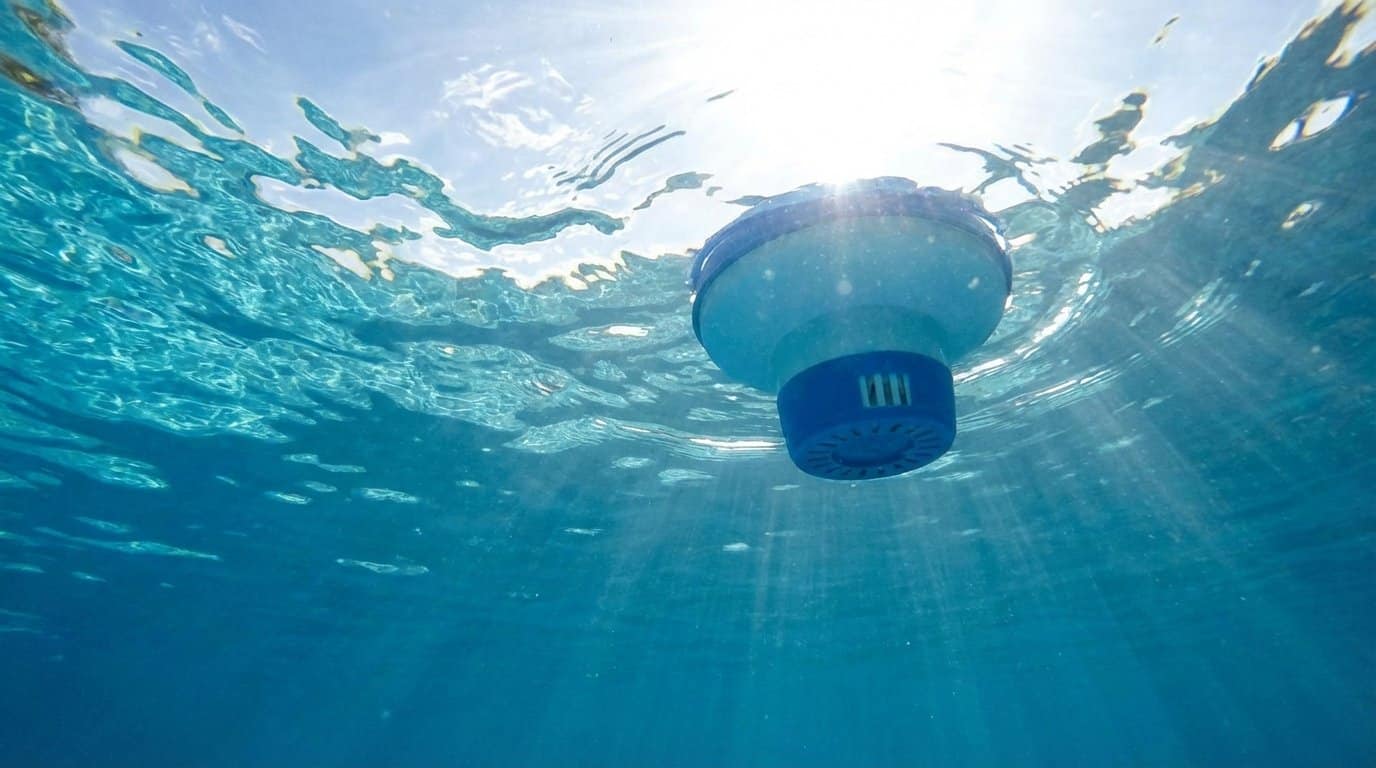
Unlike traditional in-ground pools that can cost over $50,000 in the Bay Area, this DIY approach offers significant savings while creating an equally stunning outdoor space. Maximize your design by incorporating raised garden beds along the deck’s perimeter, creating natural shifts between levels. Install your filter pump and seal it with epoxy putty before applying protective coatings to prevent rust. You’ll want to focus on maximizing seating options through built-in benches at varying heights. For year-round enjoyment, consider adding a pool heater and integrating a drainage system through the built-in spigot. Remember to maintain water quality with slow-release chlorine tablets and regular cleaning.
Frequently Asked Questions
How Do I Winterize My DIY Pool Area Without Damaging Budget Materials?
Start proper winterization techniques early when temperatures consistently drop below 65°F. You’ll want to clean and store all accessories, balance water chemistry, and lower the water level 4-6 inches below skimmer lines. For material durability considerations, secure your pool cover tightly to prevent wind damage to surrounding surfaces. Don’t forget to install expansion plugs in skimmers and returns, and consider using an air pillow to reduce pressure on pool walls.
What Permits Are Typically Required for Installing a DIY Pool Patio?
You’ll need to secure a building permit for your pool patio addition, as local zoning regulations typically require permits for both in-ground and permanent structures. Before starting, check with your municipality’s building department, as requirements vary by location. You’ll need to submit detailed construction plans, site surveys, and proof of compliance with setback requirements. Don’t forget to account for supplementary trade permits if you’re installing electrical or plumbing features.
Can Recycled Materials Withstand Chlorine and Pool Chemicals Long-Term?
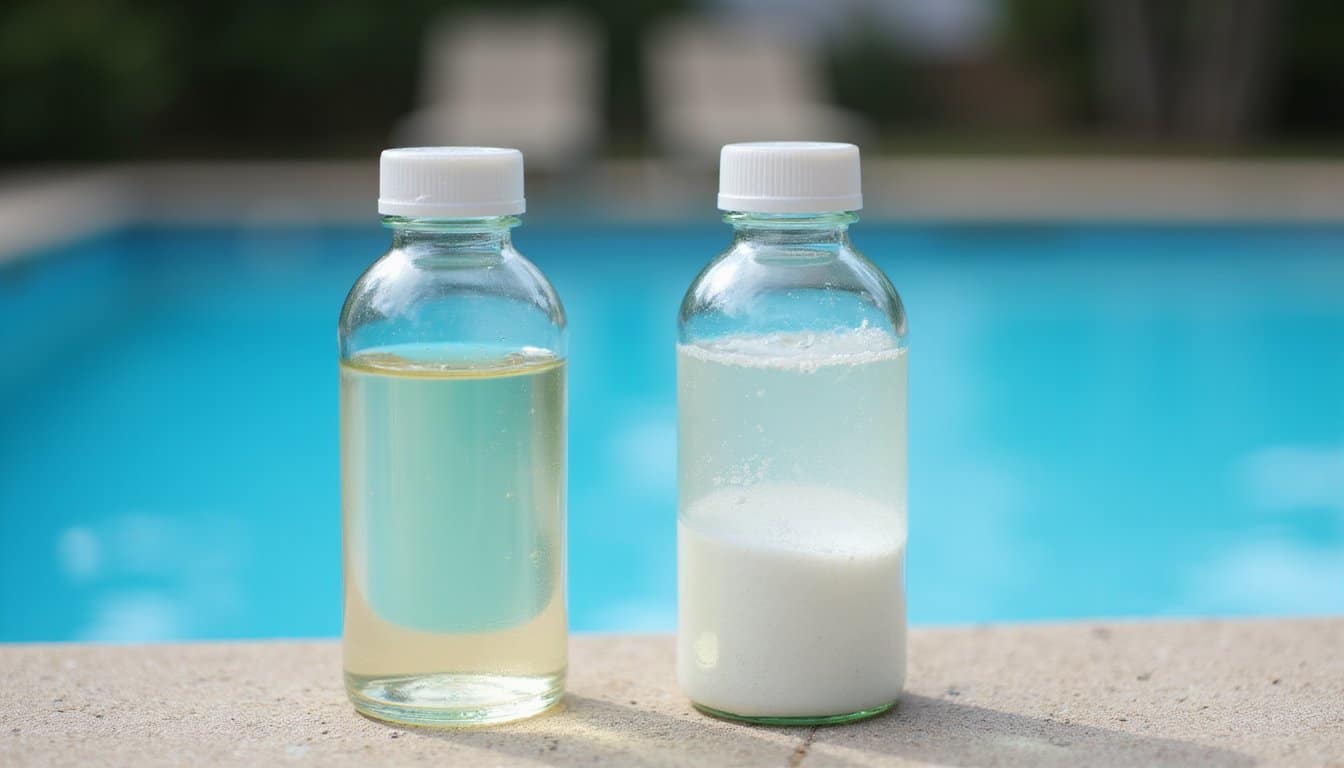
Yes, properly treated recycled materials can effectively withstand pool chemicals long-term. You’ll find that recycled concrete, glass, and plastic composites offer excellent material durability when sealed correctly. Their chemical resistance is comparable to virgin materials, especially if you maintain them with pH-neutral cleaners and annual inspections. For best results, you’ll want to reseal concrete and stone surfaces every few years, and choose materials specifically rated for pool environments.
How Much Weight Can a DIY Floating Deck Safely Support?
Your DIY floating deck must support at least 50 pounds per square foot (psf) to meet standard building codes, that’s 10 psf for dead load (deck materials) and 40 psf for live load (people and furniture). For a 100 sq ft deck, you’ll need to guarantee load capacity of 5,000 lbs total. Consider stability considerations like joist spacing, proper footings, and soil bearing capacity. You’ll want to use pressure-treated lumber and corrosion-resistant hardware for maximum strength.
What’s the Best Drainage Solution for Preventing Water Damage to Surrounding Structures?
You’ll want to implement a combination of channel drains and French drains with proper grading system considerations. Start by guaranteeing a 1% slope (1/8 inch per foot) away from structures, then install channel drains along your pool and patio edges. Connect these to French drains in terrain areas for ideal dispersal. Make appropriate slope calculations for your drain pipes (minimum 1% grade) to guarantee water flows efficiently away from foundations and structures.