

Installing a fiberglass pool follows five key steps you’ll complete in one to three weeks. First, you’ll prepare and mark your site while checking utilities. Next, excavators dig one foot wider than your shell. Then crews set a gravel base and crane-lower the shell into position. Plumbing, electrical, and careful backfilling come fourth. Finally, you’ll pour the bond beam and finish with coping and decking. Each stage has critical details that determine your pool’s longevity.
Layout and Site Preparation
Before any equipment arrives on your property, you’ll need to complete thorough layout and site preparation work that sets the foundation for a successful fiberglass pool installation.
Start by evaluating landscape needs, including sun exposure, utility proximity, and zoning restrictions. Clear your site of trees, debris, and structures that interfere with construction access. Identify and mark all buried and overhead utilities for potential relocation.
Next, confirm design measurements against your dig sheet, accuracy matters down to less than an inch. Mark pool dimensions using spray paint or a pre-fabricated template, then use stakes and string to visualize the finished project. Establish the finish grade of your pool wall during this phase. Test soil conditions for rocky terrain, clay, or high water tables before proceeding. During this phase, you should also assess site drainage patterns to prevent future water management issues. The ground must be leveled and compacted with 25cm of crushed stone or a concrete plate to ensure proper stability. Before beginning excavation, research local building codes to obtain necessary permits, which typically takes one to three weeks to complete.
Excavation and Hole Digging
Once site preparation wraps up, excavation begins with heavy equipment operators following your manufacturer’s dig sheet to carve out the precise hole dimensions. Your crew conducts underground utility checks before breaking ground, then performs soil profile analysis to identify potential obstacles.
The excavator digs one foot wider than your pool’s exterior and two inches deeper than the shell depth. This overdig accommodates plumbing runs and the gravel base. A 16 metric ton excavator with 28-foot reach is typically sufficient for most residential pool installations.
| Factor | Impact |
|---|---|
| Soil conditions | Affects dig speed and stability |
| Pool size | Determines 3-hour to 1.5-day timeline |
Operators verify depth at marked intervals using laser levels. They remove all organic material to prevent future settlement. The crew also paints the pool outline on the ground before digging to ensure accurate placement. Heavy equipment such as excavators and backhoes efficiently remove grass and dirt from the designated area. After excavation, you’ll inspect wall slopes and overall shape, making corrections before base placement begins.
Base Preparation and Shell Placement
A stable gravel base forms the critical foundation that supports your fiberglass shell for decades. You’ll dig the bottom four inches deeper than needed, then fill with clean, crushed gravel, typically ½-inch stone at two-inch thickness. Material quality matters here; inferior aggregate compromises drainage and promotes settling.
Using screed bars and a level, you’ll distribute the gravel evenly before running a plate compactor across the entire surface. This compaction step guarantees long-term stability. Before beginning excavation, you should test soil conditions to identify drainage problems, hidden rocks, or high water tables that could complicate your base preparation. If you encounter bedrock or shale during excavation, crews will need to remove it using a hydraulic hammer before proceeding with base preparation.
Once your base is ready, a crane lowers the fiberglass shell into position using APSP/ANSI-compliant lifting straps. Expect placement costs between $800, $3,000. You’ll center and level the shell precisely, any tilt risks structural shifting. Waterproof sealants protect connection points where plumbing penetrates the shell. After placement, backfill the space around the pool with gravel while simultaneously adding water to balance the pressure and prevent the shell from shifting.
Plumbing, Electrical, and Backfill
While the shell sits secured in its gravel bed, you’ll shift focus to the critical infrastructure that makes your pool function, plumbing, electrical, and backfill work happen simultaneously over one to four days.
Your installer connects skimmer boxes, main drains, and return fittings using schedule 40 PVC pipe with solvent-welded joints. Before burying any lines, pressure testing confirms zero leaks throughout the system. Line securing involves drilling through the fiberglass coping and strapping pipes every four to five feet. Installers use sweep elbows or heat-bend pipes to create smooth, gradual turns that optimize water flow throughout the system.
A licensed electrician runs watertight conduit from your panel to the equipment pad, connecting pumps, filters, heaters, and lighting with proper grounding per local codes. Local permits and inspections ensure all electrical work meets safety standards before proceeding to the next phase.
Backfilling proceeds in six-inch layers, alternating gravel around the shell with water inside, maintaining equal pressure on both walls to prevent shifting until reaching deck grade.
Bond Beam, Coping, and Final Finishing
With backfill and water levels balanced at deck grade, attention turns to the bond beam, the structural concrete collar that secures your fiberglass shell permanently in place.
Your installer positions three rows of rebar around the pool’s perimeter, completing rebar bonding and grounding before the pour. Concrete flows approximately 8 inches thick, extending 12 inches under the shell’s lip. Workers use concrete vibration techniques to eliminate air pockets and guarantee the mix grips the steel reinforcement completely. The concrete also encases the Rhino-Rod, locking both the pool shell and future patio into a unified structure.
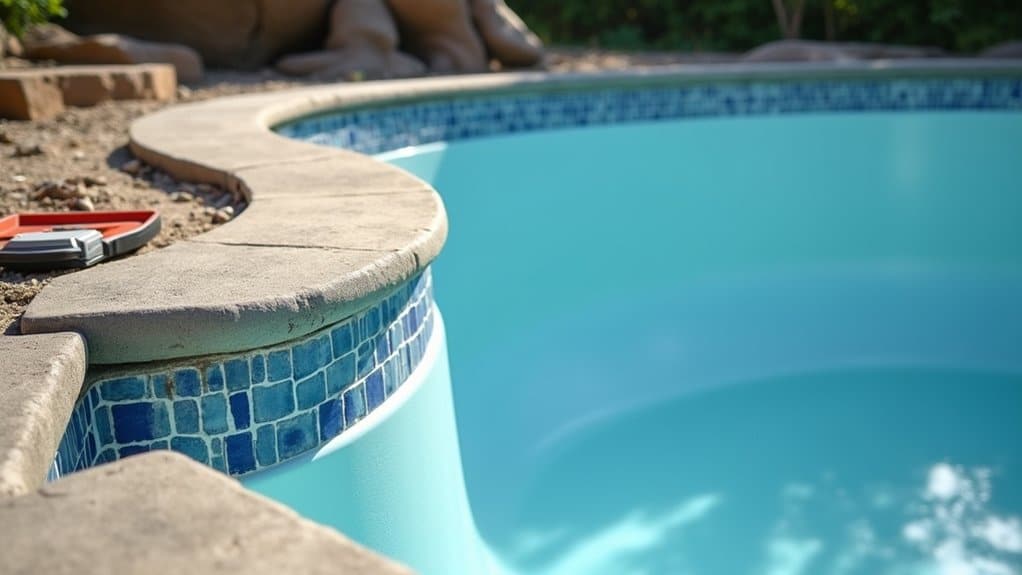
The bond beam reaches 90% strength within seven days. After curing, your coping materials, travertine pavers or tiles, install on this 200mm foundation, creating a finished edge that prevents separation. Note that pools in Western Australia do not require a bond beam as part of the installation process.
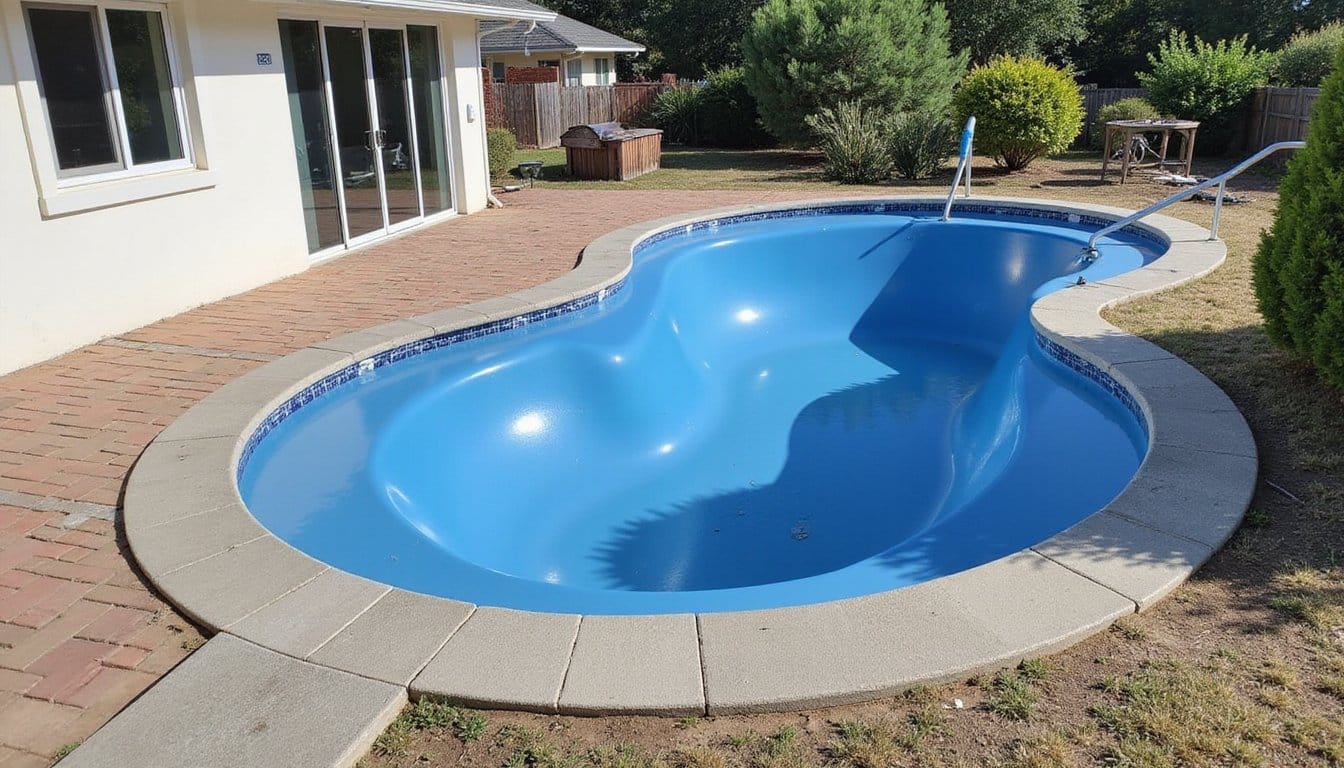
Final steps include deck installation, equipment testing, landscaping, and fencing. Once complete, the site is cleaned and prepared for handover to the customer. This mechanically locked perimeter provides long-term structural security for your pool and surrounding patio surfaces.
Frequently Asked Questions
How Long Does a Complete Fiberglass Pool Installation Typically Take?
You can expect a complete fiberglass pool installation to take 2, 6 weeks, depending on your specific conditions. The process begins with site preparation requirements, including permits that may add 1, 10 weeks beforehand. Once you’re approved, pool cavity excavation takes 1, 3 days, followed by delivery, plumbing, electrical work, and decking. Weather, terrain access, and custom features like lighting directly impact your timeline, so you’ll want to plan accordingly.
What Is the Average Cost of Installing a Fiberglass Pool?
You’ll typically pay $40,000 to $70,000 for a complete fiberglass pool installation. Your pool material cost ranges from $25,000 to $45,000 for basic models, while excavation, plumbing, and decking add $25,000 to $50,000. Regional factors affect pricing, southern installations average $45,000, while northern rocky soil pushes costs to $65,000. Though upfront expenses seem significant, fiberglass pools offer lower maintenance expenses long-term compared to concrete alternatives, reducing your overall ownership costs.
Can Fiberglass Pools Be Installed in Cold Climates With Freezing Winters?
Yes, you can install fiberglass pools in cold climates with freezing winters. The key lies in proper ground preparation requirements, you’ll need compacted gravel bases, hydrostatic relief valves, and bond beams poured 8 inches thick to combat frost heave. Insulation considerations include using insulated covers post-season to minimize ice formation. Fiberglass’s thermal expansion coefficient matches water, reducing stress during freeze-thaw cycles, and its non-porous shell resists cracking that commonly affects concrete pools.
What Warranty Coverage Comes With a Fiberglass Pool Shell?
Your fiberglass pool shell typically includes warranty coverage for structural integrity lasting 25 years to lifetime, protecting against cracks, leaks, and manufacturing defects. You’ll also receive gelcoat protection for 7-15 years covering fading, blistering, and delamination. However, you must meet specific pool maintenance requirements, documenting water chemistry testing, using compatible cleaners, and registering your warranty within 10 days of purchase. Neglecting these conditions voids your coverage entirely.
How Soon After Installation Can We Start Swimming in the Pool?
You can typically start swimming 3-5 weeks after installation begins, though some projects wrap up in as little as 2 weeks. The timeline depends on concrete curing time for your deck, which requires several days, plus final pool preparation steps like equipment hookups and inspections. Weather conditions, permit processing, and site complexity can extend this window. Once you’ve passed final inspection and completed water balancing, you’re ready to plunge in.