When you’re ready to resurface your pool, follow these essential steps for professional-grade results: First, assess surface damage and document problem areas. Next, drain and clean the pool thoroughly, then remove old surface material using specialized tools. Repair all cracks and chips with hydraulic cement, followed by thorough sanding and priming. Apply your first coating layer with precise trowel techniques, then smooth and texture the surface using diamond-grit tools. Add your finishing coat, allowing proper cure time before refilling. Finally, balance water chemistry for peak results. These fundamentals will set you up for a successful pool transformation project.
Assess Pool Surface Damage
Before beginning any pool resurfacing project, carefully inspect your pool’s surface for specific types of damage that will determine your repair approach.
Look for hollow spots by tapping the surface with a hard object; hollow sounds indicate delamination beneath the finish. Examine the surface types closely for cracks, chips, stains, and rough patches.
During your damage assessment, pay particular attention to areas around fittings, steps, and depth changes where stress commonly occurs.
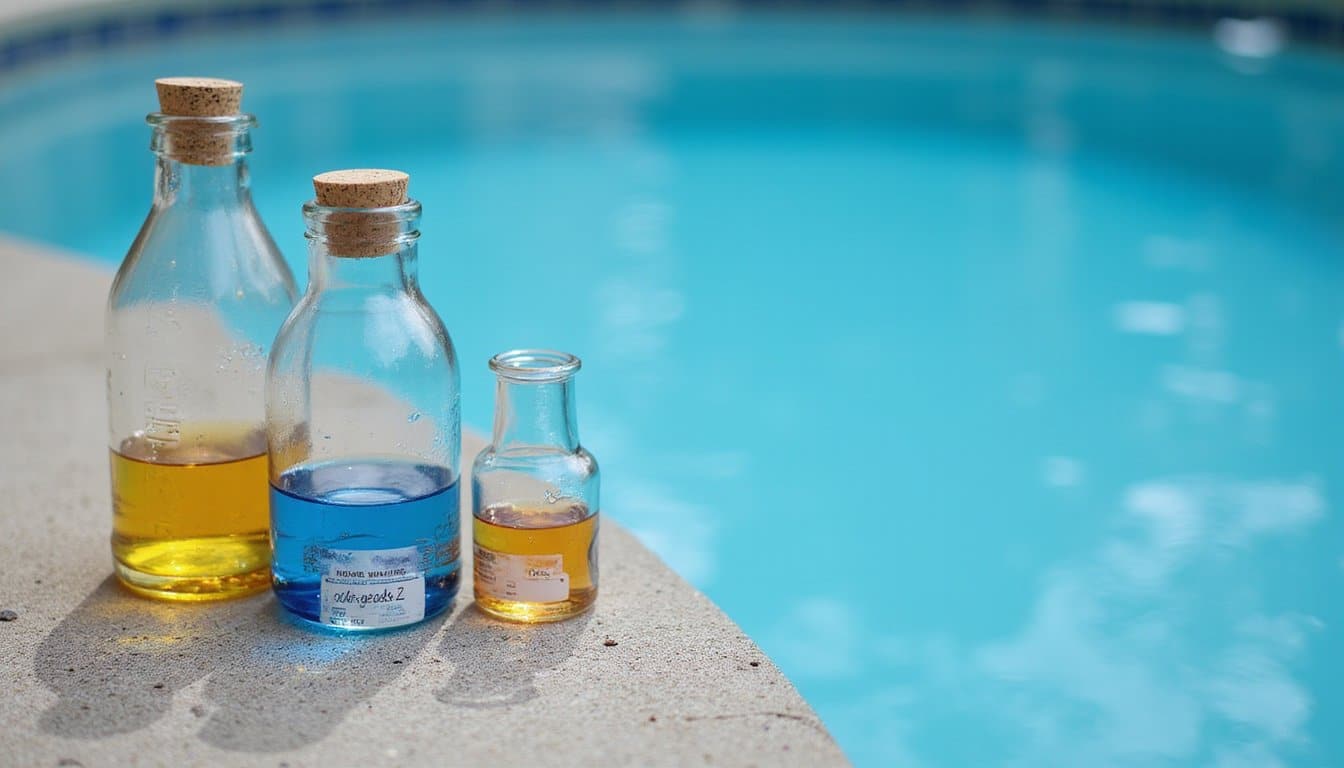
Document any discoloration, scaling, or etching caused by chemical imbalances. You’ll need to identify whether the issues are purely cosmetic or structural.
Create a detailed map of problem areas, measuring and photographing significant damage. This thorough evaluation will help you determine whether you can handle the repairs yourself or need professional intervention.
Drain and Clean
First, you’ll need to rent a submersible pump and position it at the deepest part of your pool to begin the draining process, ensuring you follow local regulations for water disposal.
Remove all loose debris, leaves, and sediment from the emptying pool using a pool net and wet vacuum as the water level decreases.
Once fully drained, thoroughly scrub the entire surface with a stiff-bristled brush to remove any remaining dirt, algae, or loose material that could interfere with the resurfacing application.
Proper Pool Draining Steps
Draining your pool correctly sets the foundation for a successful resurfacing project.
Begin by renting a submersible pump and positioning it at the pool’s deepest point. You’ll need to monitor the groundwater table to prevent potential pool floating, if you’re in a high water table area, don’t drain during rainy seasons.
Follow proper pool draining techniques by directing water to the appropriate drainage system, never onto your neighbor’s property or street.
Maintain safety precautions throughout the process by securing the area and never entering an empty pool without proper support bracing.
As the water level drops, use a second smaller pump to remove the remaining water, and squeegee any standing water towards the pump.
Keep the pool’s surface damp during the draining process to prevent damage from direct sunlight.
Remove Debris Thoroughly
Once your pool is empty, careful debris removal becomes critical for proper resurfacing adhesion. Start by sweeping and scraping all loose material from the pool’s surface, including leaves, dirt, and any peeling plaster.
Use a pressure washer set at 3,000 PSI to blast away stubborn residue and mineral deposits.
Pay special attention to corners, steps, and structural joints where debris tends to accumulate. You’ll need to implement multiple cleaning techniques, including wire brushing for tough spots and acid washing to remove calcium deposits.
Vacuum all loosened material using a wet-dry shop vacuum. Don’t forget to inspect the surface thoroughly with bright lighting to spot any remaining debris.
Complete this step carefully, as any leftover particles will compromise the new surface’s bond and potentially cause delamination issues later.
Remove Old Surface Material
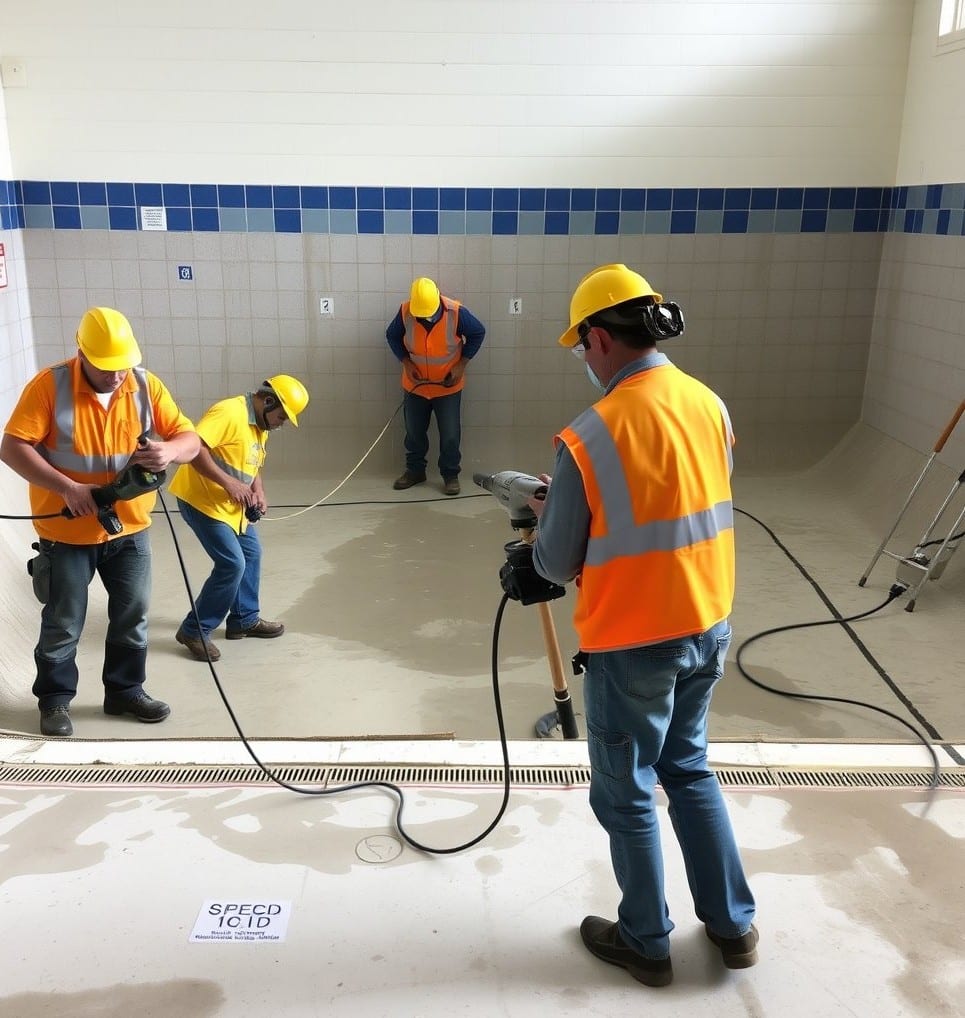
Before beginning the resurfacing process, you’ll need to completely strip away the existing pool surface material using specialized tools and equipment. Don your safety gear and select appropriate tools based on your pool’s current finish.
| Tool Type | Purpose | Safety Precautions |
|---|---|---|
| Chisel | Surface removal | Wear eye protection |
| Hydraulic hammer | Material stripping | Use ear protection |
| Pressure washer | Clean-up | Non-slip footwear |
| Grinder | Smoothing edges | Dust mask required |
| Scraper | Detail work | Work gloves needed |
Start at the shallow end, working methodically to remove all loose and deteriorating material. Keep the surface damp while chipping to minimize dust. For plaster pools, use a hydraulic hammer with a chisel attachment. For fiberglass surfaces, opt for mechanical grinding. Maintain consistent pressure to avoid damaging the underlying structure.
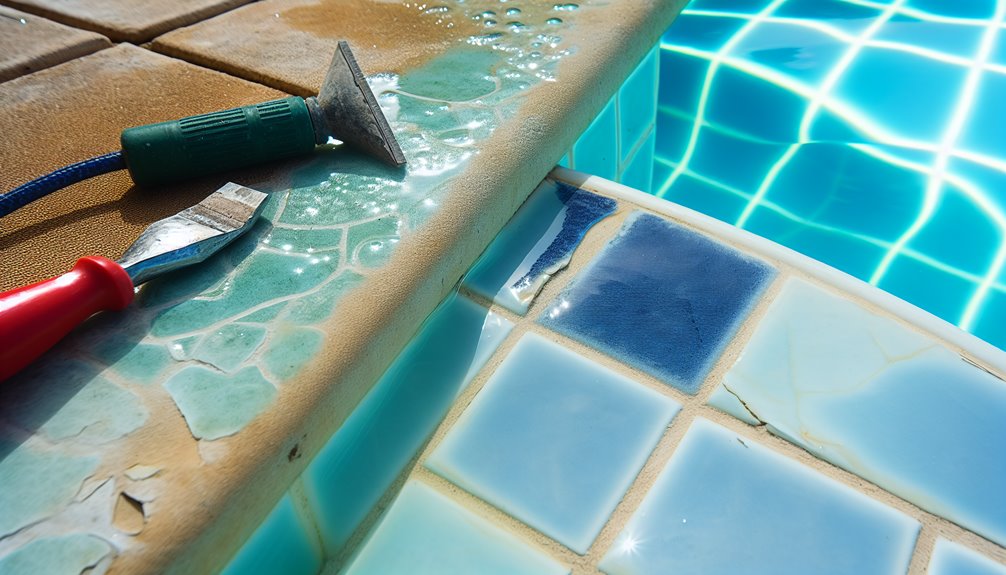
Repair Cracks and Chips
After removing the old pool surface, you’ll need to carefully examine every square foot for hairline cracks, chips, and other structural defects.
Your inspection should focus on corners, steps, and areas around fittings where damage commonly occurs.
Using a bright LED work light at different angles will help you spot subtle surface imperfections that require patching before applying the new finish.
Locate Surface Damage Areas
Making a thorough inspection of your pool’s surface marks the critical first step in any resurfacing project. You’ll need to identify wear patterns by examining both dry and wet areas of the pool, as damage often appears differently under various conditions.
Begin at the waterline and work your way down systematically, marking problem spots with a waterproof marker.
Pay special attention to areas where you inspect color changes, as these often indicate underlying structural issues or delamination. Focus on corners, steps, and around fittings where stress points commonly develop.
Use your fingertips to feel for rough patches, hollows, or scaling that mightn’t be visible to the naked eye. Document each damaged area with measurements and photographs to guarantee you don’t miss any spots during the repair phase.
Fix Structural Weak Points
Once you’ve identified all damaged areas, addressing structural weak points becomes your top priority to guarantee a successful resurfacing project.
During your structural analysis, focus on reinforcement techniques that’ll prevent future deterioration. Apply epoxy-based compounds to stabilize compromised sections before proceeding with resurfacing work.
For best results, implement these critical repair steps:
- Fill deep cracks with hydraulic cement, ensuring it penetrates fully into the void to prevent water infiltration
- Reinforce larger damaged sections using fiberglass mesh embedded in epoxy coating
- Apply bonding agent to all repaired surfaces, creating a strong foundation for the new finish
Let repairs cure completely according to manufacturer specifications before moving forward.
Test repaired areas by tapping them with a rubber mallet to verify structural integrity and adhesion.
Sand and Prime
Before applying any new surface material, you’ll need to thoroughly sand the pool’s existing surface and prime it properly. Select 60-grit sandpaper for initial roughing, followed by 80-grit for smoothing. Your sand selection impacts adhesion quality, so don’t skip grades.
| Process | Tools Needed | Time Required |
|---|---|---|
| Rough Sand | 60-grit paper | 2-3 hours |
| Fine Sand | 80-grit paper | 1-2 hours |
| Clean | Vacuum/Tack | 30 minutes |
| Prime Coat 1 | Roller/Brush | 1 hour |
| Prime Coat 2 | Roller/Brush | 1 hour |
Apply priming techniques that match your surface material. Use epoxy-based primers for plaster surfaces and acrylic primers for concrete. Guarantee complete coverage with two thin coats, allowing proper drying time between applications. Remove all dust before priming to assure ideal adhesion.
Mix Resurfacing Materials
The proper mixing of resurfacing materials stands as a critical step that determines your pool’s final appearance and durability. Achieving the right blend not only enhances the pool’s appearance but also protects your investment. The importance of pool resurfacing cannot be overstated, as it helps prevent leaks, erosion, and algae growth. Putting time and care into resurfacing ensures a safe, long-lasting, and enjoyable swimming environment.
You’ll need to carefully select your materials and follow precise mixing techniques to achieve the right consistency. Using a power mixer, combine the components according to manufacturer specifications, typically maintaining a steady speed to prevent air pockets.
- Blend the cement-based material with polymer additives at the recommended ratio, ensuring thorough incorporation for ideal bonding.
- Monitor the mixture’s temperature during mixing, as extreme conditions can affect setting time and workability.
- Test the consistency by performing a slump test – the material should hold its shape while remaining workable.
Don’t rush the mixing process, as proper material selection and mixing techniques directly impact your resurfacing project’s success.
You’ll want to mix only what you can apply within the working time window.
Apply First Coating Layer
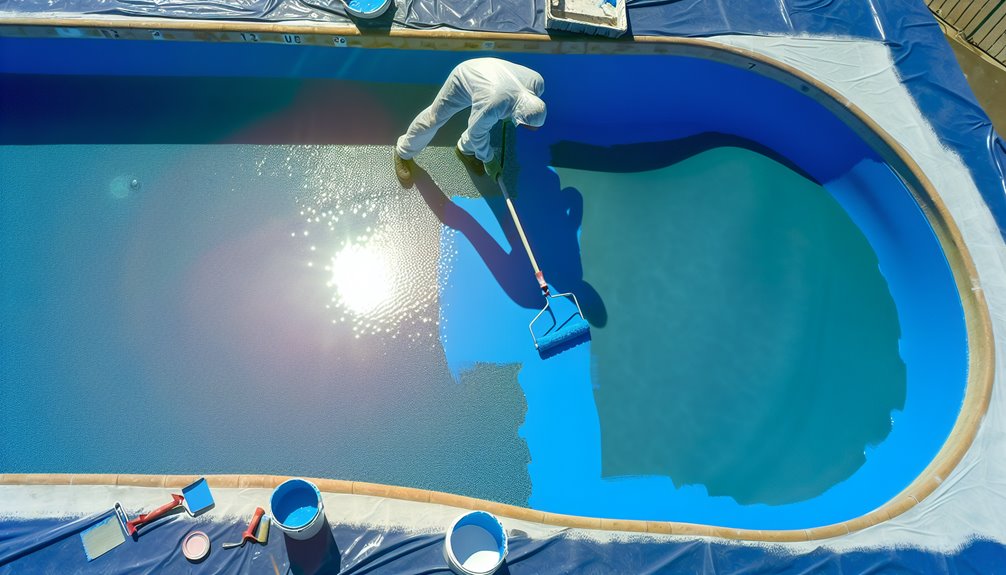
After properly mixing your resurfacing materials, you’ll need to apply the first coating layer with careful attention to technique and timing.
Start at the pool’s deep end and work your way in the direction of the shallow section using smooth, overlapping strokes with your trowel. Keep your application techniques consistent by maintaining a 45-degree angle while spreading the mixture.
Ensure the coating consistency remains uniform throughout the application process by periodically checking the material’s thickness.
You’ll want to achieve a layer approximately 1/8 inch thick across all surfaces. Watch for any signs of material settling or separation, and remix as needed during the application.
If you notice any air pockets or uneven areas, immediately smooth them out with your trowel before the coating begins to set.
Smooth and Texture Surface
Use diamond-grit polishing tools to carefully smooth the first coating layer, focusing on achieving an even surface texture across the entire pool.
You’ll need to identify any remaining surface imperfections, including small bubbles, rough patches, or uneven areas that require spot repairs.
Apply targeted pressure with your polishing tools to blend repaired sections seamlessly with the surrounding surface, ensuring a professional-quality finish.
Polish With Diamond Tools
Once your pool’s surface has been properly prepped, polishing with diamond tools represents a critical phase in achieving professional-grade results.
The diamond tool benefits include superior surface smoothness, enhanced durability, and consistent finish quality. You’ll need to master essential polishing techniques using diamond pads in sequential grit progression.
- Start with coarse-grit diamond pads (50-100 grit) to remove major surface irregularities and old coating residue.
- Progress to medium-grit pads (200-400 grit) for intermediate smoothing and material removal.
- Finish with fine-grit pads (800-1500 grit) for final polishing and surface refinement.
Keep your diamond tools properly lubricated with water while maintaining steady pressure and consistent movement patterns.
This systematic approach guarantees ideal surface preparation for the final coating application.
Repair Surface Imperfections
Surface imperfections require targeted repair techniques to ascertain a uniform, professional finish for your pool resurfacing project.
Using an epoxy-based patching compound, fill any cracks, chips, or hollow spots in the pool surface. After the compound cures, sand these areas until they’re level with the surrounding surface.
For larger imperfections, you’ll need to apply a bond coat before adding the resurfacing materials.
Mix the bond coat according to manufacturer specifications and apply it with a roller to ascertain proper adhesion. Once it’s tacky, trowel the resurfacing compound over the area, feathering the edges to blend with the existing surface.
You can create texture patterns using specialized finishing tools while the material is still workable. Allow each repair to cure completely before proceeding with the final coating.
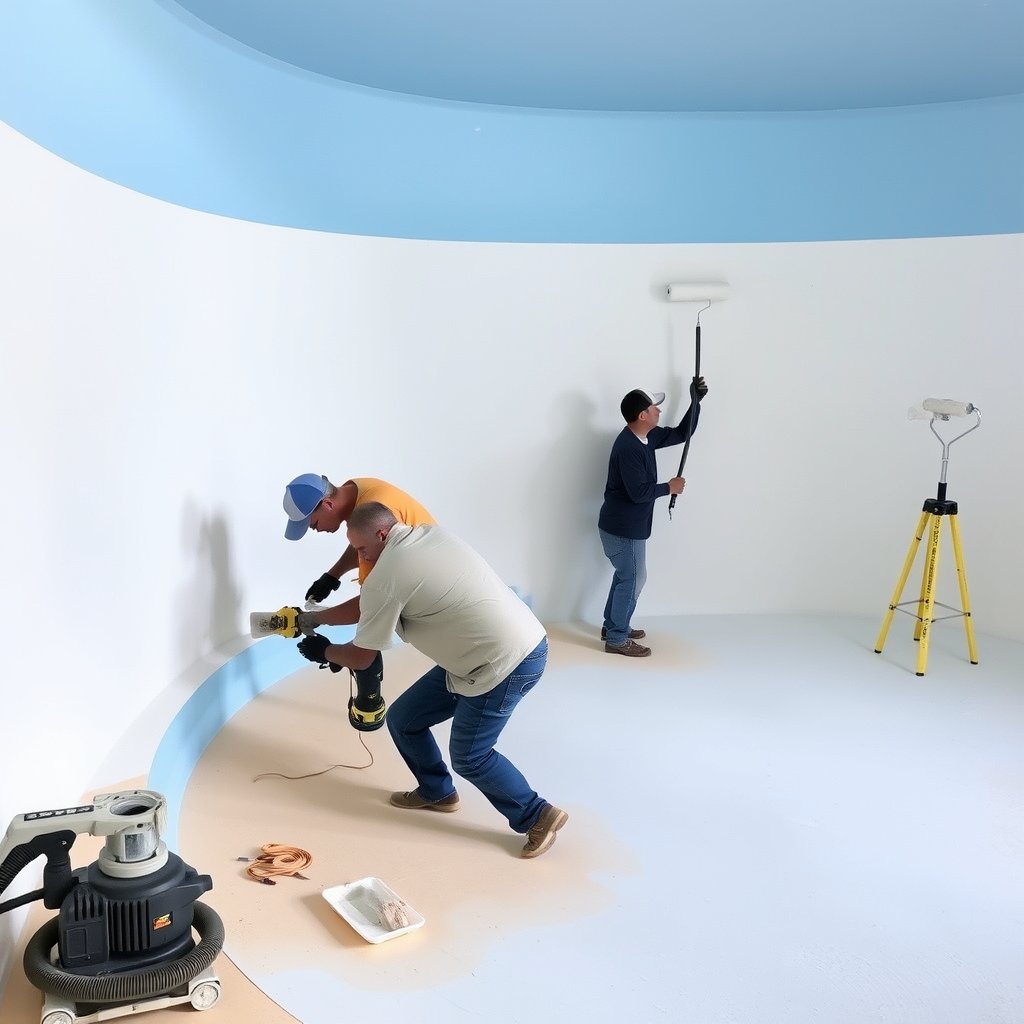
Add Final Finishing Coat

The final finishing coat creates a smooth, durable layer that enhances your pool’s aesthetics and longevity. Before applying the finish, verify you’ve properly prepared the surface by removing all debris and moisture.
Using professional-grade final coat techniques, apply the material in smooth, overlapping strokes with a high-quality trowel.
Key surface preparation tips for best results:
- Mix the finishing compound according to manufacturer specifications, verifying proper consistency and workability
- Apply the material in sections, maintaining a wet edge to prevent visible seams
- Smooth the surface immediately with careful troweling motions, working at a 15-degree angle
Once you’ve completed the application, allow the finish to cure for the recommended time, typically 24-48 hours, before filling your pool.
Monitor the curing process and protect the surface from debris and weather elements.
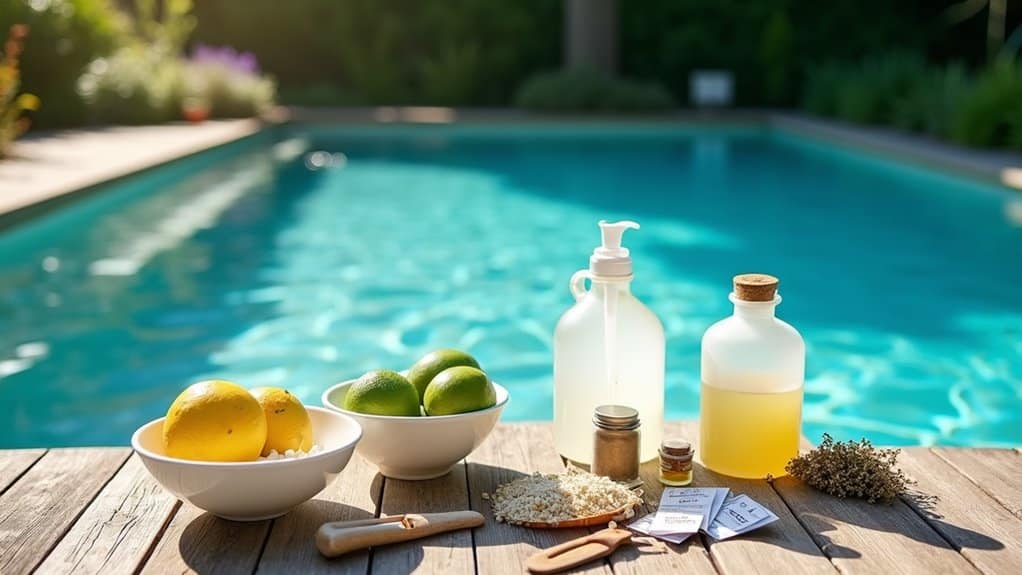
Refill and Balance Water
After completing the curing process, you’ll need to carefully refill your pool and establish proper chemical balance for excellent water quality.
Start by filling the pool with a garden hose, guaranteeing continuous water flow to prevent damage to the new surface. Don’t stop the filling process until the water level reaches the middle of the skimmer opening.
Once filled, run your filtration system for 24 hours to guarantee proper water circulation throughout the pool.
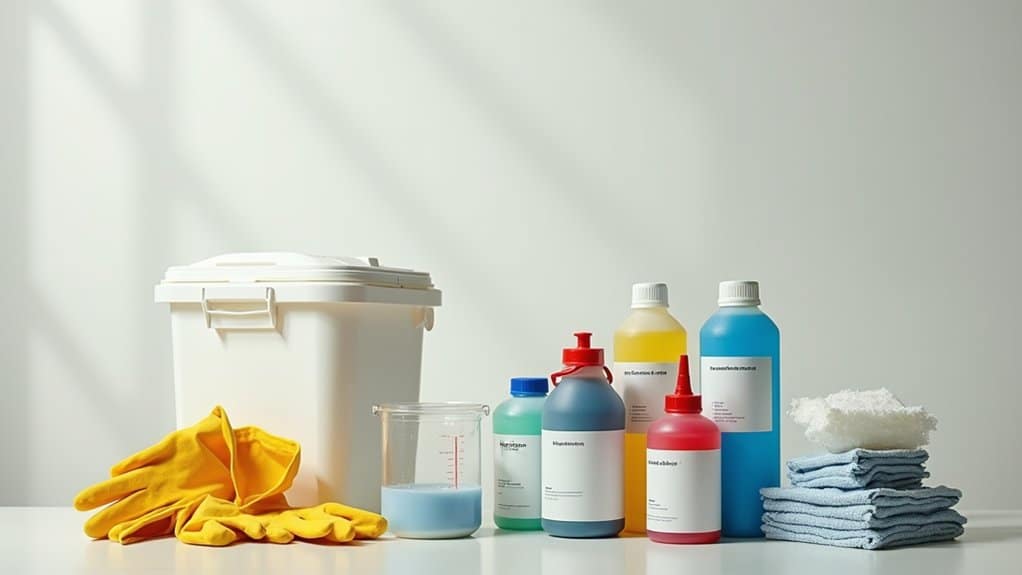
Test and adjust the water chemistry parameters, including pH (7.2-7.6), alkalinity (80-120 ppm), and calcium hardness (200-400 ppm).
Add necessary chemicals gradually while the pump is running to distribute them evenly.
Monitor the levels daily for the first week, making adjustments as needed to protect your newly resurfaced pool and maintain excellent swimming conditions.
Frequently Asked Questions
How Long Should I Wait Before Swimming After Resurfacing My Pool?
For ideal pool safety and surface durability, you’ll need to wait 7-10 days before swimming after resurfacing your pool.
The curing time is essential to guarantee proper chemical bonding and surface hardening. You should maintain proper water chemistry and run your filter during this period.
If you’ve used plaster, you’ll want to brush the surface several times daily for the first week to prevent scaling and guarantee even curing.
What Are the Average Costs for DIY Pool Resurfacing Materials?
When comparing costs for DIY pool resurfacing materials, you’ll find several material options at different price points.
For a standard 500 square foot pool, plaster materials will cost you $1,000-$1,500, while quartz aggregate runs $2,000-$2,500.
If you’re considering premium materials, pebble finishes typically range from $3,000-$4,000.
Don’t forget to factor in essential supplies like bond coat, tools, and chemicals, which can add $500-$800 to your total costs.
Can I Resurface My Pool During Cold Weather?
You shouldn’t resurface your pool during cold weather, as temperature plays an essential role in the curing process.
The ideal pool temperature for resurfacing should be above 50°F (10°C), and air temperatures should remain consistently warm.
Cold weather effects can prevent proper bonding and curing of the surface material, leading to cracking, delamination, and premature failure.
If you must resurface during cooler months, you’ll need to use pool heaters and enclosures to maintain appropriate temperatures.
Which Resurfacing Material Lasts Longest: Plaster, Pebble, or Quartz Finish?
As solid as a rock, pebble finishes outlast both traditional plaster and quartz options, typically enduring 15-20 years when properly maintained.
While standard plaster durability averages 7-10 years, and quartz finishes last 10-15 years, pebble’s natural texture and durability make it the champion of longevity.
You’ll pay more upfront for pebble, but its superior resistance to chemicals, UV rays, and daily wear makes it the most cost-effective choice in the long run.
How Often Should a Pool Typically Need Resurfacing?
You’ll typically need to resurface your pool every 7-10 years, though this timeline can vary based on your pool maintenance routine and local water chemistry.
Watch for key resurfacing signs like rough spots, staining, or exposed aggregate.
If you’re using standard plaster, expect 5-7 years; quartz finishes can last 7-12 years; and pebble finishes often extend to 15-20 years.
Regular water balance testing and prompt repairs can maximize your surface’s lifespan.