Resurfacing your pool’s concrete involves five critical steps to guarantee a professional, lasting finish. You’ll need to start by draining the pool and inspecting the surface for structural issues. Next, thoroughly clean and strip the existing surface using pressure washing and acid etching techniques. Then, repair all cracks, chips, and damages with appropriate compounds and allow proper curing time. Apply a bond coat layer at consistent thickness before moving to the final resurfacing application. While this overview covers the essentials, successful pool resurfacing requires detailed knowledge of each step’s technical specifications and industry best practices.
Draining and Surface Inspection
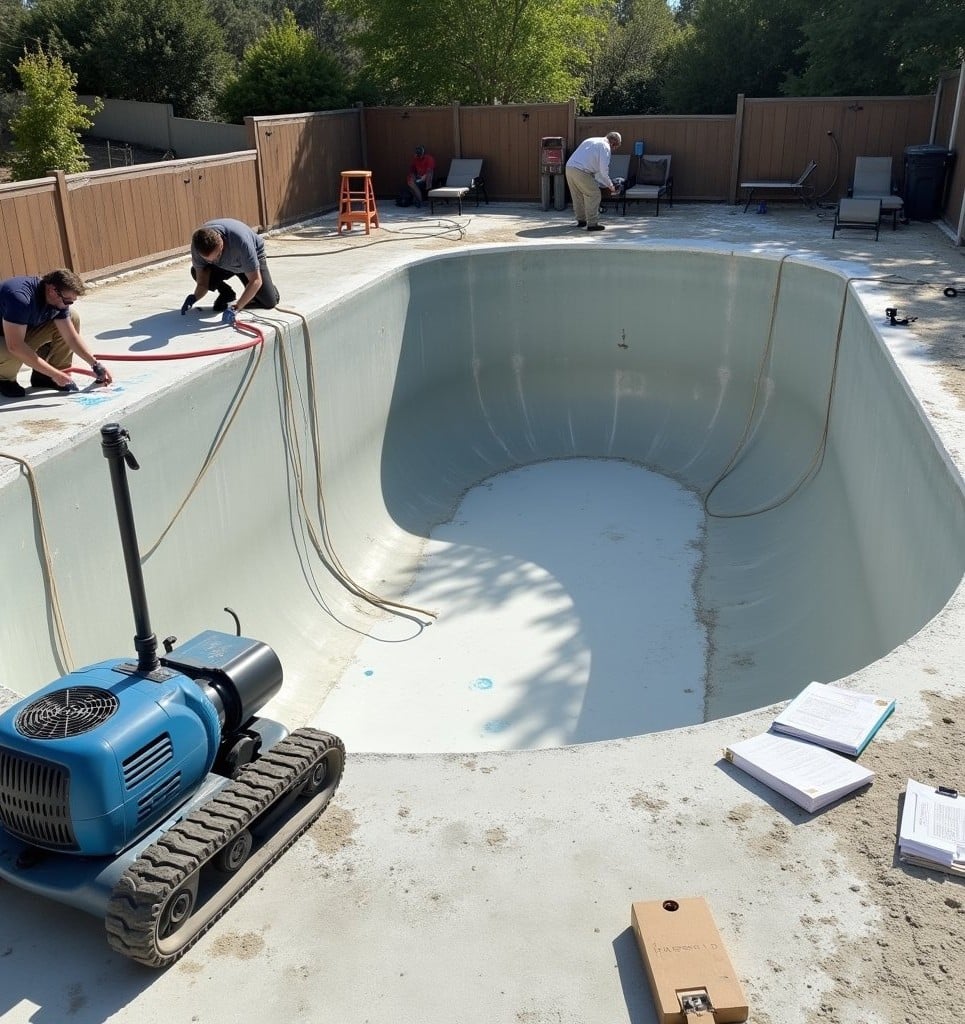
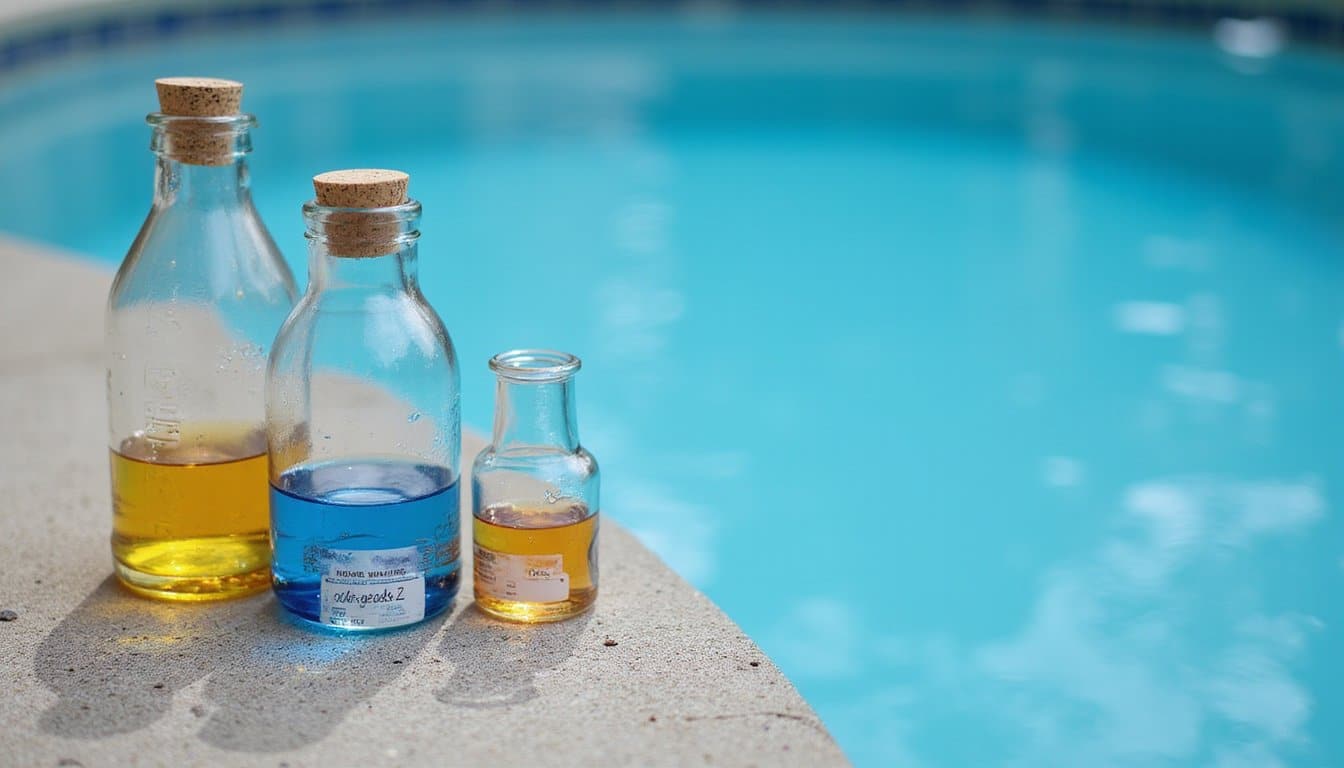
The first two critical tasks in pool resurfacing involve completely draining the pool and conducting a thorough surface inspection.
Using a submersible pump, begin water removal from the deep end, ensuring you’ve positioned a backup pump to handle residual water. Once drained, allow the surface to dry completely for 24-48 hours before proceeding.
During your surface evaluation, examine every square foot of concrete for structural defects.
You’ll need to identify and mark all hollow spots, cracks, and delaminated areas. Pay particular attention to the bond between existing plaster and concrete substrate.
Document areas showing signs of chemical damage, scaling, or exposed aggregate. This detailed assessment will determine the extent of necessary repairs and influence your choice of resurfacing materials and techniques.
Clean and Strip Existing Surface
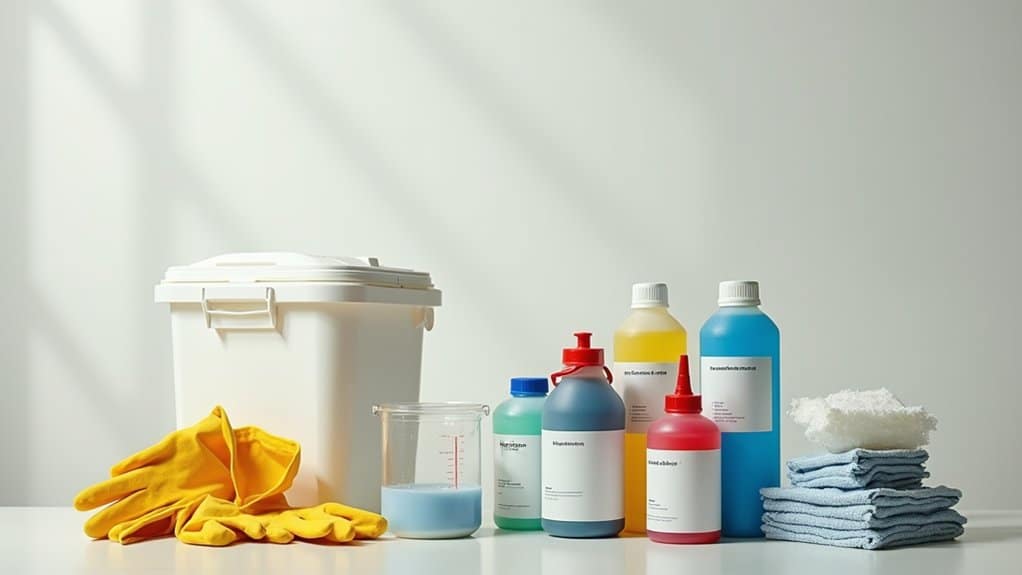
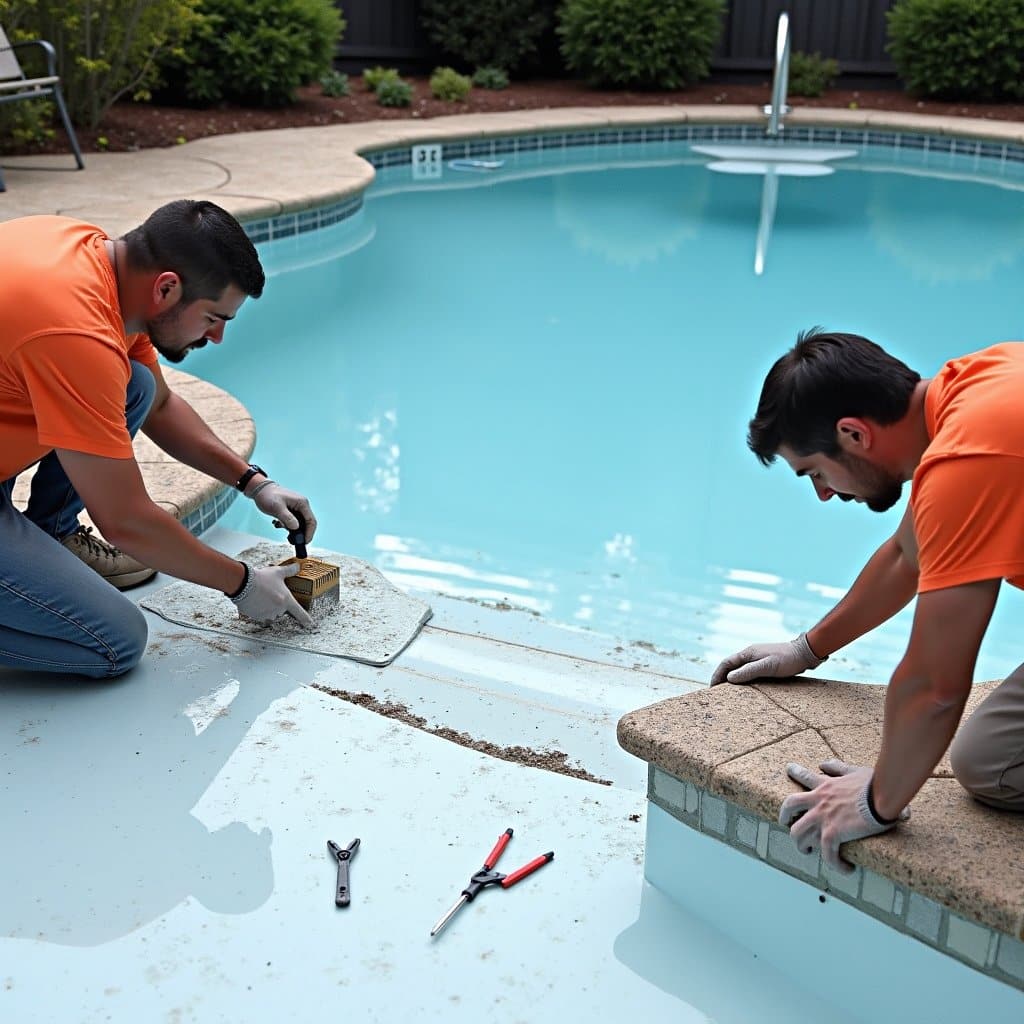
Four key steps comprise proper surface preparation before resurfacing pool concrete.
First, you’ll need to pressure wash the entire surface at 3500+ PSI to remove loose debris and contaminants.
Next, apply a specialized acid wash solution to etch the concrete, creating a proper bonding surface for the new material.
Third, utilize mechanical cleaning techniques like shot blasting or grinding to remove stubborn patches and previous coatings.
Finally, neutralize any remaining acid with a pH-balanced solution and thoroughly rinse the surface.
During surface preparation, you’ll want to pay special attention to cracks, chips, and hollow spots.
Use a sounding tool to identify delaminated areas that require additional treatment.
Once you’ve completed these steps, verify the surface is completely dry before proceeding with the resurfacing process.
Repair Cracks and Damages
Three vital repair procedures must be completed before applying new pool surfacing material. Begin with a thorough damage assessment, identifying all structural issues that need attention. You’ll need to address both visible surface defects and potential underlying problems.
| Repair Type | Required Action |
|---|---|
| Hairline Cracks | Apply epoxy injection |
| Deep Fissures | Use hydraulic cement |
| Spalling Areas | Install patch compound |
For effective crack sealing, you’ll want to use a high-grade epoxy or polyurethane compound that’s specifically designed for underwater applications. Verify each repair fully cures before proceeding to the next area. Remember that proper repair of structural damage isn’t just about aesthetics, it’s essential for maintaining your pool’s structural integrity and preventing future water loss. Don’t skip small cracks, as they’ll likely worsen over time.
Apply Bond Coat Layer
Properly applying a bond coat layer serves as a vital foundation for successful pool resurfacing. This specialized coating creates an important adhesive surface between your existing concrete and the new finish, ensuring ideal bonding strength and longevity.
To maximize bond coat benefits, you’ll need to mix the material according to manufacturer specifications and apply it using a high-quality roller or spray equipment.
Start at the pool’s deep end, working systematically towards the shallow end. You’ll want to maintain consistent thickness throughout the application, typically between 1/16 to 1/8 inch.
Application techniques should include overlapping strokes to prevent missed spots and careful attention to corners and connections.
Don’t let the bond coat dry completely before applying the finish coat – timing is essential for proper chemical bonding between layers.
Resurface and Finishing Touches
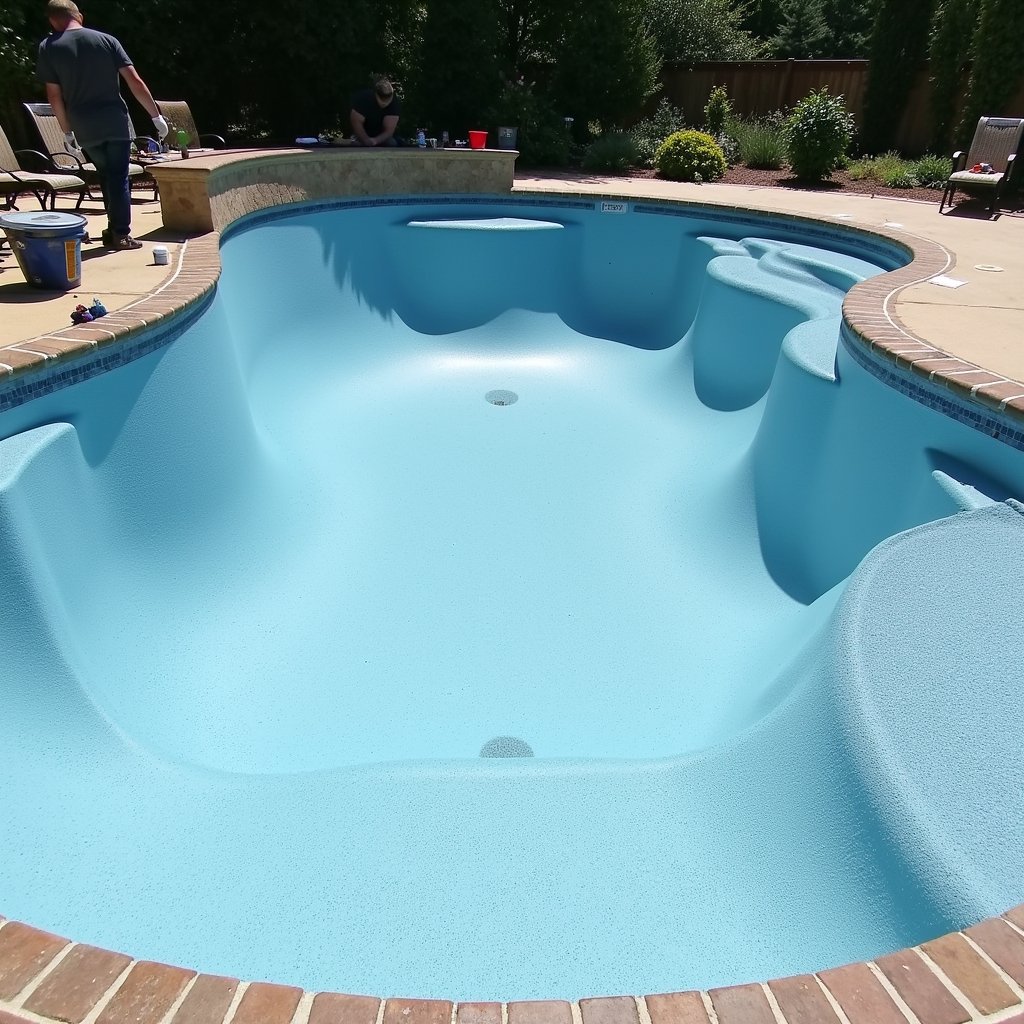
Once the bond coat has reached its ideal tacky state, it’s time to apply the final resurfacing material using professional-grade trowels and finishing tools.
You’ll want to work systematically, starting from the pool’s deep end and moving in the direction of the shallow area, maintaining a consistent thickness of about 1/4 inch throughout.
Apply the material in smooth, overlapping strokes while considering your desired design aesthetics and texture options. You can choose from various finishes, including smooth, broomed, or exposed aggregate.
Don’t forget to address the pool steps and benches with extra care. After achieving your desired finish, allow the surface to cure for 24-48 hours, depending on weather conditions.
Finally, acid wash the surface to remove any residual cement paste and reveal the final texture before filling the pool.
Frequently Asked Questions
How Long Should I Wait Before Refilling the Pool After Resurfacing?
Time flies when you’re waiting for pool resurfacing to cure!
You’ll need to wait 7-10 days before starting the pool filling process. This drying time is essential for proper surface bonding and preventing delamination.
During this period, you shouldn’t allow any moisture to contact the new surface.
Once you begin filling, maintain a continuous water flow until complete, and don’t stop midway, as this could create unwanted waterlines.
What Is the Average Cost per Square Foot for Pool Resurfacing?
You’ll find that pool resurfacing costs typically range from $4 to $10 per square foot, though pricing estimates can vary considerably based on several cost factors.
Your location, material choice, and pool condition will impact the final price. High-end finishes like pebble tec can push costs up to $15 per square foot, while basic plaster might cost less.
Labor rates in your region and accessibility to your pool also influence overall pricing.
Can I Resurface My Pool During Cold Weather Conditions?
While you’d think cold weather would be ideal for pool work since you’re not swimming anyway, it’s actually not recommended.
Resurfacing materials like plaster and cement require specific temperatures (typically above 50°F) to cure properly. You’ll need to maintain these temperatures consistently for 7-10 days.
If you proceed in cold conditions, you’re risking material failure, improper curing, and potential delamination.
Consider scheduling your resurfacing during warmer months for best results.
How Often Should Concrete Pool Surfaces Typically Be Resurfaced?
Your pool’s resurfacing frequency depends on several factors, but typically you’ll need to resurface concrete pool surfaces every 7-10 years.
However, if you’re diligent with concrete maintenance and water chemistry balance, you might extend this to 15 years.
Watch for signs that indicate it’s time: rough texture, staining, frequent algae growth, or visible cracks.
Climate conditions and pool usage patterns will also impact your resurfacing timeline.
Are There Alternatives to Concrete Resurfacing That I Should Consider?
Did you know that pool owners can save up to 40% on renovation costs by choosing alternatives to concrete resurfacing?
You’ve got several viable options to evaluate.
Epoxy coatings provide excellent durability and chemical resistance, lasting 7-10 years with proper maintenance.
Vinyl liners offer a cost-effective solution that’s smooth to touch and customizable in various patterns.
Both alternatives are faster to install than traditional concrete resurfacing and require less downtime for your pool.