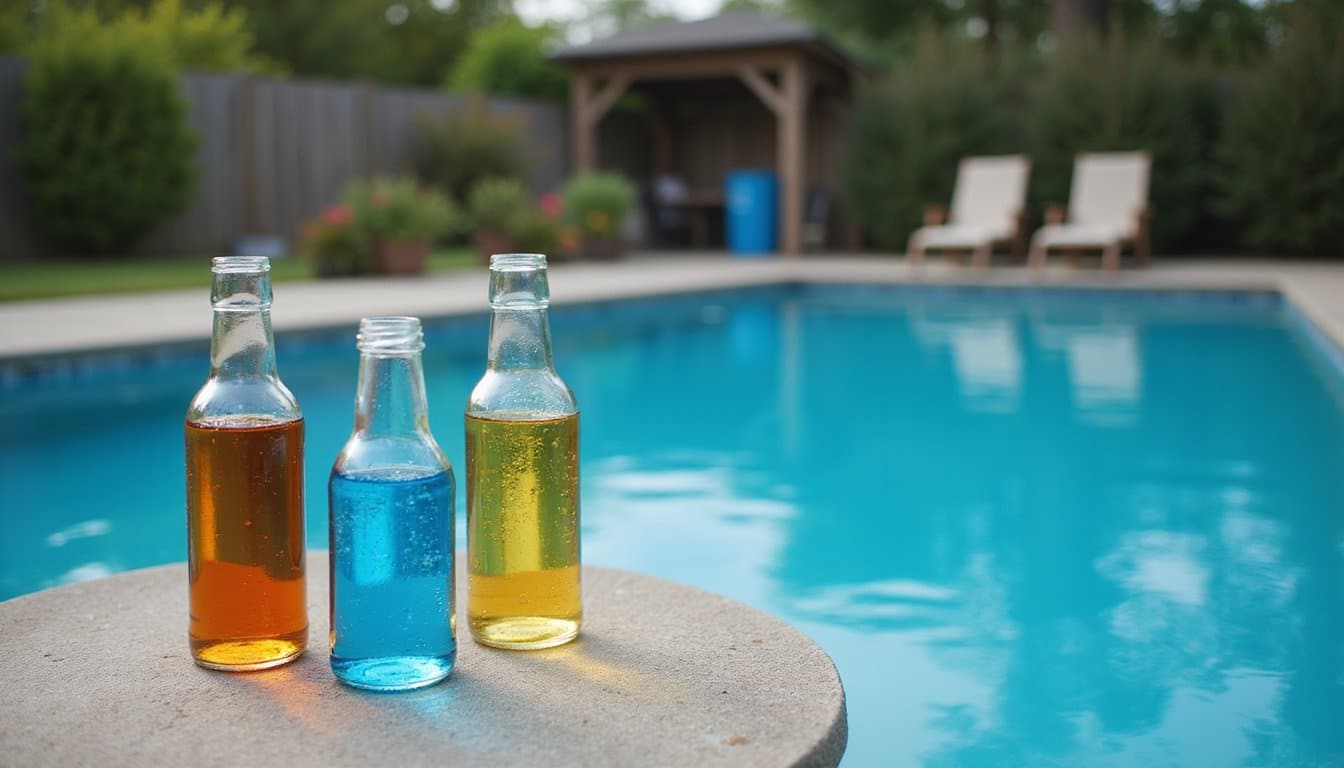
Proper chemical preparation requires strict adherence to 2025 safety protocols before beginning your pool resurfacing project. You’ll need to verify safety equipment, establish containment areas, and maintain detailed documentation throughout the process. Start by testing pH levels (7.2-7.6), performing acid washing for surface etching, and neutralizing with a baking soda slurry. Follow material-specific guidelines for your chosen finish, and implement a 90-day maintenance timeline. The following steps will guarantee your resurfacing project’s long-term success.
Essential Safety Protocols Before Chemical Application
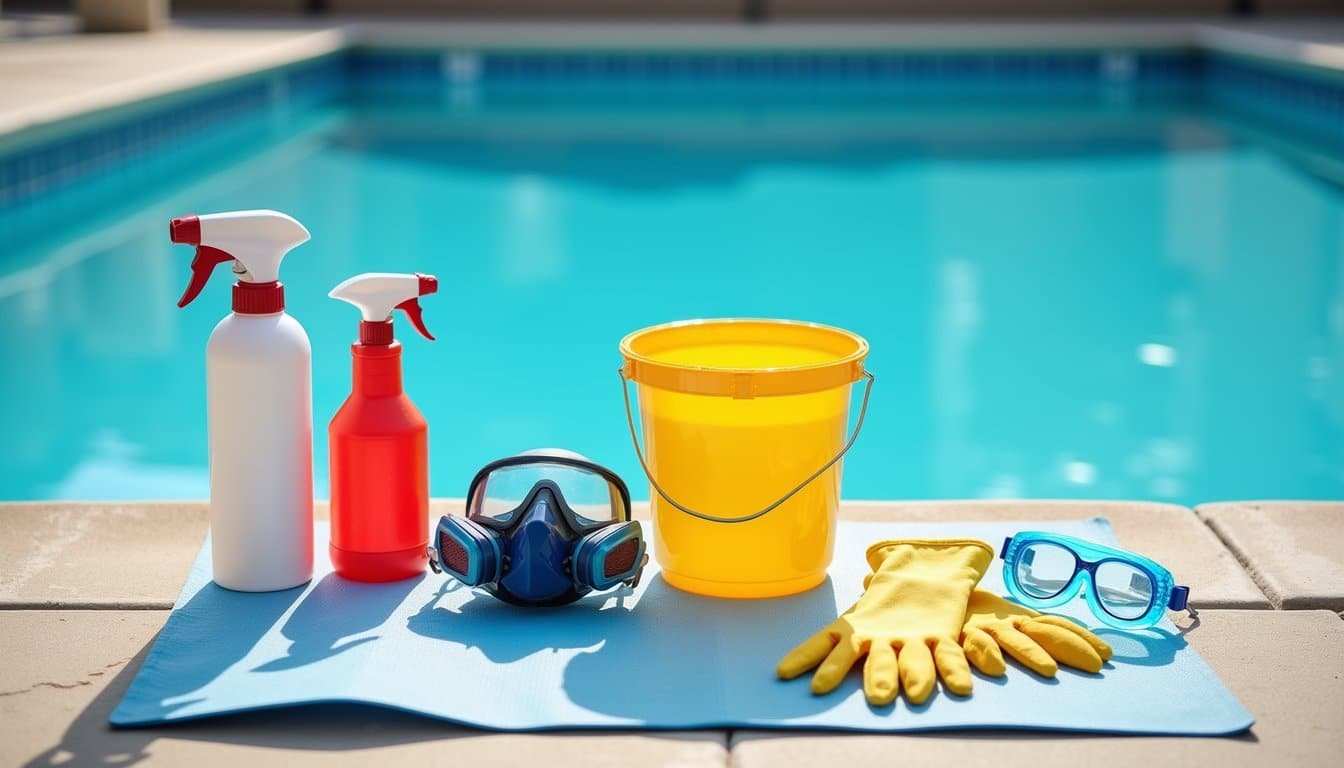
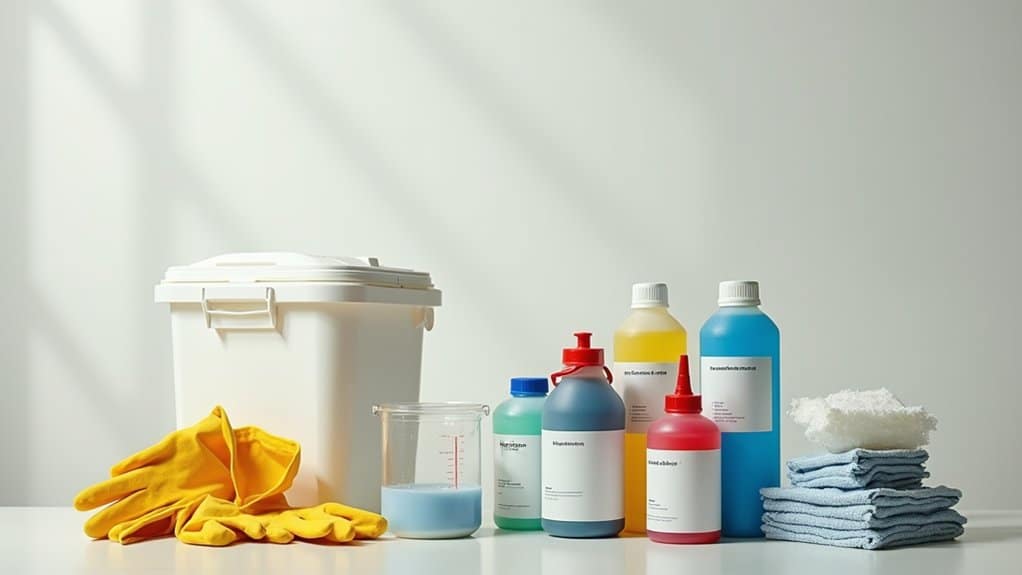
Before initiating any pool resurfacing chemical treatments, establishing extensive safety protocols is essential to protect both workers and the integrity of the resurfacing process. You’ll need to verify that only certified personnel handle chemicals and guarantee proper safety equipment is readily accessible, including gloves, goggles, and respirators. Digital testing systems are crucial for monitoring chemical levels throughout the process.
Set up your workspace by identifying chemical spill containment areas and stocking emergency response kits with neutralizing agents and absorbents. Maintaining proper water quality balance is crucial before beginning any resurfacing work. The resurfacing team must hold off on adding any chlorine treatments for a minimum of 48 hours after completing the surface application. You must maintain detailed documentation of all chemical quantities and establish clear communication channels among team members. Conduct thorough safety briefings to review hazard prevention, PPE requirements, and emergency procedures. Remember to assign specific roles to each team member to prevent cross-contamination risks and guarantee proper chemical handling sequences. Always verify proper ventilation in storage and work areas.
Understanding Pool Surface Chemistry Basics
A thorough grasp of pool surface chemistry fundamentals is essential for successful resurfacing projects. You’ll need to understand how chemical interactions affect both preparation and long-term durability. Start by managing pH levels between 7.2-7.6 and maintaining proper alkalinity at 80-120 ppm to protect your new surface.
During resurfacing, you’ll encounter various chemical treatments. Acid washing removes stubborn stains, while surface etching creates the ideal profile for material adhesion. Daily skimming helps prevent debris from interfering with chemical treatments. Don’t skip neutralization after acid treatments – it’s vital for stabilizing pH before applying new materials. Property value increases significantly with properly maintained pool surfaces and chemistry. Regular water quality testing helps prevent surface deterioration and extends the life of your resurfacing work. When working with specific finishes, pay attention to their unique requirements: plaster coatings need controlled pH, while epoxy-resin mortars demand precise temperature control. Remember that proper chemical prep directly impacts your surface’s longevity and performance. Exploring the ten best pool resurfacing options can help you choose the right material that aligns with your pool’s needs and aesthetics. Each option has its own set of advantages and maintenance requirements, so it’s essential to evaluate them carefully.
Pre-Treatment Surface Analysis and Testing
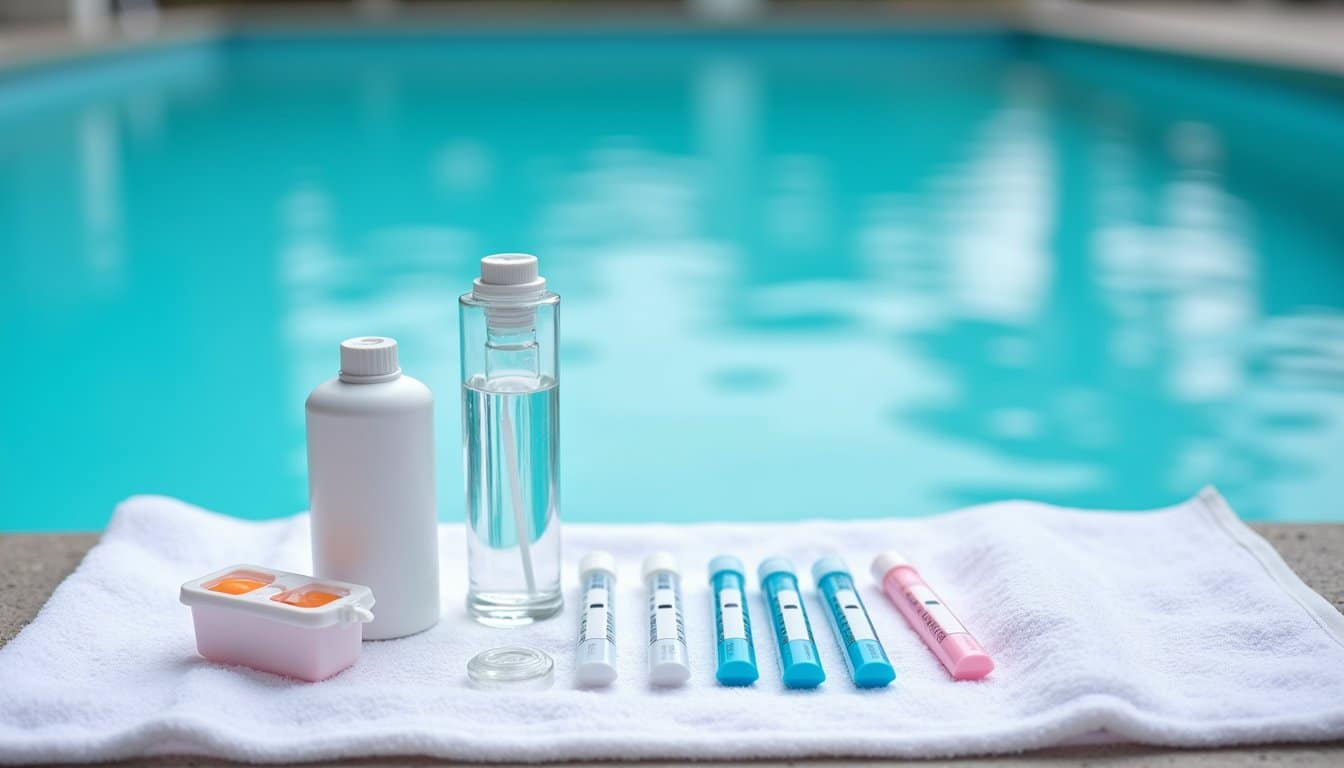
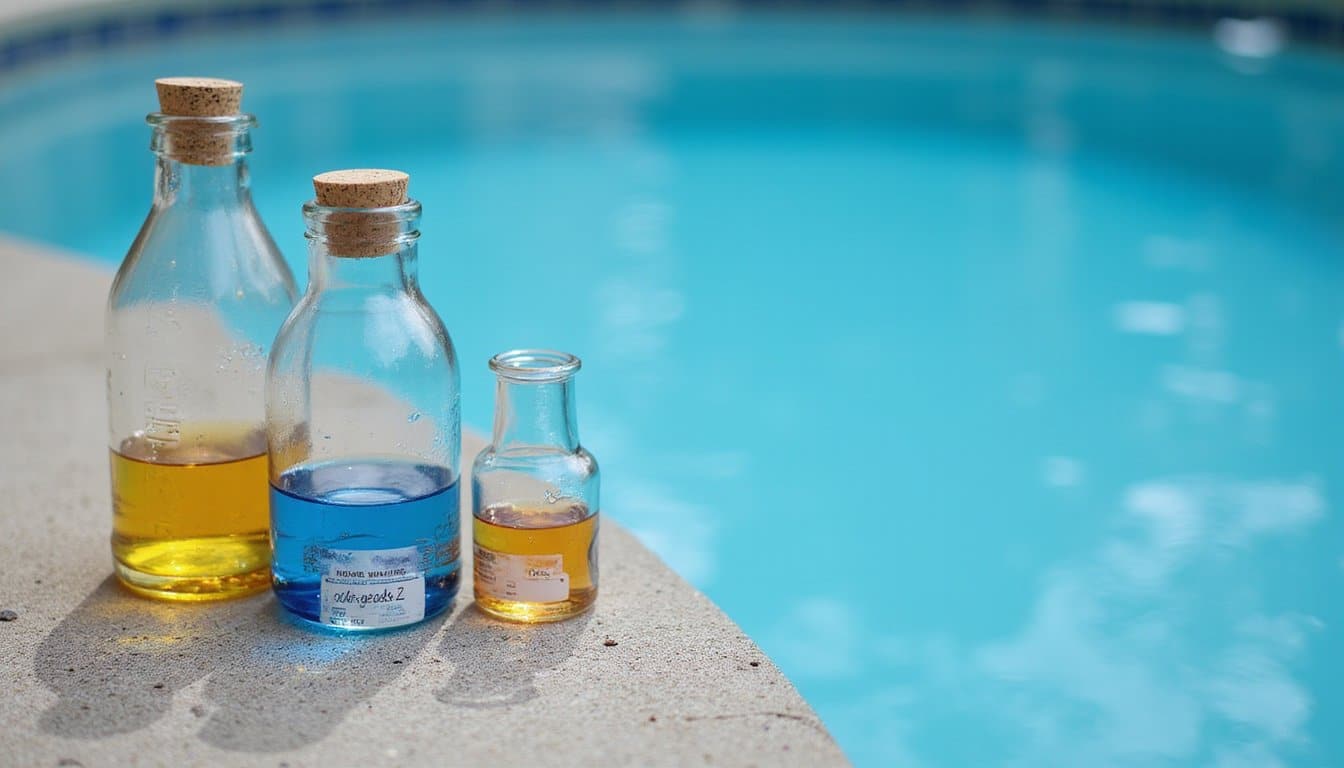
When beginning any pool resurfacing project, you’ll need to conduct thorough surface analysis and testing to establish baseline chemical conditions. Start by collecting water samples 12-18 inches below the surface, away from returns and chemical feeders, after running your pump on high for an hour to guarantee even mixing. Store all testing reagents in a cool, dark location to maintain their effectiveness. Local pool shops can provide free water analysis for supplemental verification of your test results. Regular testing is recommended to be performed at least weekly to maintain proper chemical balance during resurfacing.
Your testing frequency should align with surface reactivity, particularly during active resurfacing phases. Use 7-way test strips for quick assessments of pH (7.2-7.6), alkalinity (80-120 ppm), and calcium hardness (200-400 ppm). For precise measurements, employ DPD testing for chlorine levels and liquid reagent kits for cyanuric acid concentration. Follow proper sampling techniques using clean, dry containers to prevent contamination. You’ll also want to monitor the saturation index to prevent scaling or corrosion issues during the curing process.
Chemical Stripping and Neutralization Methods
Successful chemical stripping demands a carefully orchestrated acid-based etching process combined with proper neutralization methods. For ideal chemical etching results, you’ll need to control muriatic acid exposure times between 5-30 minutes while ensuring uniform distribution through low-pressure spray systems. Surface bonding success depends on precise concentration control and contaminant-free water. Traditional sandblasting methods should be avoided during chemical prep to prevent hazardous dust clouds from interfering with the chemical treatment process. Dustless blasting offers a more environmentally conscious alternative for surface preparation when needed. The entire preparation and chemical treatment phase typically requires 5 to 7 days to complete properly before new surface material can be applied.
- Monitor pH levels continuously using test strips or meters during neutralization
- Apply baking soda slurry immediately after etching to neutralize acid residue
- Implement thorough freshwater rinse cycles to remove all chemical traces
- Maintain proper PPE including goggles, gloves, and respirators throughout
- Install containment barriers to prevent chemical runoff and protect surroundings
Bonding Agent Selection and Application
Following proper chemical stripping, selecting the right bonding agent becomes the next critical step in pool resurfacing. You’ll need to choose between latex, acrylic, or epoxy-based bonding agents based on your substrate conditions and performance requirements. Pre-mixed options like AquaBond offer convenience, while two-part systems such as SGM BONDKOTE provide enhanced mechanical bonding. Industry experts recommend applying a minimum of three coats to ensure reliable bonding performance. Leading products like PermaBond 800 utilize vinyl acetate polymer technology to create a chemical bond between surfaces. A complete unit typically includes one 5-gallon resin and two bags of dry mix for optimal coverage.
When applying bonding agents, verify your substrate is clean and properly prepared. You’ll achieve the best results by following manufacturer-specified mixing protocols and maintaining recommended temperature and humidity levels during application. Pay special attention to coverage rates and curing times to prevent delamination risks. For challenging areas with angles or stress points, select products with high flexural strength like CLI PermaKote Select, which also eliminates the need for sandblasting.
Ph Balancing and Water Chemistry Setup
Proper water chemistry setup stands as the foundation for long-term pool surface durability. You’ll need to maintain strict pH adjustment techniques between 7.2-7.6 while coordinating alkalinity control methods to achieve 80-120 ppm. Focus on calcium hardness balancing within 200-400 ppm to protect your new surface, and implement chlorine stabilization strategies only after the initial 72-hour curing period. Brush the surface twice daily during the initial balancing phase to prevent chemical settling. Exploring different pool resurfacing color options can boost your pool’s appearance while protecting it from UV damage. Lighter shades reflect more sunlight, helping maintain comfortable water temperatures. Consult a professional to choose colors that best suit your space and preferences, keeping v in mind as part of your selection process.
Maintaining precise water chemistry levels creates the essential foundation for maximizing your pool surface’s lifespan and protecting your investment.
- Test pH levels every 2-3 days using digital meters for accurate readings
- Apply soda ash gradually for pH increases to prevent surface damage
- Monitor alkalinity weekly to maintain proper buffering capacity
- Add calcium chloride in small doses, allowing 8-12 hours between adjustments
- Run filtration continuously for 72 hours post-filling to remove plaster dust
Your maintenance scheduling tips should include biweekly chemical testing and quarterly professional assessments to maintain ideal water chemistry balance.
Material-Specific Chemical Requirements
When preparing your pool’s chemical balance, you’ll need to follow specific guidelines based on your chosen surface material – with pebble finishes requiring pH levels of 7.2-7.6 and alkalinity at 70 ppm, quartz surfaces needing gradual calcium adjustments up to 200 ppm over 28 days, and traditional plaster demanding immediate pH and alkalinity testing within 24 hours. You must maintain strict chlorine limitations during the initial curing period, keeping levels at 1.5-3 ppm for plaster and quartz, while pebble surfaces work best with stabilized chlorine options. For ideal bonding and surface integrity, you’ll need to implement a systematic brushing schedule during the first week, using appropriate bristle types for your specific finish soft bristles for pebble, standard brushes for plaster and quartz.
Pebble Surface Chemical Prep
Chemical preparation for pebble pool surfaces requires precise adherence to a specific sequence of treatments and measurements. You’ll need to focus on maintaining ideal chemistry to protect the pebble surface texture and guarantee long-term pebble surface durability during the critical 28-day curing period.
- Begin with acid washing to remove contaminants, followed by thorough rinsing
- Maintain pH between 7.2-7.6 and alkalinity at 70 ppm during initial fill
- Add calcium hardness incrementally, targeting 150 ppm minimum to prevent etching
- Introduce chlorine on Day 3 at 1.5-3 ppm, avoiding salt systems for 28 days
- Start CYA adjustments after Day 4, maintaining levels between 30-50 ppm
Brush the surface twice daily to prevent plaster dust accumulation, and don’t use automatic cleaners until after the curing period. Monitor calcium hardness levels closely, increasing gradually to 200 ppm over the curing phase.
Quartz Finish Treatment Steps
Successfully treating a quartz pool finish requires precise chemical control and systematic water balancing from the moment you fill the pool. You’ll need to maintain strict parameters during the initial 28-day curing period to guarantee proper surface application and durability.
| Treatment Phase | Chemical Levels | Testing Frequency |
|---|---|---|
| Initial Fill | pH 7.2-7.6, No Chlorine | Every 4 Hours |
| Days 1-3 | Alkalinity 70-120 ppm, Calcium 125+ ppm | Twice Daily |
| Days 4-28 | Chlorine 1-3 ppm, Stabilizer 30-50 ppm | Daily |
Brush the quartz finish twice daily for the first three days to remove surface dust. Don’t use automated cleaners or salt systems during curing. Pre-dilute all chemical additions, especially calcium chloride exceeding 20 pounds. Test calcium hardness daily, gradually increasing to 200-400 ppm by day 28 to prevent surface etching.
Plaster Bonding Requirements
Proper bonding between plaster and shotcrete substrates requires specific chemical agents to secure long-term structural integrity. You’ll need to understand essential bonding techniques and adhesion factors to guarantee successful plaster application and prevent future delamination issues.
- Apply bonding agents with brush or spray methods to create uniform coverage
- Verify complete penetration into shotcrete pores for mechanical interlocking
- Monitor surface preparation around steps and plumbing areas for consistency
- Test adhesion strength before proceeding with finish materials
- Follow manufacturer’s cure times between chemical application stages
The chemical bonding process you’ll implement serves multiple functions: it enhances structural cohesion, reduces water penetration, and protects against temperature-related stress. By following proper chemical preparation procedures, you’re guaranteeing the pool’s surface will maintain its integrity and resist deterioration from regular exposure to water chemistry fluctuations.
Quality Control During Chemical Processes
You’ll need to conduct regular pH and chemical balance tests throughout the resurfacing process using calibrated monitoring equipment that meets NSF/ANSI standards. Your quality control measures must include tracking chemical reaction times, surface bonding verification, and material consistency checks to guarantee proper curing and adhesion between layers. While monitoring these chemical processes, you should maintain detailed safety logs and verify that all protective equipment and ventilation systems comply with regulatory requirements for pool resurfacing work. Key pool resurfacing cost factors like materials and labor can greatly affect your budget. Reviewing them helps you make cost-effective decisions and plan future projects more accurately.
Testing Methods and Standards
When maintaining a newly resurfaced pool, rigorous chemical testing protocols guarantee ideal curing and long-term surface durability. You’ll need to follow standard protocols and testing techniques that align with PHTA-4 2025 guidelines. Test pH, alkalinity, and calcium hardness twice daily during the initial 14-day period, ensuring precise measurements and documentation.
- Calculate corrected alkalinity by subtracting 1/3 of cyanuric acid from total alkalinity readings
- Use LSI tools to monitor water balance and prevent scaling or corrosion issues
- Pre-dilute chemicals before addition, particularly calcium chloride and cyanuric acid
- Test cyanuric acid levels on day 4, maintaining 30-50 ppm based on sanitizer type
- Document all readings in your 28-day log, including pH, alkalinity, and calcium hardness values
Keep your test kit reagents fresh and calibrated for accurate results that meet InterNACHI certification standards.
Chemical Reaction Monitoring
Monitoring chemical reactions during pool resurfacing requires advanced sensor systems and precise parameter tracking protocols. You’ll need real-time pH/ORP monitoring and multi-parameter sensors to track critical chemical changes throughout the process.
Maintain strict sensor calibration schedules daily, and implement automated data logging for temperature, pH, and chlorine levels. Your chemical analytics should include continuous tracking of oxidation-reduction reactions during curing, with measurements taken every 30 minutes. Keep backup sensors ready in case of primary system failure.
Control environmental variables by managing humidity levels and maintaining proper air circulation. You’ll need to monitor organic contaminants that can affect ORP readings and implement waste management protocols for excess chemicals. Use predictive analytics to optimize reaction conditions and guarantee consistent results throughout the resurfacing process.
Safety Compliance Verification
Building on proper chemical monitoring, safety compliance verification forms the backbone of quality control during pool resurfacing operations. You’ll need to align your procedures with 2025 regulatory updates while maintaining strict chemical safety protocols throughout the process. Make certain your team follows current HSC 115922 standards and implements thorough documentation systems for all chemical applications.
- Verify building permits meet updated 2025 chemical handling requirements
- Install 4-foot safety fencing with self-latching gates around chemical work zones
- Document chemical usage and maintain detailed safety compliance records
- Implement proper PPE protocols during all chemical applications
- Test ventilation systems and pool alarms for ideal chemical safety monitoring
Keep your focus on maintaining FDAS equipment certification standards and consistently updating your safety compliance documentation to reflect the latest regulatory requirements for pool resurfacing operations.
Post-Treatment Monitoring and Maintenance
After completing a pool resurfacing project, proper monitoring and maintenance become critical during the first 30-90 days to guarantee ideal curing and long-term durability of your new finish. You’ll need to establish consistent maintenance routines and perform regular surface inspections to protect your investment.
| Timeline | Chemical Tasks | Physical Tasks |
|---|---|---|
| First 72 Hours | Run filter 24/7, pH 7.2-7.6 | Brush twice daily |
| Days 4-30 | Add sequestering agent, no chlorine | Continue brushing, vacuum weekly |
| Days 31-60 | Balance alkalinity 80-120ppm | Weekly brushing, inspect surface |
| Days 61-90 | Adjust calcium 250-350ppm | Monthly professional inspection |
Monitor water chemistry closely and maintain proper water levels at the skimmer’s midpoint. You’ll need to brush with soft-bristle tools, focusing on corners and edges where plaster dust typically accumulates. Test water parameters every two days during the initial curing phase.
Frequently Asked Questions
How Long Should Pool Chemicals Be Stored Before They Become Potentially Ineffective?
You’ll find that chemical stability varies considerably among pool chemicals. For ideal effectiveness, store liquid chlorine for no more than 6 months, as it loses 50% potency within this period. You should use peroxide within 2-3 months, while hydrochloric acid remains stable for about 6 months. Following proper storage guidelines, your stabilized granular or tablet chlorine can last 3-5 years when kept in airtight containers under cool, dry conditions.
Can Different Chemical Treatments Be Mixed to Save Application Time?
You should never mix different pool chemicals to save time, as this practice severely compromises chemical compatibility and safety. While you might think combining treatments improves application efficiency, it can trigger dangerous reactions, including toxic gas formation and explosive outcomes. Always apply chemicals separately, following manufacturer guidelines and maintaining proper intervals between treatments. Use dedicated tools for each chemical and keep detailed records of your applications.
What Temperature Conditions Are Ideal for Chemical Preparation and Application?
You’ll need to maintain temperatures between 50-75°F (10-24°C) for ideal chemical preparation and application. Keep humidity levels moderate, as excessive moisture can interfere with proper chemical reactions. Don’t apply chemicals when temperatures exceed 100°F, as this causes rapid evaporation and compromises effectiveness. If you’re working in high-humidity conditions, you’ll want to adjust your application timing to early morning or evening hours when moisture levels are lower.
How Do Saltwater Systems Affect Chemical Preparation Requirements for Resurfacing?
When you’re working with saltwater chemistry, you’ll need to modify your standard chemical prep approach. You must maintain stricter pH control (7.2-7.6) and delay salt addition for 28 days to protect new surfaces. You’ll also need to confirm system compatibility by starting with lower Total Alkalinity (70 ppm) and gradually increasing it. Don’t activate your chlorine generator until after curing, and maintain stabilizer levels between 30-50 ppm for ideal results.
Which Chemical Treatments Require Professional Certification for Legal Application?
You’ll need specific chemical certifications for professional applications involving hazardous pool chemicals and public facilities. PCTI certification is required for handling residential pool chemistry, while CMS® or CST credentials are necessary for commercial chemical treatments. Legal requirements vary by state – Florida and New Jersey mandate technician licenses for commercial applications. You must obtain contractor licenses for any structural modifications involving chemical systems or equipment replacements.