
Fiberglass pool inserts are pre-formed shells combining marine-grade fiberglass with vinyl ester and polyester resins, creating a durable, waterproof structure. You’ll have your site excavated 12-18 inches wider than the pool’s exterior, with a compacted gravel base prepared before delivery. A crane positions the shell into the hole, and you’ll coordinate backfilling with crushed stone while simultaneously filling the pool with water. Below, you’ll discover the complete installation process and long-term benefits.
Understanding Fiberglass Pool Inserts and Their Composition
When you’re considering a fiberglass pool for your backyard, understanding what you’re actually buying starts with the shell’s composition. These one-piece structures combine marine-grade fiberglass with specialized resins, creating a ⅜-inch-thick basin that’s both flexible and durable.
Resin selection considerations directly impact your pool’s longevity. Vinyl ester resin forms the initial waterproof barrier beneath the gelcoat, preventing osmotic blisters. Polyester resin follows in subsequent layers for cost efficiency while maintaining strength. This superior resin system is backed by a Lifetime Osmosis Warranty from premium manufacturers like Leisure Pools.
Premium manufacturers incorporate advanced composite materials like DuPont™ Kevlar®, basalt, and carbon fibers for enhanced impact resistance. Woven roving reinforces stress points where walls meet the floor, while structural honeycomb supports sidewalls. This multi-layered approach delivers UV resistance, ground movement tolerance, and decades of reliable performance. Engineers utilize advanced modeling tools to design these pools to withstand repeated use and varying environmental conditions. The gelcoat surface layer provides a smooth, algae-resistant interior finish that reduces chemical demands and simplifies ongoing pool care.
Key Benefits of Choosing Fiberglass Pool Shells
Because fiberglass pool shells combine structural resilience with low-maintenance performance, they’ve become the preferred choice for homeowners seeking long-term value.
The material properties of fiberglass deliver exceptional durability, with shells lasting 25-50+ years while resisting cracking during freeze-thaw cycles. You’ll avoid the costly resurfacing concrete pools require every 10-15 years. The shells maintain their structural integrity even in harsh weather conditions, ensuring consistent performance throughout their lifespan.
The non-porous gel coat surface minimizes algae growth and chemical demands, reducing your weekly maintenance to under one hour. This smooth finish also enhances swimmer comfort and safety while supporting design aesthetics that remain visually appealing over time. The gel coat finish also provides protection against UV rays, preventing fading and keeping your pool looking vibrant for decades.
You’ll benefit from significant cost efficiency through lower heating bills, as fiberglass’s insulating properties retain heat better than concrete. Built-in features like steps, benches, and tanning ledges eliminate custom additions, while quick 3-5 day installations minimize backyard disruption. For added luxury, you can integrate a spa with spillover edges that create a soothing waterfall effect between the hot tub and pool.
Popular Shapes, Sizes, and Customization Options
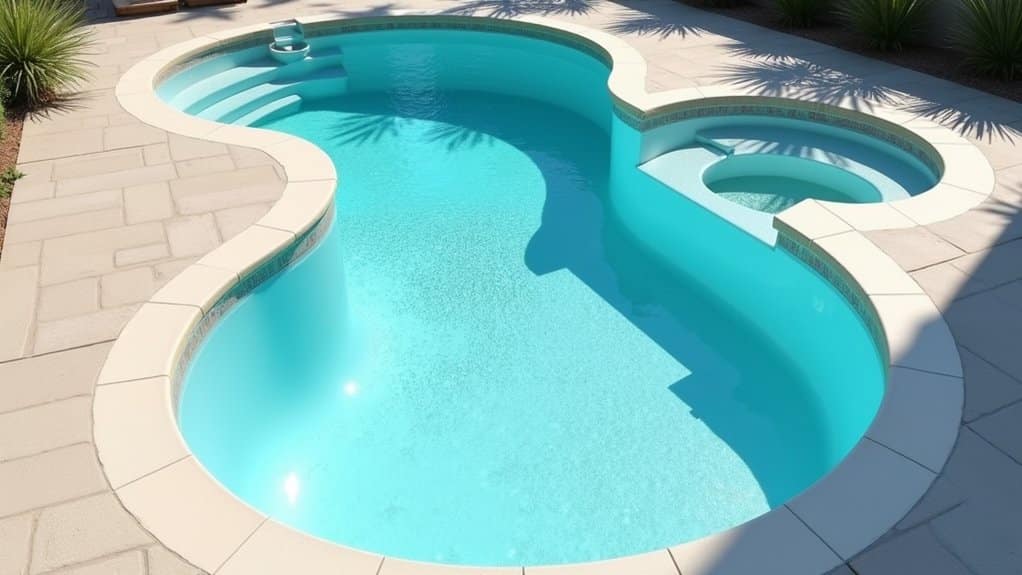
Beyond these performance advantages, fiberglass pool shells offer extensive variety in shapes, sizes, and built-in features to match your specific backyard dimensions and lifestyle needs.
Rectangular designs dominate the market, with standard Australian sizes ranging from 6m x 3m to 10m x 4m. You’ll find lap pools measuring approximately 12m x 2.5m, while plunge pools start as small as 3m x 3m. Freeform options provide relaxed curves with integrated tanning ledges. Rectangular pools are the most common and versatile shape, fitting well in most yards.
Custom designs accommodate various space constraints. Small cocktail pools under 400 square feet suit limited backyards, while family-sized options reach 16 x 40 feet. Shipping logistics limit single-unit shell widths to 16 feet maximum. Some freeform designs feature an integrated spa for those wanting a combined pool and hot tub experience.
Built-in customization includes integrated spas, splash decks, beach entries, and tanning ledges. Unique waterline finishes enhance aesthetics while maintaining the shell’s durability advantages. Gelcoat color options range from Silver Grey and Graphite Grey to vibrant choices like Sapphire Blue and Ebony Blue.
Step-by-Step Installation Process for Fiberglass Pools
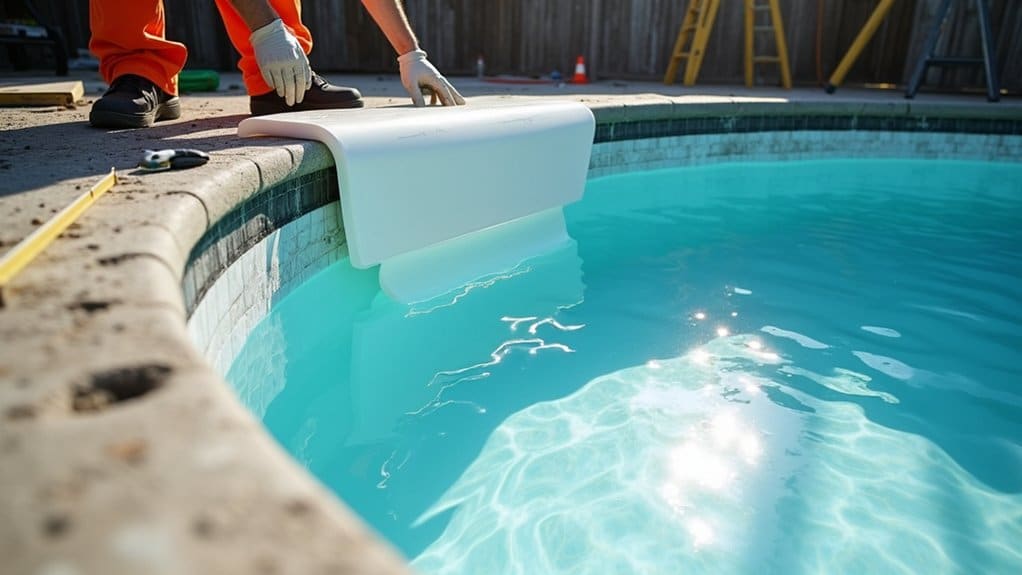
Installing a fiberglass pool involves three critical phases that determine your pool’s longevity and structural integrity. You’ll start with precise excavation based on dig sheet specifications, followed by careful crane placement of the pre-formed shell into the prepared hole. Before excavation begins, the installer marks pool placement in your yard and discusses landscaping wishes to ensure optimal positioning. The process concludes with systematic backfilling coordinated with water filling, plus connection of all plumbing and electrical systems to complete your installation. Due to potential soil stability issues, contractors may need to conduct soil testing before breaking ground to ensure proper support for the pool structure. After installation is complete, your local building authority will conduct an inspection to verify the work meets all code requirements before you can begin using your new pool.
Site Excavation and Preparation
Three critical phases define the excavation and preparation process for fiberglass pool installation: site layout, digging, and base preparation. You’ll start by marking precise dimensions using spray paint and laser levels, following manufacturer dig sheets accurate to less than an inch.
| Phase | Key Requirement | Timeframe |
|---|---|---|
| Layout | Laser leveling, utility marking | 1-2 hours |
| Excavation | 12-18″ overdig, soil composition testing | 3 hours – 3 days |
| Base Prep | 2″ compacted gravel layer | 2-4 hours |
Your excavation must account for soil composition, remove unstable organics entirely regardless of depth. Dig 12-18 inches wider than the pool exterior and 4 inches deeper for gravel foundation. If you encounter bedrock or shale during excavation, it must be removed using a hydraulic hammer before proceeding with base preparation. Gravel is preferred over sand as a base material because sand can liquefy and settle over time, compromising pool stability. While waterproofing methods vary, proper base compaction prevents settling and structural issues long-term. Before beginning excavation, you must obtain necessary permits from your local building department to ensure compliance with setback requirements and safety codes.
Shell Delivery and Placement
Once your excavation and gravel base are ready, the fiberglass shell delivery becomes the installation’s most visually dramatic phase. Shells typically arrive around midday, transported intact as single pre-manufactured units. Your delivery coordination must account for site accessibility considerations, crews may float shells down rivers, navigate narrow alleys, or arrange helicopter drops for challenging locations.
A crane or excavator lifts the shell from the truck, lowering it into the excavation with precision. You’ll watch professionals use stakes, string, and layout plans to position the shell exactly within the hole’s dimensions. Teams verify levelness using laser equipment, ensuring the shell rests properly on your two-inch crushed stone base. Throughout this process, crews focus on maintaining balance and support to prevent any stress or damage to the shell structure. This placement typically completes within one day, positioning your pool for immediate plumbing connections and subsequent backfill work.
Backfilling and System Connections
Backfilling and system connections represent the critical phase where your fiberglass shell transforms into a functioning pool. You’ll connect the skimmer box, deep end suction fittings, and return lines to your pump and filter using PVC pipe, then seal and pressure test all connections per manufacturer specifications.
For backfill material recommendations, use 16-32mm crushed stone for ideal drainage and stability. Place material in 6-12 inch layers, compacting each thoroughly before adding the next. Maintain a minimum 30cm thickness around the entire perimeter.
Pressure balance techniques require filling the pool with water simultaneously as you backfill. Keep the outside fill level within 10cm of the inside water level to prevent wall shifting or cracking. This equalization protects the fiberglass shell’s structural integrity throughout the process.
Maintenance Requirements and Care Guidelines
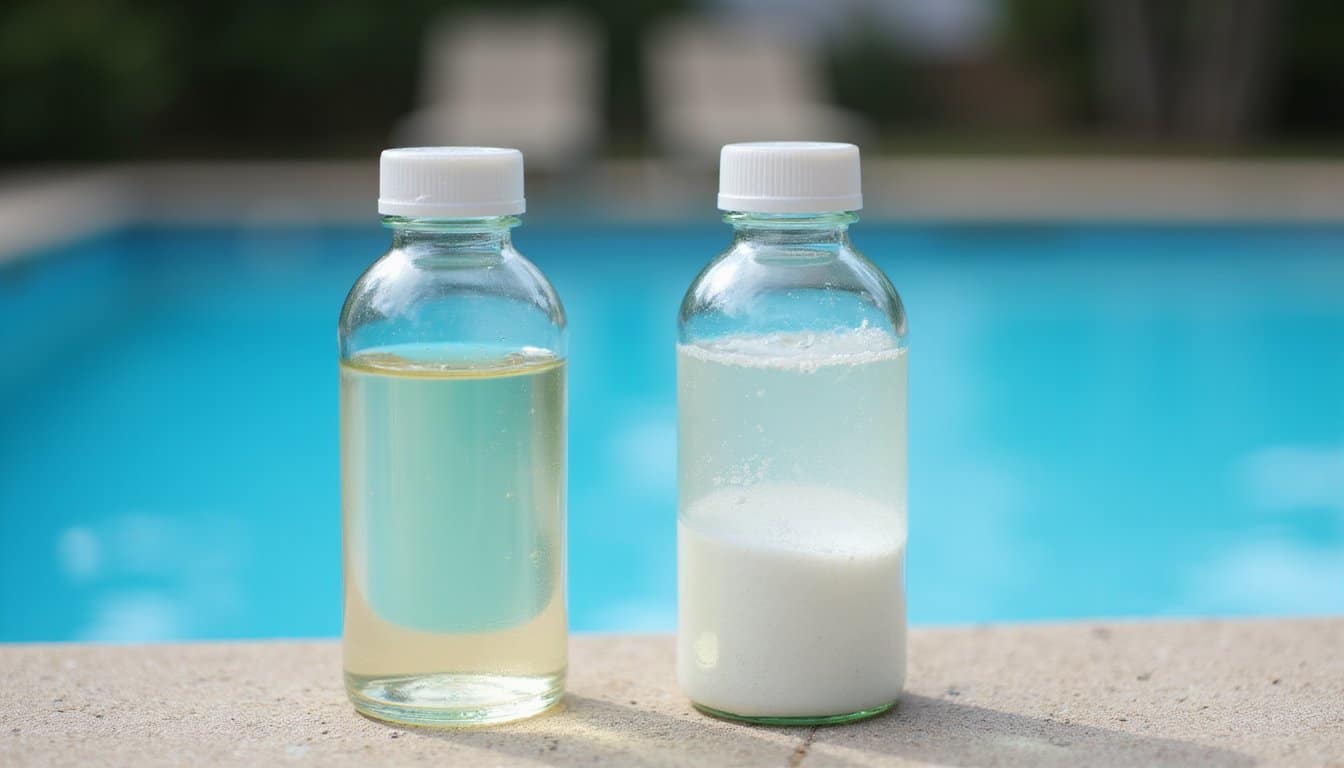
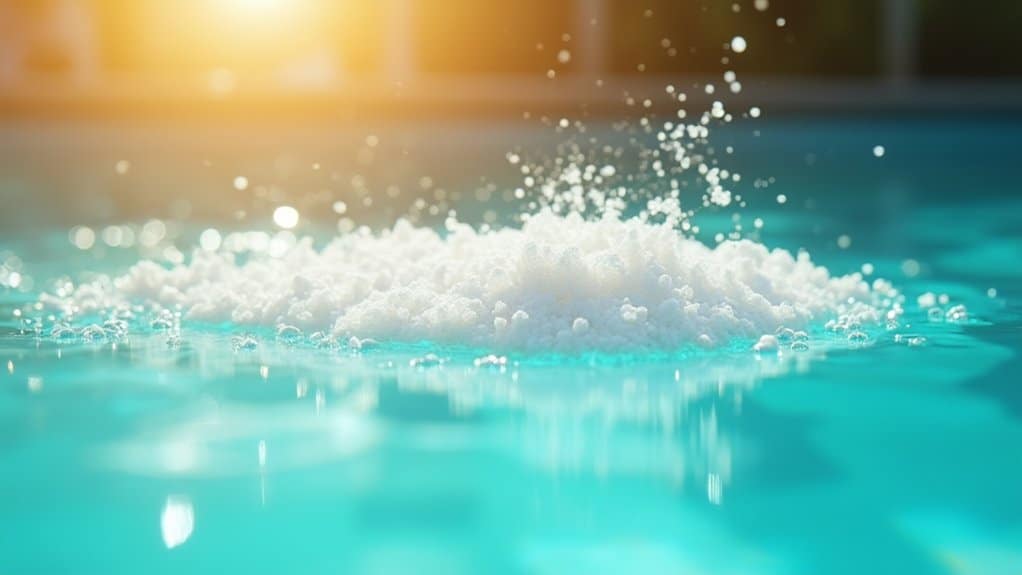
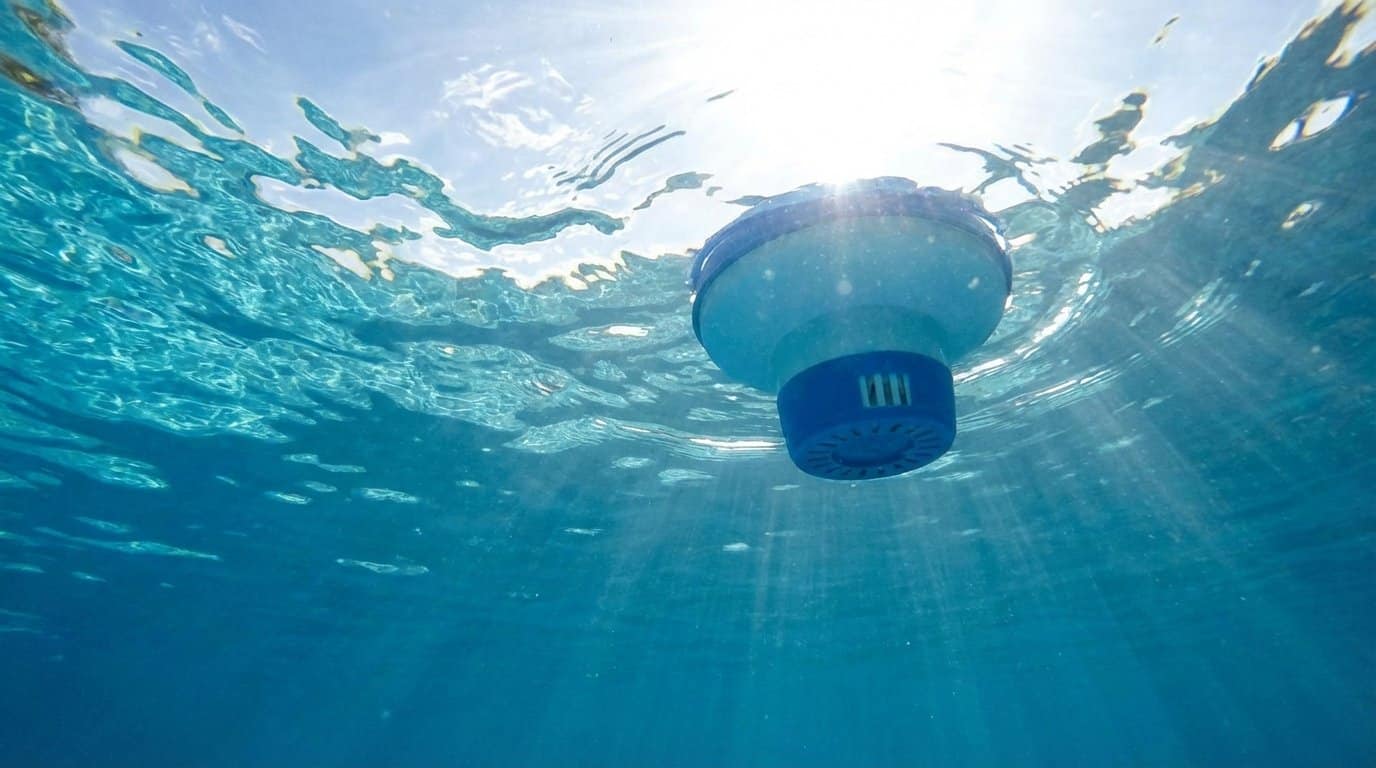
How often you test and adjust your fiberglass pool’s chemistry directly affects the shell’s longevity and appearance. Test sanitizer levels and pH weekly, keeping pH between 7.2-7.6 and alkalinity at 80-120 ppm. Check chlorine, calcium hardness, and cyanuric acid monthly to implement effective pool maintenance strategies.
Brush walls and floor twice weekly, preventing pool discoloration and gel coat damage. Skim debris every few days and vacuum on the same schedule. Empty your skimmer basket at least weekly.
Run your filter six to eight hours daily for complete water turnover. Clean or backflush filters monthly regardless of type. Inspect the shell monthly for cracks, noting any waterline stains. Treat discoloration promptly with a Magic Eraser or ascorbic acid to maintain your fiberglass surface’s finish.
Cost Considerations and Long-Term Savings
The total investment for an inground fiberglass pool project ranges from $40,000 to $100,000, with most homeowners paying around $70,000 for a fully installed pool. Pool shells cost $10,000 to $40,000, while installation adds $15,000 to $50,000 for excavation, plumbing, and electrical work. Regional pricing variances affect your bottom line, installations in Massachusetts and New Hampshire run $45,000 to $85,000.
When evaluating lifetime ownership costs, fiberglass outperforms concrete and vinyl alternatives. You’ll spend $600 to $1,200 annually on maintenance, considerably less than concrete pools requiring frequent resurfacing. The 30-50 year lifespan eliminates vinyl liner replacement expenses. Quick installation timelines of 3-8 weeks reduce labor costs compared to concrete’s extended construction periods. These factors make fiberglass a cost-effective choice despite higher upfront investment than vinyl options.
Durability and Lifespan Expectations for Fiberglass Pools
Fiberglass pools deliver 25 to 50+ years of service life when you maintain them properly, outperforming vinyl liners by decades and matching concrete without the recurring resurfacing costs. The non-porous gelcoat surface resists algae penetration, UV damage, and chemical degradation within pH ranges of 3.0-9.0.
Fiberglass pools outlast vinyl liners by decades while eliminating the costly resurfacing cycles concrete demands.
Your pool’s longevity depends on three critical factors:
- Installation quality: Proper excavation techniques prevent soil shifting that causes structural stress
- Water chemistry maintenance: Balanced pH and alkalinity preserve the gelcoat for decades
- Manufacturing standards: Modern materials add 10-15 years compared to older models
Typical failure modes include surface fading and hairline cracks after 15-30 years, cosmetic issues you’ll address through gelcoat refinishing every 15-20 years rather than complete replacement.
Frequently Asked Questions
Can Fiberglass Pool Inserts Be Installed in Areas With High Water Tables?
Yes, you can install fiberglass pool inserts in areas with high water tables, but you’ll need proper drainage considerations and ground stabilization requirements. You should install sump wells and dual pump systems to manage groundwater pressure. Consider raising your yard elevation using retaining walls to position the pool above the water table. Add hydrostatic relief valves and perimeter drains to redirect water, preventing shell floating or cracking from hydrostatic pressure.
Are Fiberglass Pools Compatible With Automatic Pool Covers and Safety Fencing?
Yes, fiberglass pools are compatible with automatic pool covers and safety fencing. You can install on-deck track systems that fit rectangular or freeform shapes, with covers retracting into bench or below-deck housing. The smooth surface finishes of fiberglass integrate seamlessly with mounting hardware. Automatic covers reduce your maintenance requirements by cutting debris, chemical use, and water loss up to 50%. Safety fencing attaches easily to surrounding deck surfaces.
How Do Extreme Temperature Climates Affect Fiberglass Pool Shell Performance?
Fiberglass pool shells excel in extreme climates due to their inherent flexibility. You’ll find they handle freeze thaw cycles effectively because the material flexes with ground movement rather than cracking like concrete. During temperature fluctuations, the non-porous gel coat prevents water absorption that causes expansion damage. In hot climates, you’ll benefit from natural temperature regulation and UV-resistant finishes that prevent fading. Proper winterizing and backfill installation maximize your shell’s long-term performance.
Can Existing Concrete or Vinyl Pools Be Converted to Fiberglass Inserts?
You can convert existing concrete or vinyl pools to fiberglass inserts, though it’s rarely cost-effective. For concrete pools, you’ll need jackhammer demolition to achieve proper site preparation for the new shell depth. Vinyl conversions require complete teardown since you can’t reuse existing components. Both scenarios demand assessment of structural reinforcement requirements for walls and floors. Expect approximately $2,000 more than new installations due to demolition and debris removal costs.
What Permits and Inspections Are Typically Required for Fiberglass Pool Installation?
You’ll typically need a building permit to meet local building code requirements, along with electrical and plumbing permits for your pool’s systems. Zoning permit considerations include verifying setbacks, property lines, and size restrictions. You’ll also need safety barrier permits for fencing compliance. If you live in an HOA community, you’ll require their approval too. Expect inspections during and after installation to confirm code compliance.