Glass bead pool cleaning requires a systematic approach to achieve professional results. You’ll need to lower your pool’s water level initially, then set up specialized equipment with a media hopper and 3/8-inch hose on a flatbed trailer. Next, perform low-pressure blasting using pinhead-sized glass beads, followed by hand-wiped polish application and protective sealant. After thorough media removal and quality control checks, restore water levels. These seven steps form the foundation for mastering this advanced cleaning technique.
Lowering Your Pool’s Water Level for Optimal Access
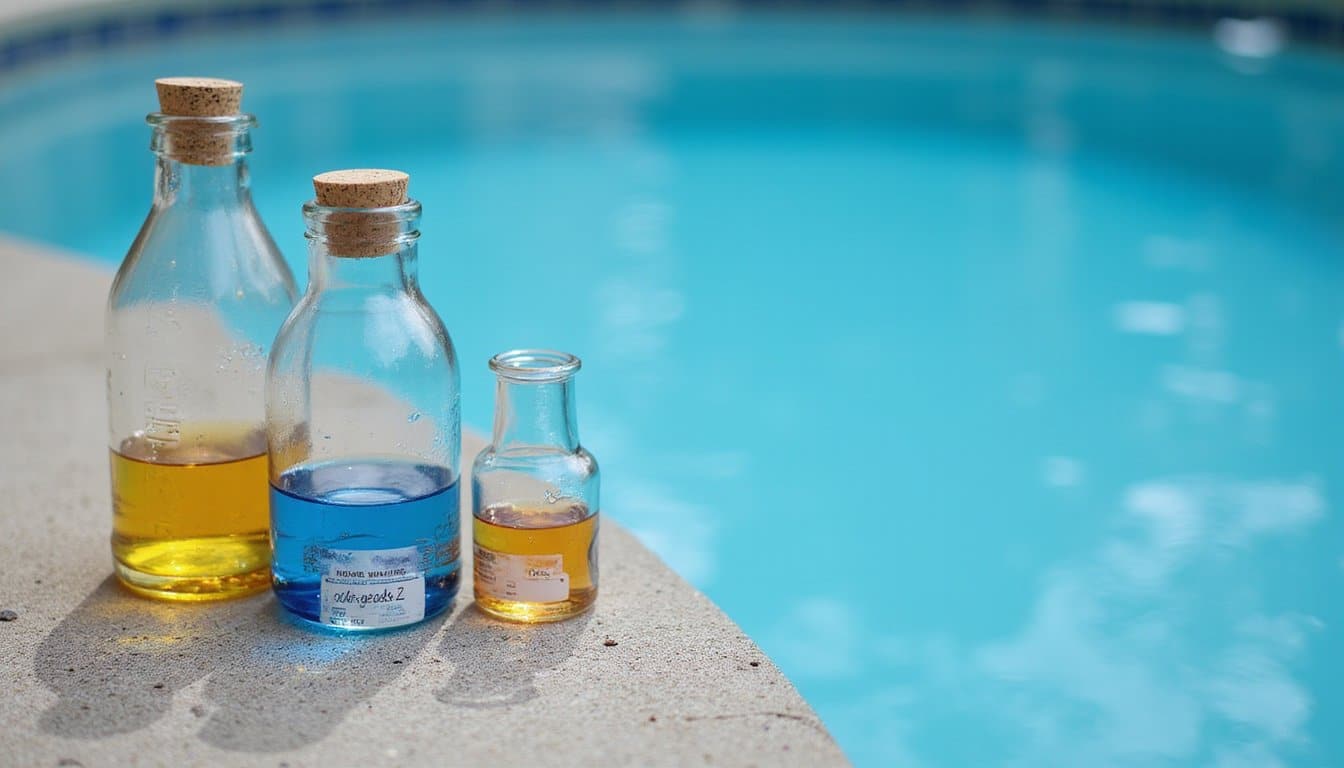
Five critical reasons exist for lowering your pool’s water level: preventing overflow damage, preparing for weather events, optimizing skimmer function, facilitating winterization, and maintaining chemical balance.
When making seasonal water adjustments, you’ll need to choose between several effective methods. You can use your multiport valve’s “waste” setting, deploy a submersible pump, create a garden hose siphon, or utilize your filter pump’s drain spigot. For pools with sand or DE filters, the multiport valve is essential for proper drainage control. The water should be lowered 12 to 18 inches below the skimmer when using mesh pool covers. Daily monitoring of water levels helps maintain efficient circulation throughout your pool system. While winterizing pool systems, never drain below the skimmer opening to protect your equipment.
Before beginning, shut off your autofill system and remove skimmer baskets. Monitor the draining process carefully, as excessive water removal can cause structural damage. Check local regulations regarding water discharge, as many municipalities restrict draining chemically treated water into storm systems. Always direct discharge away from sensitive landscaping.
Setting Up Professional Glass Bead Equipment
Proper equipment setup forms the foundation of successful glass bead pool cleaning operations. Your media hopper design needs careful consideration to guarantee smooth media flow and easy switching between types. When addressing equipment staging considerations, mount all components securely on your flatbed trailer using u-bolts to prevent shifting during transport. Using round glass beads as your primary abrasive will help protect delicate pool tiles from damage during cleaning. The system’s eco-friendly design makes it safe for surrounding landscaping and eliminates concerns about chemical runoff. Select a 3/8-inch diameter hose to ensure optimal airflow throughout your system.
A well-designed equipment setup with secure mounting and proper media flow control ensures efficient pool cleaning from start to finish.
Key setup requirements include:
- Install a robust air dryer to prevent moisture-related media clumping
- Route air and media hoses efficiently to maximize pool edge reach
- Position your sump pump strategically for effective media recycling
- Configure your venturi head system for superior media-water mixing
- Secure all electrical and water connections before operation
Remember to verify your compressor’s CFM rating meets operational demands and guarantee your power washer delivers at least 4,000 PSI with 4 GPM for effective cleaning performance.
Performing the Low-Pressure Blasting Process
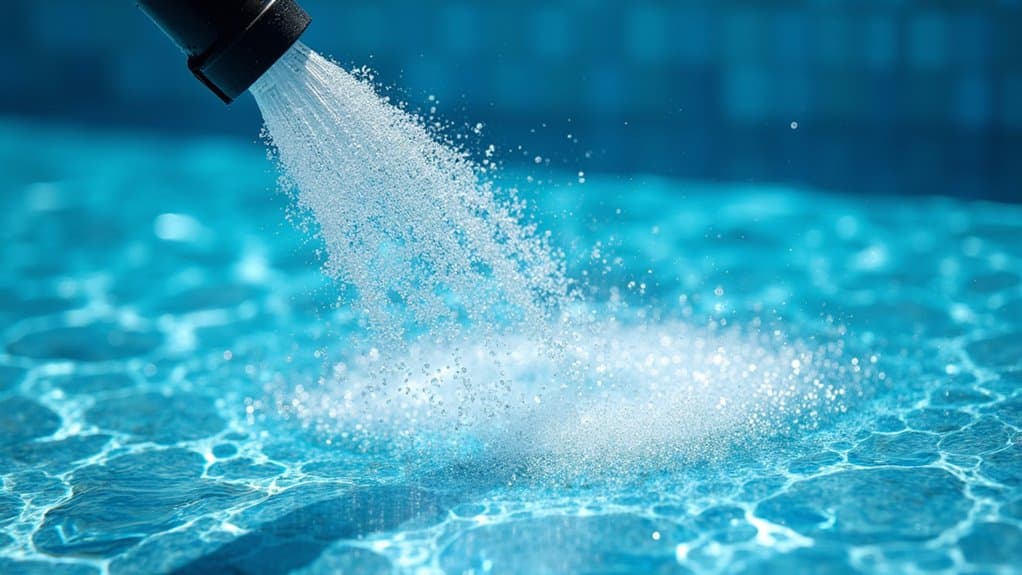
The low-pressure blasting process demands precise execution to effectively remove calcium deposits and mineral buildup without damaging pool tiles. You’ll need to direct your blasting gun at a consistent distance from the surface, using pinhead-sized glass beads as your blasting media. The media’s properties allow for gentle yet thorough cleaning without chemical additives. These glass beads are highly reusable media, making the process both cost-effective and environmentally friendly. The glass beads contain no free silica, ensuring safer operation during the cleaning process. Prior to beginning the process, technicians must lower pool water to properly access the affected tile areas.
Start with the lowest effective pressure and make blasting technique adjustments only if stubborn deposits persist. Work systematically along the tile line, treating small sections at a time. After blasting each area, immediately rinse with water to remove loosened debris and media residue. Maintain careful control of your technique, as proper execution should leave tiles smooth and restored to their original color without any surface damage or etching.
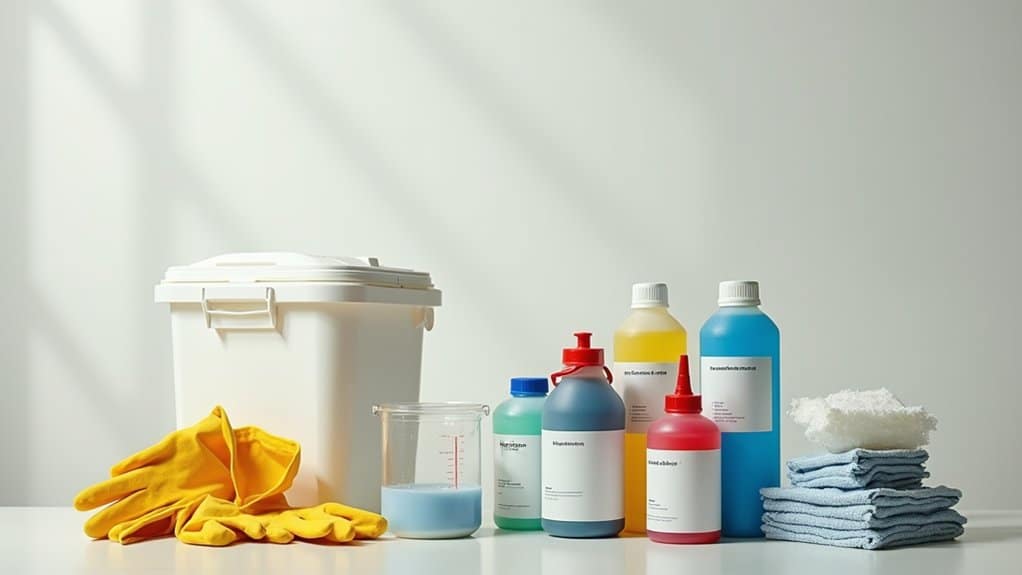
Applying Hand-Wiped Polish and Protection
After completing the glass bead blasting, you’ll need to apply a specialized non-abrasive pool polish using a lint-free microfiber pad in smooth, overlapping strokes to improve shine and create a protective barrier. You’ll maximize the polish’s effectiveness by allowing it to dry completely before applying an additional UV-resistant sealant that prevents future mineral deposits and extends the surface protection. To maintain ideal results, you’ll want to implement a regular maintenance schedule of reapplying polish every 6-12 months while consistently monitoring water chemistry to prevent mineral buildup recurrence. The environmentally friendly cleaning process ensures your pool surface stays pristine without using harsh chemicals that could damage the finish. Professional technicians use specialized equipment to ensure precise and efficient application of cleaning materials, making the process highly effective at removing stubborn deposits. The entire cleaning process typically takes two hours for an average-sized pool to achieve optimal results.
Polish Application Techniques
Successfully applying hand-wiped polish requires careful preparation and precise technique to achieve ideal results. Before you begin, verify product compatibility issues and understand drying time requirements to guarantee optimal adhesion and durability. Professional pool maintenance specialists charge $5.25 per foot for thorough cleaning and polishing services. The process takes roughly 2 hours for standard pools to complete all polishing steps. Glass bead blasting offers a gentler alternative for removing stubborn calcium deposits before polishing.
- Use soft microfiber cloths and apply polish in small, manageable sections using circular or figure-eight motions
- Apply light, consistent pressure to prevent streaking while working in shaded areas to minimize rapid evaporation
- Buffer excess polish immediately with a clean, dry cloth to maintain uniformity
- Work systematically across the surface, guaranteeing complete coverage without overlap
- Allow proper drying time between coats and before water exposure
You’ll achieve the best results by working methodically and paying attention to detail. Remember to wear gloves throughout the process to prevent contamination and maintain even distribution of the polish across your pool’s surface.
Protective Sealant Benefits
Protective sealants deliver multiple critical benefits for glass bead pool surfaces, establishing a resilient barrier against environmental damage while preserving aesthetic qualities. You’ll notice prolonged structural integrity as these coatings shield against UV rays, chemical exposure, and mineral deposits that typically cause deterioration.
The hydrophobic barrier you create through sealant application augments color vibrancy while repelling water, soil, and algae. Your pool’s glass bead finish will maintain its reflective properties and sparkle longer, reducing the frequency of intensive cleaning procedures. The non-stick surface means you won’t need harsh chemicals or abrasive tools for routine maintenance.
Long-Term Surface Maintenance
A thorough surface maintenance plan guarantees your glass bead pool’s longevity through strategic hand-wiped polish application and protective measures. By maintaining chemical balance and preventing scale buildup, you’ll preserve your pool’s shimmer and structural integrity.
Essential maintenance steps for your glass bead surface:
- Apply hand polish after blasting to enhance shine and make certain complete material removal
- Brush surfaces twice daily during the initial week, then once daily for four weeks
- Monitor pH levels consistently to prevent staining and calcium accumulation
- Clean filter pads regularly and vacuum weekly to remove residue and deposits
- Avoid draining your pool for at least 18 months unless professionally supervised
Following these protocols will protect your investment while keeping your pool’s surface pristine. Take into account that appropriate chemical balance is vital, as high pH levels combined with excessive heat can lead to unwanted scale formation.
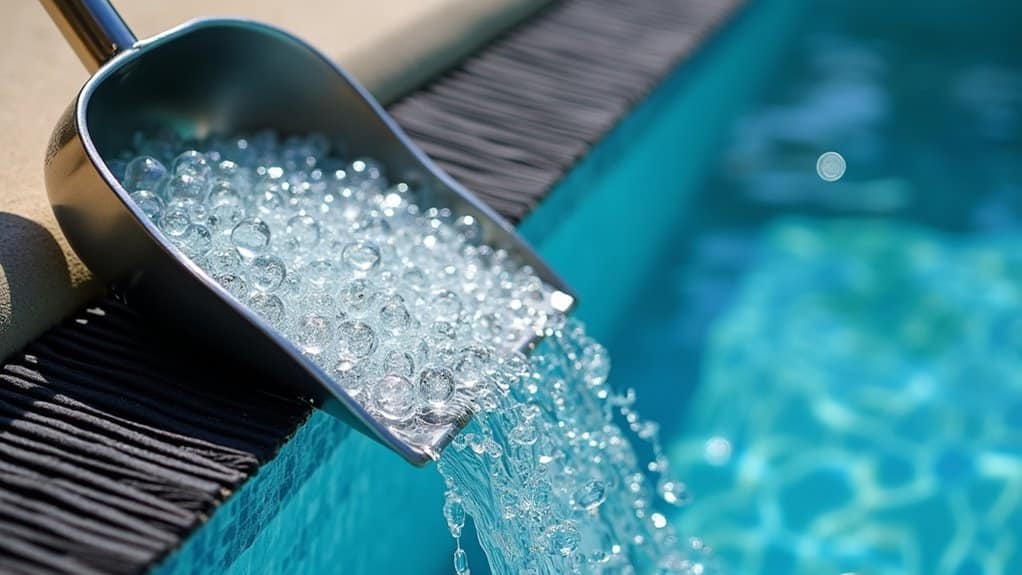
Thorough Media Removal and Filtration
Once glass bead blasting is complete, thorough media removal and filtration become critical steps to guarantee system damage does not occur and maintain water quality. You’ll need to implement post-cleaning filtration protocols immediately, as spent media and deposits settle at the pool bottom. Start by using an integrated vacuum system to remove the glass beads and debris simultaneously from the waterline areas.
Your filtration approach should focus on sustainable media recycling, as glass beads are environmentally friendly and easily reclaimed. Use self-contained vacuum equipment to expedite the process and capture both debris and spent media. This systematic filtration prevents chemical imbalances and protects your pool’s mechanical components from abrasive materials. By properly filtering the water, you’ll avoid filter clogging and make certain your pumps and heaters remain unaffected by residual glass beads.
Quality Control and Surface Verification
Following thorough media removal, quality control inspection begins with systematic surface verification protocols to confirm proper glass bead installation. Your pool’s surface requires extensive testing for uniformity verification and mortar to shell adhesion to guarantee lasting durability and aesthetic appeal.
Key inspection elements include:
- Visual assessment under varying light conditions to verify glass bead distribution and reflective qualities
- Pull-away adhesion tests to measure bond strength between layers
- Surface defect scanning for voids, pits, or inconsistencies
- Quality control log documentation of all test results and corrective actions
- Final acid wash verification to confirm surface clarity and bead exposure
This methodical approach confirms your pool’s glass bead finish meets industry standards while maintaining the desired three-dimensional, shimmering effect you expect from a professional installation.
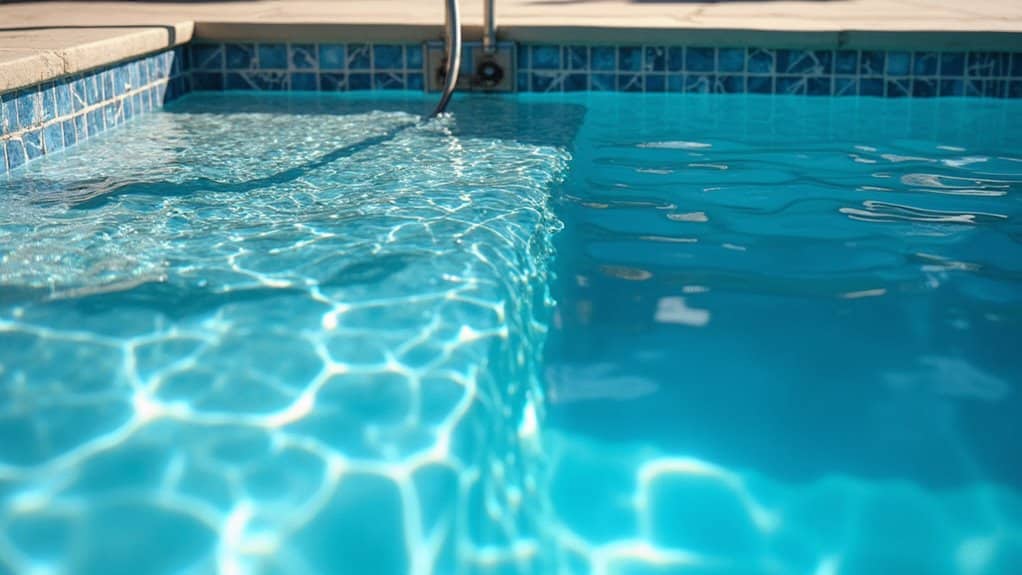
Restoring Water Levels and Enjoying Results
When technicians complete the glass bead blasting process, they’ll restore your pool’s water level to approximately 6 inches above the tile line while conducting final quality inspections. During this phase, they’ll vacuum out all remaining glass beads from your pool to guarantee thorough cleanup and ideal pool readiness.
You’ll notice a protective sealant has been applied to your tiles, creating an extra barrier against harsh chemicals and future calcium deposits. This specialized coating helps maintain your pool’s pristine appearance for an extended period. Once the water level reaches the proper height and all equipment is removed, technicians will verify the operational status of your pool. They’ll conduct a final inspection before securing your gate, leaving you with a fully functional swimming environment that’s been restored to its original beauty.
Frequently Asked Questions
How Long Does the Glass Bead Cleaning Effect Typically Last?
You’ll typically see the glass bead cleaning effect last between 6-12 months before calcium and mineral deposits start to reappear. The ideal glass bead lifespan depends heavily on your pool’s water hardness and chemical balance. For residential pools, you’ll want to schedule frequency of glass bead maintenance annually, while commercial pools might need treatment every 6-9 months. You can extend these results by maintaining proper water chemistry and applying sealants post-cleaning.
Can Glass Bead Blasting Damage Pool Surfaces or Grout Lines?
When properly executed by trained professionals, glass bead blasting won’t damage your pool surfaces or grout lines. However, you’ll need to take into account potential abrasion concerns if incorrect pressure settings or aggressive techniques are used. To preserve long-term surface integrity, verify your contractor adheres to industry standards for pressure control and bead size selection. While intact grout typically resists damage, deteriorated sections may experience minor erosion if blasting intensity isn’t carefully monitored.
What Is the Average Cost of Professional Glass Bead Cleaning Service?
You’ll typically pay between $295-$495 for professional glass bead pool tile cleaning, with most service provider rates including spa cleaning. For linear foot pricing, you’re looking at $5.25-$6 per foot. Average service costs can vary based on your pool’s size and condition, with some providers starting at $475. In high-end markets or for large pools, you might encounter rates up to $1,200, though these prices usually reflect specialty work or severe buildup.
Is Glass Bead Cleaning Safe for All Types of Pool Tiles?
While glass bead cleaning is safe for most pool surfaces, you’ll need to examine tile composition before proceeding. It’s particularly effective on PebbleTec, stone, and standard ceramic tiles. However, you should verify pool surface compatibility with a professional, as some delicate or vintage tiles may require gentler cleaning methods. When performed correctly by trained technicians, glass bead cleaning won’t damage your tiles’ glaze or finish, making it a dependable choice for most modern pool surfaces.
How Often Should Glass Bead Cleaning Be Performed for Maintenance?
You’ll need to follow a proper cleaning schedule of every 2 months for standard residential pools, though high-traffic pools require monthly treatments. Your maintenance requirements include twice-yearly deep cleanings during opening and closing seasons. You should supplement this with weekly brushing and skimming. If you’re noticing scale buildup, staining, or have hard water conditions, you’ll need to increase the frequency. Remember to adjust your schedule based on usage patterns and environmental factors.