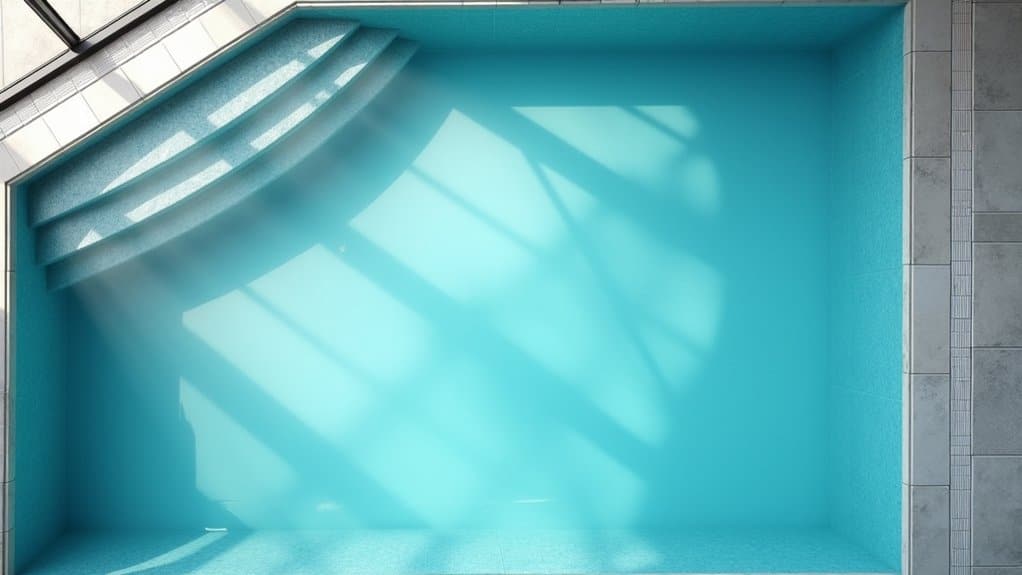
Pool refinishing requires precise steps: drain with hydrostatic pressure management, conduct structural assessments, repair damages exceeding 1/8 inch, prepare surfaces through hydro blasting, select quality materials like pebble or quartz finishes, apply acid washing treatments, implement systematic refilling strategies, monitor chemical balance during curing, establish maintenance routines, and schedule professional inspections. Your success depends on understanding each phase’s technical specifications and industry-proven methodologies.
Professional Pool Draining and Water Management
Professional pool draining requires precise management of hydrostatic pressure and structural integrity throughout the refinishing process. You’ll need to implement advanced drainage techniques using submersible pumps and extended hoses while continuously monitoring pressure gauges for stability indicators. For enhanced security during the draining process, consider implementing security protocols to protect sensitive equipment and monitoring systems. Testing the chemical balance of pool water before disposal is essential to prevent environmental harm. Professional supervision is absolutely necessary when draining fiberglass pools to prevent structural damage.
During the operation, maintain equilibrium between pool water and groundwater pressure by employing gradual draining methods. Your pressure management strategy should include partial draining rather than complete emptying, reducing the risk of shell floating. Install temporary support systems for pool floors and walls, and conduct regular visual inspections to detect structural stress early.
Set your sand filter to “waste” mode and guarantee proper dechlorination before disposal. You’ll need to comply with local regulations for water discharge and document disposal volumes. Once drained, proceed with surface preparation for refinishing while maintaining structural support systems.
Initial Surface Assessment and Documentation
Three critical phases comprise a detailed initial surface assessment: visual inspection, material testing, and extensive documentation. You’ll need to start with thorough defect identification, mapping surface cracks, material degradation, and erosion patterns using standardized inspection forms. Since a home inspection generalist conducts these evaluations, it’s essential to follow non-invasive protocols. Wearing proper safety gear during inspections helps protect against chemical exposure and physical hazards.
Next, conduct material testing using concrete cover meters, rebound hammers, and core sampling to evaluate structural integrity. You’ll want to perform chloride and carbonation testing to assess chemical damage, particularly in saltwater pools. Regular assessments help prevent costly repairs down the line while maintaining safety standards.
Documentation protocols require thorough photographic records with digital markup tools to annotate damage locations. Create detailed maps of reinforcement patterns and erosion zones using grid systems. Don’t forget to verify equipment compatibility and regulatory compliance before proceeding with refinishing work. These assessments will form your baseline for successful surface renovation.
Structural Damage Evaluation and Repairs
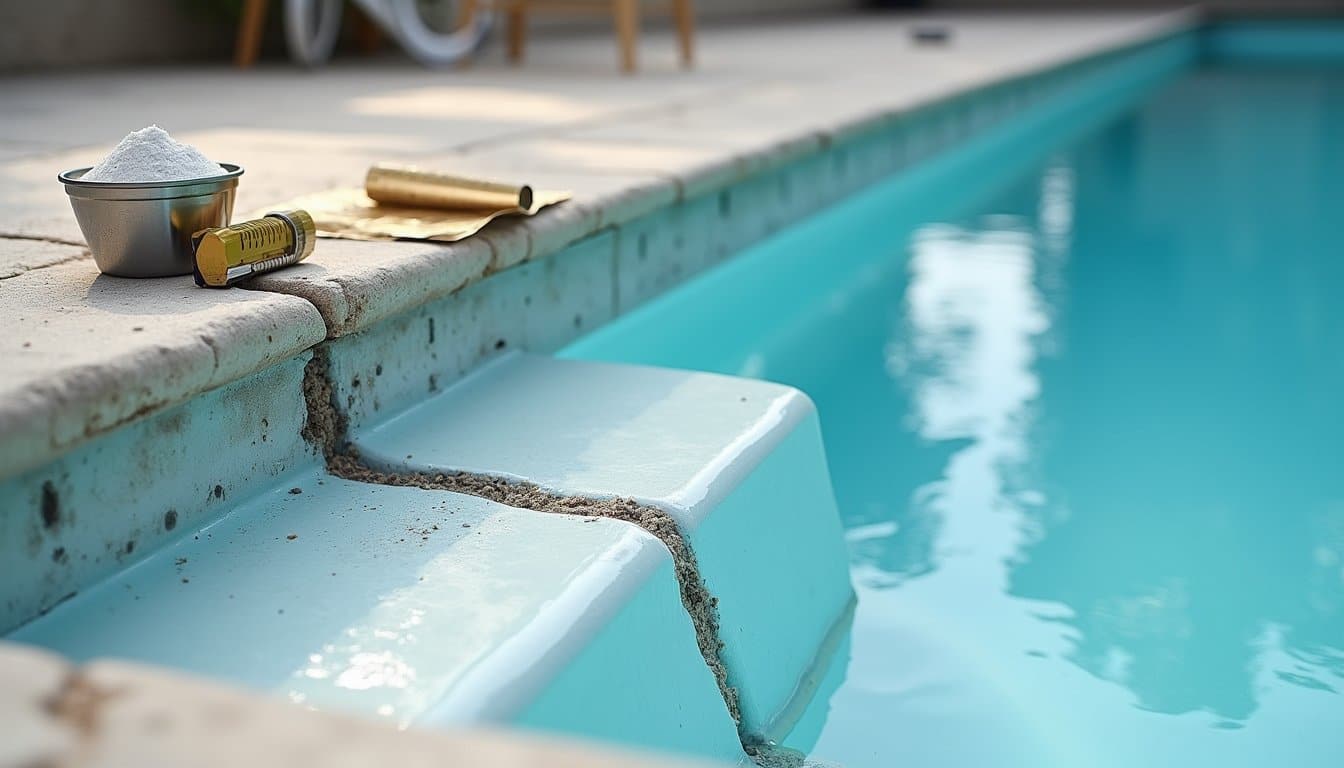
Before undertaking any refinishing work, conducting a thorough structural damage evaluation guarantees proper diagnosis and repair sequencing. You’ll need to perform detailed crack analysis using professional diagnostic tools, including laser surveys and thermographic imaging to map defect patterns and identify stress points.
When examining structural issues, focus on cracks exceeding 1/8 inch, noting their orientation and migration patterns. Test suspicious areas with dye penetration methods to track water pathways and assess substrate integrity. Consistent water loss above normal evaporation rates indicates potential structural leaks requiring immediate attention. Regular monitoring is essential as progressive cracks can indicate ongoing structural problems. Ground conditions can lead to soil settlement beneath pools, requiring void-filling treatments. For repair techniques, select materials based on specific damage characteristics: use epoxy resins for hairline cracks, fiberglass-reinforced polymers for areas under tension, and polymer-modified mortars for structural bonding.
After repairs, validate your work through hydrostatic pressure testing and dimensional stability monitoring to ascertain long-term structural integrity.
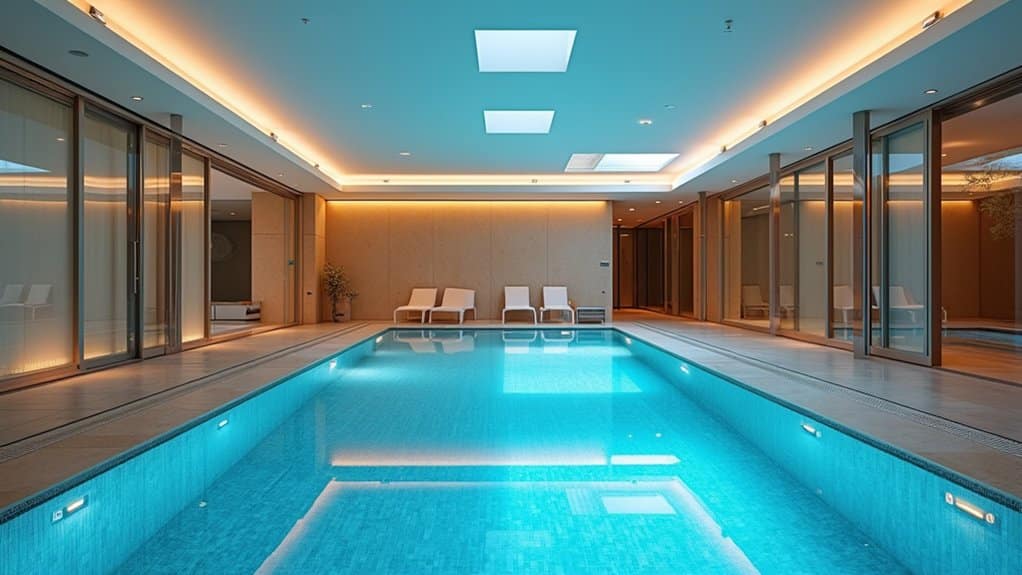
Surface Preparation and Cleaning Techniques
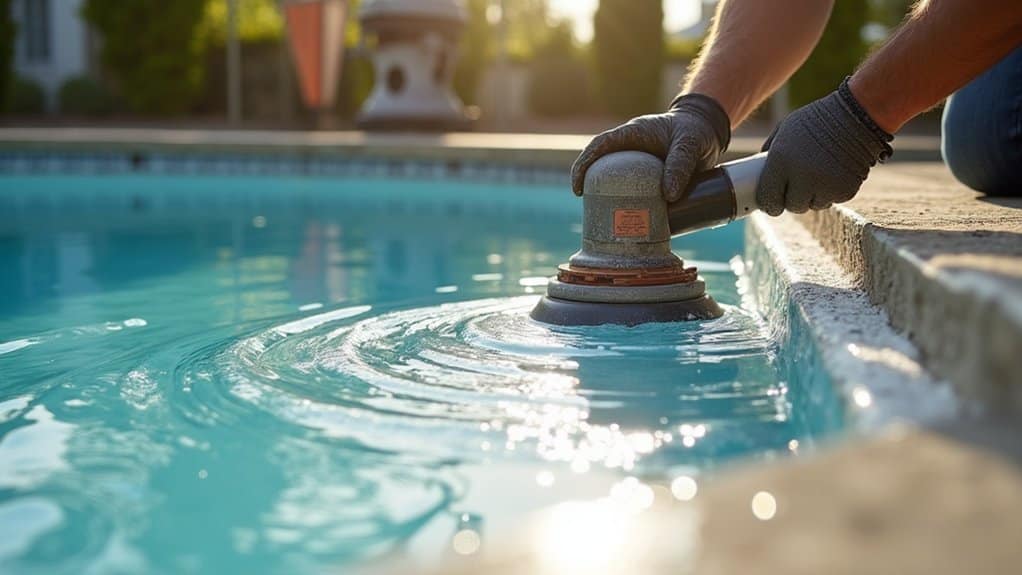
Proper surface preparation sets the foundation for a successful pool refinishing project after structural repairs are complete. You’ll need to drain the pool completely and begin with thorough surface cleaning and debris removal using a water-detergent mixture. Mechanical preparation involves using concrete grinders and 40,000 PSI hydro blasting technology to strip old materials and create uniform surfaces. Porcelain tiles provide exceptional durability and water resistance for long-lasting results. Avoiding the overlay method is crucial since it adds 3,600 pounds of weight to your pool structure.
Apply pool-grade patching compounds to fill cracks and holes, followed by surface restoration through sanding and grinding to guarantee seamless integration. Olympic Prep Magic offers an efficient one-step solution for thorough surface cleaning compared to traditional three-step methods. You’ll then need to implement waterproofing membranes according to manufacturer specifications, using chlorine-resistant materials and bonding agents to enhance adhesion. Modern hydro blasting technology, powered by 300-horsepower equipment, delivers guaranteed bonds with 10-year warranties, eliminating risks of delamination while maintaining substrate integrity.
Material Selection and Quality Testing
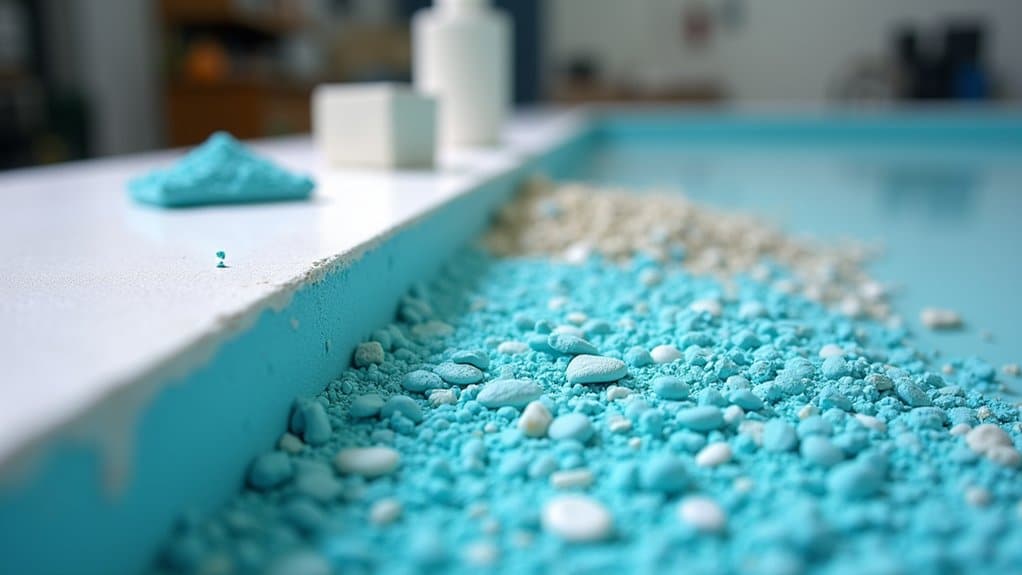
Selecting ideal resurfacing materials demands rigorous quality testing to guarantee long-term performance and value. You’ll need to evaluate each material’s durability through chemical resistance tests and simulated usage conditions while considering your aesthetic preferences and budget constraints. QuartzScapes finishes offer exceptional resistance to chemicals and foot traffic with a lifespan of up to 20 years.
For high-traffic pools, opt for pebble finishes or blue quartz plaster, as they offer superior slip resistance and withstand intense use. Glass and porcelain tiles deliver excellent longevity but come with higher installation costs. While white marcite provides a budget-friendly solution, it requires more frequent maintenance. Spider web cracks often signal the urgent need for resurfacing intervention. Natural stone surfaces are gaining popularity due to increased focus on sustainable and eco-friendly pool materials.
Avoid materials prone to chemical degradation, such as acrylic paint or standard plaster. Instead, utilize the DIVES evaluation system (durability, installation ease, value, elegance, and safety) to match your pool’s specific requirements with appropriate surfacing options.
Application of New Surface Material
Mastering the application of new pool surface material requires precise execution across multiple phases, from initial mixing to final curing. You’ll need to guarantee proper mixture ratios using truck-mounted or barrel mixers while maintaining strict batch control throughout the process.
Your application techniques should align with the specific material you’re using. For plaster, use specialized trowels with controlled pressure, while pebble finishes require distinct hand-tamping methods. The entire installation process typically takes 5 to 7 days to complete, depending on weather conditions and material selection. Surface layering must follow a systematic approach start with a uniform bond coat, then apply subsequent layers while monitoring environmental conditions that affect curing times.
During the process, you’ll need to address surface imperfections immediately and maintain consistent coverage. Once complete, implement a controlled hydration schedule and follow manufacturer-specified curing protocols before allowing pool use.
Acid Washing and Chemical Treatments
Before initiating acid washing procedures, you’ll need to prepare your pool surface through a systematic approach that prioritizes safety and effectiveness. Drain the pool completely and inspect for structural issues while wearing proper protective equipment, including respiratory protection and chemical-resistant gloves.
Mix your acid solution at a 1:1 ratio, always adding acid to water to prevent dangerous reactions. You’ll need to maintain strict acid safety protocols throughout the process. Apply the solution systematically from top to bottom using acid-resistant sprayers, implementing proper staining techniques for stubborn discoloration. Work in controlled sections while scrubbing with stiff bristle brushes, particularly focusing on heavily stained areas.
After treatment, neutralize the surface with soda ash and test pH levels before disposal. Follow local regulations for hazardous waste management.
Pool Refilling Strategy and Water Chemistry
You’ll need to coordinate your pool refilling schedule with precise chemical measurements to achieve ideal water chemistry balance. Start by filling your pool during off-peak hours while monitoring pH, alkalinity, and calcium hardness levels in real-time using digital testing equipment. After reaching the desired water level, you’ll implement a systematic testing protocol every 4-6 hours for the first 24 hours to guarantee proper chemical stabilization and water clarity.
Strategic Water Fill Timing
Proper timing and strategy during pool refilling operations markedly impact both structural integrity and water chemistry stability. You’ll need to implement precise water fill timing strategies that align with environmental conditions and chemical stabilization requirements.
- Schedule your refill during evening or overnight hours to minimize evaporation loss and allow for proper chemical dispersion when temperatures are cooler.
- Plan for a 24-48 hour stabilization period after completing the fill to guarantee proper CYA levels and chemical balance before pool use.
- Maintain a steady fill rate that doesn’t exceed your pool’s structural limitations, particularly for concrete pools where rapid filling can cause structural stress.
For best results, coordinate your fill timing with local water utility schedules and monitor weather forecasts to avoid potential contamination from storm runoff.
Chemical Balance Fundamentals
Managing chemical equilibrium during pool refilling requires a systematic approach to achieve ideal water chemistry parameters. You’ll need to perform initial chemical testing within 24 hours of filling to establish baseline readings for pH, alkalinity, and sanitizer levels.
Start with pH adjustment to maintain levels between 7.2-7.6, as this impacts sanitizer effectiveness and equipment longevity. Establish alkalinity between 80-120 ppm to stabilize pH fluctuations. Add chlorine to achieve 1-3 ppm free chlorine, guaranteeing proper sanitization. Include cyanuric acid (30-50 ppm) to protect chlorine from UV degradation, particularly vital for outdoor pools. Monitor calcium hardness (175-275 ppm) to prevent surface damage. Remember to maintain a 3:1 ratio between CYA and chlorine levels for peak sanitizer performance. Regular testing and adjustments will guarantee proper chemical balance post-refinishing.
Post-Fill Testing Protocol
Successful pool refilling demands a systematic testing protocol to establish proper water chemistry equilibrium. Your post-fill testing strategy must focus on critical parameters while maintaining precise sampling techniques to guarantee accurate readings.
Follow these essential steps for ideal results:
- Submerge testing vials 12-18 inches below the water surface, filling them upside-down to prevent air bubble contamination
- Test pH, alkalinity, and calcium hardness immediately, using the LSI calculator to monitor saturation levels
- Document all readings hourly during the fill process, then daily for two weeks post-refill
You’ll need to maintain consistent testing protocols, avoiding cross-contamination between parameters. Remember to retest pH after 24 hours, as high-pressure filling can temporarily alter readings. Compare your water chemistry data against LSI guidelines to prevent scaling and surface damage.
Initial Treatment Period and Monitoring
You’ll need to maintain strict control of your water chemistry during the critical initial treatment period, focusing on pH levels between 7.2-7.8 and alkalinity at 80-120 ppm. Your daily monitoring schedule should include thorough testing of chemical parameters and immediate adjustments to prevent scaling or etching of the new surface. Following manufacturer guidelines, you must implement a rigorous 30-day brushing routine with nylon bristles while tracking water chemistry metrics to guarantee proper curing of your pool’s new finish.
Water Chemistry Balance Tips
Proper water chemistry balance during the initial treatment period represents a critical foundation for your newly refinished pool surface. You’ll need to conduct thorough chemical testing daily, focusing on maintaining ideal sanitizer levels while closely monitoring pH (7.4-7.6) and total alkalinity (100-150 ppm). Monitor key water parameters and use essential chemicals for pool repairs to maintain water quality. Proper calcium hardness and stabilizer levels help prevent surface issues and keep your refinished pool lasting longer.
Follow these essential balance steps:
- Test total alkalinity first, making incremental 10 ppm adjustments with sodium bicarbonate or muriatic acid
- Stabilize calcium hardness between 200-400 ppm using calcium chloride before other chemical adjustments
- Maintain free chlorine at 1-3 ppm with cyanuric acid levels at 30-50 ppm for UV protection
Document all chemical adjustments and retest after 24 hours to verify stabilization. If you encounter persistent imbalances despite following proper adjustment procedures, consult a pool chemistry professional immediately.
Pool Surface Treatment Schedule
While the initial 28-day treatment period sets the foundation for long-term surface durability, following a precise maintenance schedule remains critical for excellent results. You’ll need to brush your pool’s surface twice daily during the first month to remove plaster dust, and adjust calcium hardness gradually to prevent surface damage.
Your pool cleaning routine should include daily skimming, weekly vacuuming, and regular wall brushing to prevent algae buildup. Schedule monthly filter cleanings and maintain proper cyanuric acid levels between 30-50 ppm. Don’t forget to inspect for stains or structural issues during your weekly maintenance, paying special attention to stairs and corners where debris typically accumulates. For ideal surface protection, you’ll want to schedule professional inspections every 3-6 months to guarantee your refinished surface maintains its integrity.
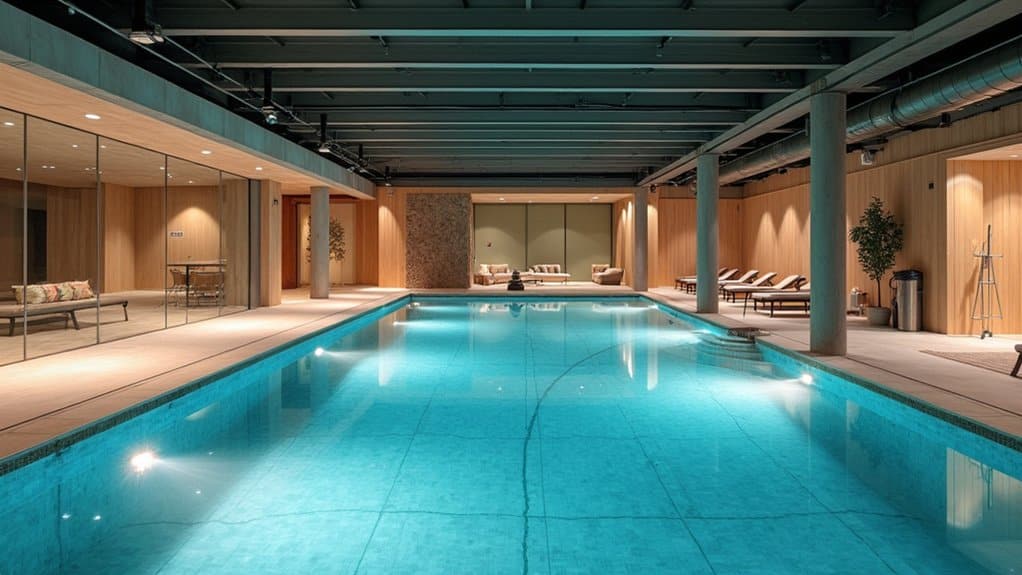
Surface Care and Long-term Maintenance Plan
To maintain a pool’s pristine surface condition and extend its lifespan, implementing an all-inclusive maintenance plan combines daily, weekly, and long-term care protocols. Surface longevity depends on your maintenance frequency and adherence to structured cleaning schedules.
Your extensive surface care strategy should include:
- Daily skimming, brushing high-traffic areas, and emptying skimmer baskets to prevent debris accumulation and surface staining
- Weekly wall brushing, thorough vacuuming, and chemical balancing to maintain pH (7.2-7.8) and prevent scaling
- Quarterly tile line inspections, professional annual assessments, and systematic documentation of all maintenance activities
Monitor calcium levels regularly and apply algaecide treatments seasonally in warm climates. Schedule resurfacing every 10-15 years, depending on wear patterns and surface material composition.
Frequently Asked Questions
Can I Swim Immediately After the Pool Is Refilled?
You shouldn’t swim immediately after refilling your pool, as proper swimming safety necessitates chemical balancing first. You’ll need to wait up to 7 days while pool chemicals stabilize, including chlorine (target 5 ppm), pH (7.2-7.8), and alkalinity (80-120 ppm). However, if you’re able to balance chemicals correctly right away, you might swim sooner. Just guarantee you’ve completed at least one full filtration cycle and tested all chemical levels.
What Happens if It Rains During the Resurfacing Process?
Rain during resurfacing can severely impact your pool’s finish quality and extend project timelines. You’ll face weather impact issues like surface contamination, improper curing, and potential material failure. If it’s raining, your contractor will need to halt work, as moisture can compromise the plaster’s integrity. You’ll experience a rain delay until conditions improve, and protective covers may be required. Additionally, any rain-soil mixture can damage fresh plaster applications.
How Long Will My New Pool Surface Typically Last?
Your pool surface durability largely depends on the material you’ve chosen. You’ll get 7-10 years from standard plaster, 15+ years from pebble finishes, and up to 25 years from fiberglass or polymer-based surfaces. To maximize your resurfacing lifespan, you’ll need to maintain proper water chemistry, provide UV protection, and perform regular cleaning. Remember, timely repairs and quality installation greatly impact how long your surface will last.
Will Resurfacing Affect My Pool’s Heating System or Equipment?
Yes, your pool’s resurfacing can impact your heating system’s performance. Pool equipment compatibility depends on how well you maintain proper water chemistry after resurfacing. The resurfacing material impact varies darker finishes can increase natural heat absorption by 1-2°F, while improper surface texture may disrupt water flow and heat distribution. You’ll need to guarantee post-resurfacing water balancing to prevent scale buildup and corrosion that could damage your heating components.
Can I Refinish My Pool During Winter Months?
Yes, you can refinish your pool during winter months, and it’s often advantageous. Winter pool refinishing offers ideal curing conditions with cooler temperatures and lower humidity, which enhance surface preparation and material bonding. You’ll benefit from reduced costs (10-15% savings) and increased contractor availability. However, you’ll need to time the project before freezing temperatures and coordinate with your pool winterization schedule to guarantee proper material setting and curing.