
An integrated pool system operates through interconnected components that work together to maintain clean, safe water. You’ll need essential elements like skimmers, pumps, filters, and plumbing lines working in harmony for proper circulation and filtration. Setting up requires careful planning of your equipment pad layout, proper component sizing, and strategic plumbing design. While DIY is possible, you’ll want to verify compliance with local regulations and safety standards. The following information will guide you through each vital step.
Understanding the Basics of an Integrated Pool System
How does an integrated pool system work to keep your swimming pool clean, safe, and efficient? At its core, your pool’s system operates through a network of interconnected components that work together seamlessly. Water flows from your pool through skimmers and main drains into the pump, where it undergoes essential water treatment techniques before returning through pressurized jets.
Your integrated system combines circulation, filtration, and chemical balancing protocols to maintain ideal water quality. The plumbing system requires Schedule 40 PVC pipes for most residential installations. For optimal temperature management, advanced systems often incorporate heat exchangers that maximize energy efficiency while maintaining consistent water temperatures. The system uses quality, non-corrosive materials throughout the plumbing and equipment to ensure long-term reliability. Modern safety features include anti-entrapment covers on main drains and dual drain systems to prevent hazards. Temperature control is managed through integrated heaters, while smart controls help optimize energy usage. You’ll need to maintain regular cleaning schedules for skimmer baskets and filters, plus monitor water chemistry to guarantee your system operates at peak efficiency.
Essential Components and Their Functions
While a swimming pool may look simple from above, its integrated system relies on several critical components working in harmony. Your pool’s skimmers and main drains form the initial line of debris removal strategies, capturing surface debris and bottom sediment before they enter the circulation system. The interconnected components ensure proper functionality and seamless operation of your entire pool system. A pool requires proper foundational knowledge to maintain its components effectively.
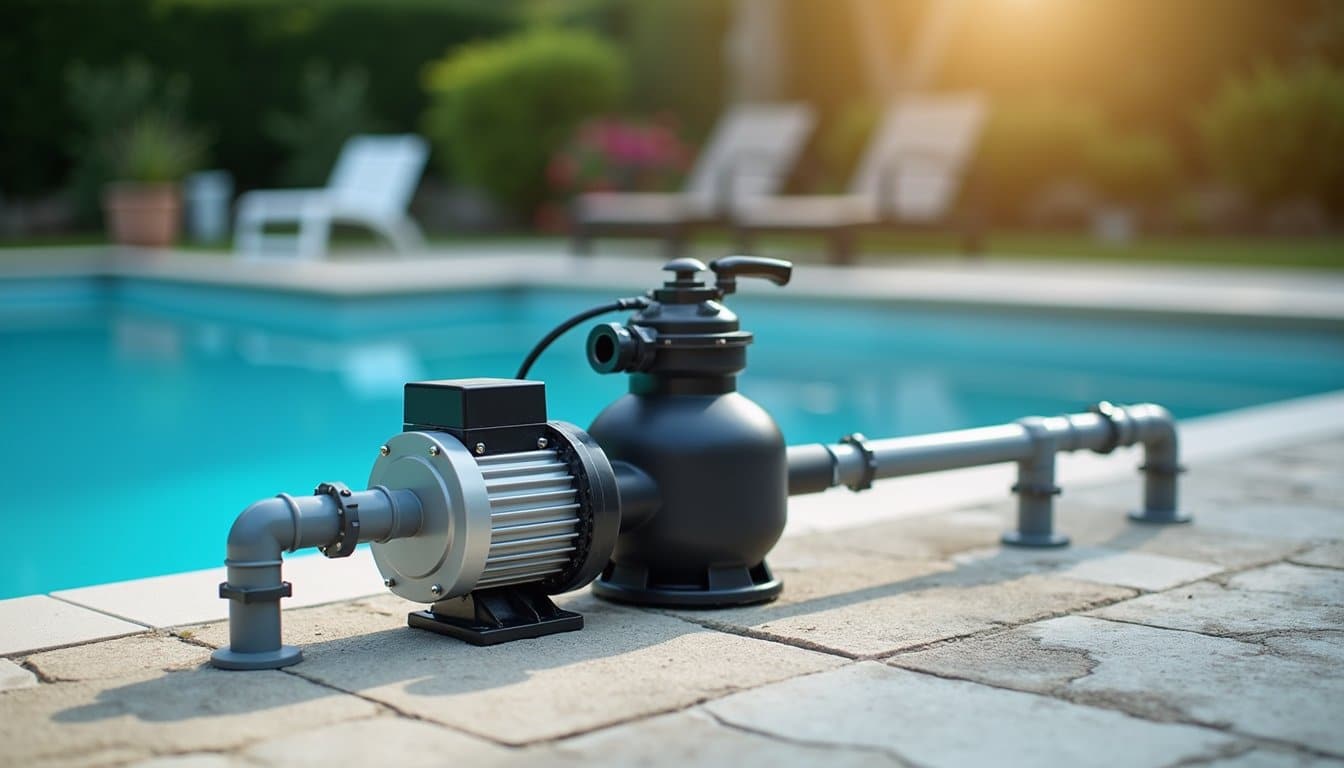
At the heart of your system, the pump and filtration components work together to purify the water. Both in-ground and above-ground pools utilize suction-based filtration for optimal water cleaning. PVC plumbing lines connect these elements, while strategically placed return jets guarantee proper water distribution. For water chemistry optimization, you’ll rely on chemical feeders, chlorinators, or salt chlorine generators to maintain sanitization levels.
Understanding these components helps you maintain ideal performance. Your system’s valves allow you to control water flow and isolate parts for maintenance, while chemical monitors help you track and adjust water quality parameters consistently.
Planning Your Pool’s Infrastructure
Your pool’s infrastructure requires careful positioning of core equipment like pumps, filters, and heaters in an accessible location that minimizes pipe runs while maintaining safety clearances. You’ll need to plan the plumbing design to optimize water flow through properly sized pipes, creating efficient circulation paths between the equipment pad and your pool’s inlets, skimmers, and drains. When laying out these systems, consider future maintenance needs by ensuring easy access to valves, unions, and other serviceable components while protecting electrical connections from water exposure. Before beginning construction, obtaining proper permits from your local municipality is essential to ensure compliance with safety regulations. Proper inground water management requires strategic drainage solutions to prevent flooding and water accumulation around your pool equipment area. The initial structural framework installation with reinforced steel and gunite forms the foundation for all infrastructure components to be properly integrated.
Equipment Layout Basics
Proper equipment layout forms the foundation of an efficient and reliable pool system. You’ll need to allocate sufficient space for your equipment pad, typically 4×4 to 4×8 feet, considering material durability considerations for concrete, plastic, or brick bases. Position your pump, filter, and heater in a logical sequence, ensuring at least one foot of clearance around each component for maintenance access. Sunny spots are ideal for equipment pad placement to ensure proper drainage and avoid moisture-related issues.
For aesthetic equipment integration, consider how the layout impacts your outdoor space while maintaining functionality. Your setup should follow the standard flow sequence: pump to filter to heater, with supplementary systems like chlorinators or salt systems integrated afterward. A typical pool and spa combination requires four 3-way valves for proper water flow control between features. Remember to plan for proper ventilation and include safety features like GFCI protection and emergency shutoffs. Keep pipes straight and level to optimize flow efficiency and minimize pressure loss.
Plumbing Design Essentials
An effective pool plumbing design starts with understanding the critical infrastructure that powers your swimming pool’s circulation system. Your plumbing layout must efficiently connect skimmers, main drains, pumps, filters, and return jets while maximizing water flow throughout the pool. A detailed plumbing schematic diagram helps visualize the entire system’s layout for optimal component placement. The optimal water turnover rate must be calculated based on pool volume to ensure proper filtration and sanitation.
When planning your pool’s infrastructure, you’ll need to focus on pipe routing considerations that prevent line crossing and guarantee smooth operation. Proper hydraulic balancing strategies are essential for maintaining ideal pressure and circulation. You’ll want to size your pipes correctly and position return jets strategically to eliminate dead zones where water might stagnate.
Remember to incorporate automation controls for easier system management and plan for future upgrades. Regular maintenance access points should be factored into your design, allowing for simple filter cleaning and valve adjustments when needed.
Equipment Selection and Sizing Guidelines
Your pool’s circulation system requires careful matching of pump power to your water volume, with variable-speed pumps offering superior energy efficiency while meeting turnover requirements. Most high-head pool pumps require a 208-230 V connection. You’ll need to select a filter type that aligns with both your pump’s flow rate and maintenance preferences, ensuring proper sizing of at least 1 square foot per 10,000 gallons for sand filters. Consider dedicating adequate space for your equipment pad to accommodate all components while allowing proper ventilation and maintenance access, typically requiring a minimum of 3 feet of clearance around each piece of equipment.
Pump Power Requirements
Selecting the right pool pump power specifications is indispensable for both safety and efficiency in your integrated pool system. You’ll need to mull over both voltage requirements (110V or 220V) and amperage requirements, which vary based on your pool size and home’s electrical setup.
| Power Type | Benefits | Considerations |
|---|---|---|
| 110V Pump | Lower cost, easy install | Higher operating costs |
| 220V Pump | Energy efficient, powerful | Professional install needed |
| Variable Speed | Maximum savings, DOE compliant | Higher upfront investment |
Your pump’s power needs must align with your pool’s volume and desired turnover rate. For above-ground pools, you’ll typically need a 20-amp breaker with #12 gauge wire. Remember, all installations require GFCI protection, and 220V systems demand professional installation. Don’t compromise on electrical specifications; they’re essential for your safety and system longevity.
Filter Type Selection
Now that you’ve determined your pump’s power requirements, proper filter selection stands as the next key decision for your integrated pool system. You’ll need to choose between sand, cartridge, or DE filters based on your specific needs and maintenance preferences.
Consider your pool’s size and usage when selecting your filter type. Sand filters offer the longest media lifetime maintenance at 3-5 years but only capture particles down to 20 microns. Cartridge filters provide better filtration (8-10 microns) with minimal filter backwashing requirements, making them ideal for residential pools. DE filters deliver the finest filtration (1-5 microns) but demand more frequent maintenance and media replacement.
For most residential pools, cartridge filters offer the best balance of performance and maintenance. However, if you’re dealing with persistent water clarity issues, a DE filter might be worth the extra maintenance investment.
Equipment Space Planning
The efficient layout of pool equipment requires careful planning to optimize both functionality and accessibility. When establishing your spatial arrangement considerations, you’ll need to allocate 10-20 square feet for standard equipment pads, or 25-30 square feet if you’re including additional features like heaters or automation systems. Environmental protection factors must account for moisture resistance, proper ventilation, and drainage to safeguard your equipment’s longevity.
- Position equipment within 10 meters of your pool to maximize plumbing efficiency
- Install units with adequate clearance (12-18 inches) for maintenance access and airflow
- Select moisture-resistant materials for equipment enclosures to protect against chemical exposure
- Guarantee proper drainage and ventilation, especially for indoor installations
Remember to comply with local codes regarding setbacks, electrical requirements, and safety barriers while leaving room for potential future expansions.
Step-by-Step Installation Process
Before beginning any pool installation, professionals must conduct a thorough site assessment and secure all required permits. You’ll need construction permits and approvals before any earthwork begins. After soil testing and stabilization measures are complete, the installation team will mark your pool’s layout and begin excavation.
For concrete pools, they’ll install a steel rebar framework before applying shotcrete or gunite. Fiberglass pools arrive as a single unit and are craned into position. Once the shell is in place, they’ll install the plumbing system, including drains, skimmers, and circulation lines. The electrical components, including bonding and grounding, must meet strict safety codes. Ultimately, they’ll add the finishing touches: waterline tiles, coping stones, and deck construction. Each step requires inspection to confirm compliance and structural integrity.
Automation and Smart Features
Modern pool automation systems transform your pool management through an integrated network of smart components. The central controller coordinates with water monitoring systems and energy optimization algorithms to deliver precise control over your pool’s operation. You’ll benefit from real-time adjustments to chemical levels, temperature, and filtration schedules while accessing everything through your smartphone or smart home devices.
- Advanced sensors continuously monitor water parameters and trigger automatic chemical dispensing for ideal water quality
- Energy-efficient scheduling reduces operating costs by up to 70% through smart pump and heater management
- Integration with weather data allows your system to adapt to environmental changes automatically
- Voice commands and custom scenes let you control multiple pool functions simultaneously through platforms like Alexa or Google Assistant
Your automated pool system guarantees consistent performance while minimizing manual maintenance and maximizing energy efficiency.
Water Flow and Circulation Mechanics
Effective water circulation lies at the heart of every well-functioning pool system, working to maintain crystal-clear water and ideal sanitation. Your pool’s circulation system operates through strategically placed skimmers and main drains, which draw water for filtration and treatment.
To optimize circulation, you’ll need proper skimmer adjustment techniques. Your skimmers should handle about 70% of water intake, while main drains manage the remaining 30%. You can augment debris accumulation mitigation by regularly emptying skimmer baskets and ensuring your water level doesn’t drop too low. Return jets should direct filtered water in a pattern that promotes complete circulation, ideally positioned opposite to skimmers and angled slightly downward. This creates a continuous flow that helps eliminate dead zones where contaminants might collect.
Energy Efficiency and Cost Management
Managing your pool’s energy consumption strategically can lead to substantial cost savings while maintaining ideal performance. By implementing modern energy monitoring systems and focusing on utility cost optimization, you’ll greatly reduce operating expenses. Today’s integrated pools can achieve 50-70% lower energy use compared to older systems through smart technology adoption and efficient design.
Smart pool systems with modern monitoring can cut energy costs by 50-70% while keeping your pool running perfectly.
- Install variable speed pumps to reduce pumping energy by up to 80%, automatically adjusting flow rates based on demand
- Upgrade to heat pump systems with COPs of 5-7 for optimal heating efficiency in moderate climates
- Implement pool covers to minimize evaporation losses, which typically pay for themselves within two years
- Convert to LED lighting to cut illumination energy use by 50% while extending bulb life
Remember to regularly monitor system performance through automated controls to maintain peak efficiency levels.
Regular Maintenance and System Care
While optimizing energy efficiency creates significant cost savings, proper maintenance guarantees your integrated pool system maintains peak performance and longevity. You’ll need to follow strict chemical storage procedures and regulatory compliance protocols to verify safe operation.
| Maintenance Task | Frequency |
|---|---|
| Water Testing | 2x weekly |
| Equipment Inspection | Monthly |
| Filter Cleaning | Monthly |
| Safety Checks | Quarterly |
| Deep Service | Annually |
Your maintenance routine should include regular water chemistry balancing (pH 7.2-7.6, alkalinity 80-120 ppm), equipment inspections, and thorough cleaning. Don’t forget to vacuum weekly, brush surfaces, and maintain proper chemical levels. Keep detailed maintenance records for warranty purposes and confirm your safety equipment meets local regulations. Regular checks of emergency equipment, lighting systems, and pool covers will protect your investment while maintaining a safe swimming environment.
Frequently Asked Questions
Can an Existing Traditional Pool Be Converted to an Integrated System?
Yes, you can convert your traditional pool to an integrated system, but you’ll need to carefully evaluate your existing pool layout considerations initially. Your current plumbing, electrical systems, and equipment pad must support smart controls and sensors. Potential conversion challenges include upgrading outdated pumps, adapting non-standard plumbing, and ensuring proper space for control panels. It’s recommended to have a professional assess your pool’s compatibility and handle the installation for ideal safety and performance.
How Long Does a Complete Integrated Pool System Installation Typically Take?
You’ll typically need 8 to 12 weeks for a complete integrated pool system installation. The expected installation timeline varies based on several factors affecting integrated system efficiency: design complexity (1-4 weeks), permitting (2-6 weeks), and construction phases (3-8 weeks). You’ll need to account for potential weather delays and contractor availability. The final setup, including water balancing and system testing, requires an extra 1-2 weeks before you can safely use your pool.
What Happens to the Integrated System During Winter or Extended Shutdowns?
You’ll need to properly winterize your integrated pool system to prevent freeze damage. Drain all equipment, including pumps, filters, and heaters. You should maintain water levels 4-6 inches below the skimmer and guarantee balanced chemistry before shutdown. During downtime, regularly inspect your cover for debris and use a cover pump to remove standing water. Don’t forget to check freeze protection systems and monitor for leaks throughout winter to protect your investment.
Are Integrated Pool Systems More Difficult to Repair Than Traditional Ones?
Yes, you’ll find integrated pool systems are considerably more challenging to repair than traditional pools. Due to their system complexity considerations, repairs often require specialized technicians with expertise in multiple areas, from electrical to plumbing systems. You’ll need to factor in higher potential maintenance costs for proprietary parts and diagnostic equipment. When issues arise, troubleshooting takes longer since problems in one component can affect the entire integrated system’s performance.
Can Multiple Pools Share the Same Integrated System Equipment?
Yes, you can set up multiple pools to share the same equipment through integrated system versatility. You’ll need proper shared equipment configurations, including automated valves, advanced controllers, and carefully designed plumbing. While this setup reduces costs and space requirements, you’ll need to ponder hydraulic balance and proximity between pools. Keep in mind that shared systems require precise automation to manage water flow and chemistry effectively between vessels while maintaining safety standards.