You’ll need to complete seven essential steps to prepare your fiberglass pool surface for gelcoat repair. Start by vacuuming loose debris, then assess stains and evaluate your surface condition for chalking or delamination. Gather fiberglass-safe supplies like nylon brushes and gelcoat-compatible cleaners. Clean waterline areas, address submerged stains, rinse thoroughly, and balance your water chemistry. Each step below breaks down the specific techniques you’ll need for professional-grade surface preparation.
Vacuum the Pool Surface to Remove Loose Debris
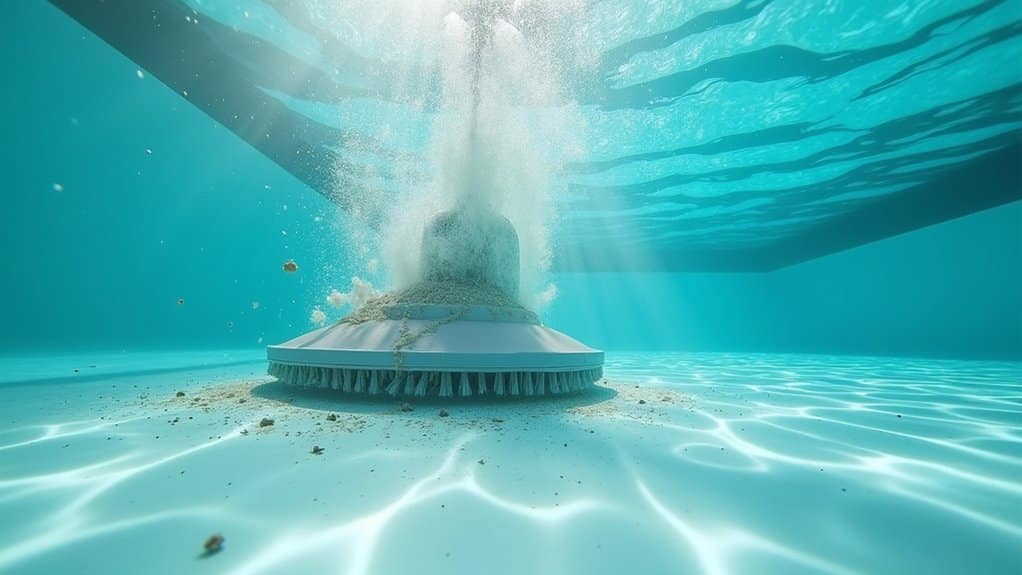
Before you begin vacuuming your fiberglass pool, you’ll need to properly assemble your manual vacuum system. Connect the adjustable vacuum pole to the vacuum head, then attach the swivel end of the hose for ideal pivoting capability. Stretch the hose across the pool deck to eliminate coils and kinks.
To maximize vacuum efficiency, submerge the vacuum head first, then flood the entire hose by holding the open end against a return jet until bubbling ceases. Insert the suction plate into the skimmer basket, twist to lock, and connect the flooded hose without introducing air. This prevents air from being sucked through the pump system.
Set your media filter to waste mode to optimize vacuum suction power. Partially close down the other intakes like the main drain to create sufficient suction to the skimmer you’re using for vacuuming. Apply light pressure while executing slow, overlapping strokes from the shallow end, keeping the head continuously submerged. Vacuuming the pool floor weekly helps prevent debris buildup that could interfere with your upcoming repair work.
Assess Stains and Evaluate Surface Condition
After vacuuming loose debris, you’ll need to systematically identify the stain types present on your gelcoat surface, including rust deposits, calcium-induced discoloration, and pH-related markings. Check for surface dullness signs such as cloudiness, haziness, or fading that indicate gelcoat degradation from improper water chemistry or age-related wear. Note that prolonged sun exposure combined with chemical imbalance can accelerate gel coat discoloration, making early identification crucial. Look closely for small bumps that may indicate osmotic blistering, which occurs when water molecules become trapped beneath the gelcoat surface. Document each affected area’s location and characteristics before proceeding with targeted treatment protocols. Taking photographs of damaged sections helps when scheduling professional inspection to determine whether full resurfacing is necessary.
Identify Common Stain Types
Several distinct stain types affect fiberglass pool surfaces, and accurate identification determines the correct treatment protocol. You’ll need to differentiate stain types before selecting appropriate remediation chemicals. To confirm stain composition, apply diagnostic tablets directly to affected areas, vitamin C dissolution indicates metal presence, while Trichlor lightening suggests organic origin.
| Stain Category | Visual Indicators | Primary Causes |
|---|---|---|
| Organic | Green, brown, red discoloration | Leaves, berries, pollen debris |
| Metal (Iron/Copper) | Orange, tan, blue-green spots | Well water, corroded fixtures |
| Cobalt | Grey-black spots with texture | Resin hardening agent leaching |
| Calcium | White scaling, bathtub rings | Hardness exceeding 400 ppm |
Each classification requires distinct treatment approaches. Metal stains respond to ascorbic acid applications, while calcium deposits demand specialized erasers or chemical treatments targeting carbonate or silicate compounds. Organic stains can be effectively removed by shocking the pool, which oxidizes the carbon-based pigments that have bonded to the surface. After successfully removing metal stains from the surface, you should add a metal sequestering agent to the water to prevent redepositing.
Check Surface Dullness Signs
When you’ve identified the stain type on your fiberglass pool, you’ll need to evaluate whether surface dullness accompanies the discoloration, a critical distinction that affects your treatment approach.
Start by examining the gelcoat for light haze progressing to white chalking. Apply diluted acid to a rag and test the affected area, no fizzing confirms chalking rather than calcium scale. Review your water chemistry history, particularly LSI levels and pH readings outside the 7.2-7.6 range. Understanding that the white substance from chalking contains calcium oxide rather than calcium carbonate helps you properly diagnose the issue before treatment. Regular water testing throughout the pool’s maintenance history provides valuable data for understanding how chemical imbalances may have contributed to surface degradation.
Conduct a tactile assessment: check for soft spots by pressing suspected areas and tap the surface to detect hollow sounds indicating delamination. Inspect for exposed aggregate, small divots, or uneven texture. Look for osmotic blisters appearing as small bumps. Document all findings photographically for professional review before proceeding with repair protocols.
Gather Fiberglass-Safe Cleaning Supplies
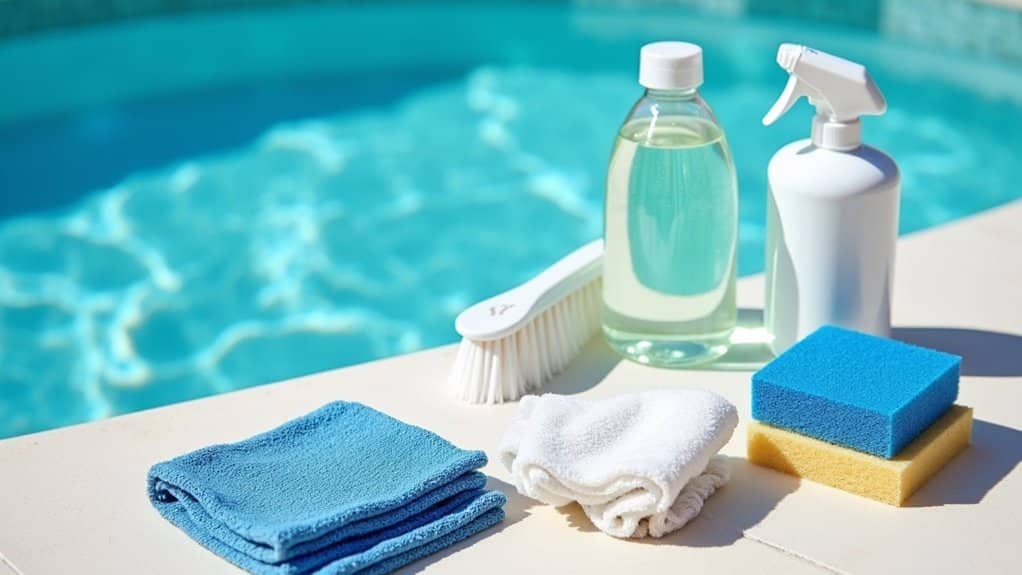
Before you begin cleaning your fiberglass pool, you’ll need to assemble the proper tools and products designed specifically for this surface type. Your cleaning brush selection should prioritize nylon bristles, which provide gentle action on the gel coat layer without causing scratches. For fiberglass cleaning agents, choose products like AquaGuard 5000 that won’t damage acrylic or gelcoat surfaces. This product is also effective at removing oxidation and chalky residue that commonly builds up on fiberglass pool walls.
| Equipment Category | Recommended Product | Key Feature |
|---|---|---|
| Nylon Brush | Lalapool Professional | Fiberglass-safe bristles |
| Surface Cleaner | AquaGuard 5000 | Gel coat compatible |
| Skimmer | Mainstays Pool Skimmer | 42-inch telescopic pole |
| Manual Vacuum | POOL BLASTER Max | Scratch-prevention design |
| Robotic Cleaner | Dolphin Nautilus CC Plus | Programmable operation |
You’ll also need a mesh skimmer for debris removal and a manual vacuum for thorough floor cleaning. The POOL BLASTER Max offers strong suction capabilities along with the convenience of a cordless design, making it particularly well-suited for fiberglass pool surfaces. Using the skimmer regularly helps prevent debris from sinking and reduces strain on the filtration system, keeping your pool cleaner between deep cleaning sessions.
Clean the Waterline and Above-Water Areas
You’ll need to address oily waterline buildup by applying Clean & Perfect enzyme cleaner to the waterline, allowing a 5-minute dwell time before wiping with a soft cloth. For fiberglass stairs and above-water surfaces, use a Magic Eraser with non-phosphate detergent to remove stains without damaging the gel coat finish. Test cleaning tools in discrete areas before applying them to visible surfaces to ensure they won’t cause damage. Focus your scrubbing efforts on areas prone to body oil and sunscreen residue accumulation, using only soft-bristle brushes to prevent scratching. The fiberglass surface’s non-porous gel-coat prevents grime from embedding, so light pressure is typically sufficient to remove buildup without aggressive scrubbing.
Remove Oily Waterline Buildup
Although body oils, sunscreen residue, and cosmetics accumulate naturally at the water’s edge, you can eliminate this oily waterline buildup with the right approach and fiberglass-safe products.
Apply enzyme cleaners like Clean & Perfect directly around the water’s edge. These formulations break down organic compounds without damaging gel coat surfaces. Allow a five-minute dwell time before wiping with a soft cloth.
Use pH neutral products and non-abrasive cleaners specifically designed for fiberglass. Select a soft-bristle pool brush for gentle agitation on stubborn deposits. For persistent bathtub rings, a kitchen sponge with mild cleanser works effectively.
Before starting, splash pool water onto the exposed waterline strip to loosen accumulated oils. Focus your efforts on high-contact areas where bathers typically enter and exit.
Scrub Steps With Detergent
Pool steps demand particular attention when tackling waterline and above-water cleaning, as these high-traffic zones accumulate concentrated deposits from repeated foot contact and standing water.
You’ll achieve ideal results through enzymatic cleaner usage on organic buildup from body oils and lotions. Apply enzyme-based products like Clean & Perfect directly to step surfaces, allowing them to dissolve stubborn residue before scrubbing with your nylon bristle brush.
For mineral deposits requiring diluted acid application, mix muriatic acid with water and apply using a stiff brush on above-water stains only. Work in overlapping strokes from the top step downward, maintaining light pressure to protect the gel coat.
Rinse each step thoroughly after treatment to eliminate chemical residue. Neutralize any acid mixture with soda ash before proceeding to adjacent areas.
Address Submerged Stains Without Draining the Pool
Submerged stains don’t require draining your pool when you’ve got the right identification and treatment approach.
First, identify the stain type by pressing a vitamin C tablet directly against the discoloration. Metal stains react immediately through electrolysis, releasing when ascorbic acid contacts the surface. If inconclusive, use a stain identifying kit on a water sample.
For confirmed metal stains, conduct electrolysis treatment by lowering chlorine to 0 ppm and pH to 7.2. Add one pound of ascorbic acid per 10,000 gallons, then circulate for 24 hours. After treatment, apply sequestering agents to bind released metals and prevent redeposition.
Organic stains from leaves and debris typically lift with brushing. Stubborn organic discoloration responds to stain erasers. These stains often resolve naturally within a couple of months.
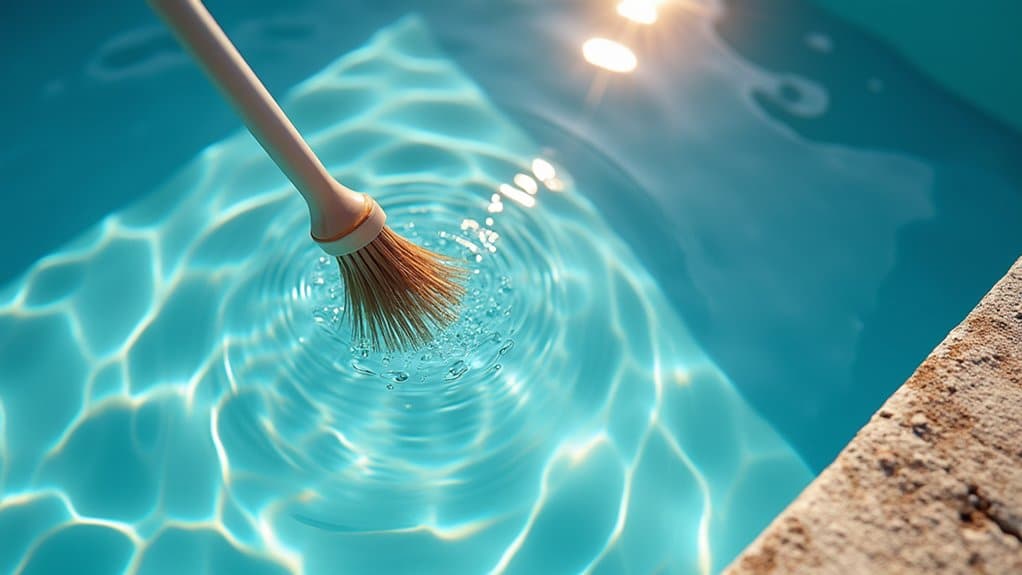
Rinse Surfaces and Balance Water Chemistry
Once you’ve addressed stains through acid treatment or electrolysis, you’ll need to rinse surfaces thoroughly and rebalance your water chemistry to protect the gelcoat finish. Use a soft, damp rag or nylon bristle brush to wipe down walls, steps, and waterline areas. Apply gentle, non-abrasive enzyme or vitamin C-based cleaners to neutralize residual treatment chemicals.
After rinsing, test chlorine levels regularly and adjust pH using soda ash to counteract acid exposure. Target a pH range between 7.4 and 7.6. You’ll also need to maintain proper alkalinity range through testing two to three times weekly.
Shock your pool to restore sanitation levels, allowing heightened chlorine for 24-48 hours. This protocol prevents algae formation and preserves your gelcoat’s integrity before repair work begins.
Prepare the Surface for Repair Work
Before you can apply any repair materials to your fiberglass pool’s gelcoat, you’ll need to drain the water level at least 12 inches below the damaged area using a submersible pump or the pool’s drain valve. This provides adequate working space while protecting pool equipment during the process.
Remove all loose fiberglass, debris, and calcium deposits. Power wash at 3500 psi to eliminate remaining contaminants, then vacuum residual particles.
To outline surface abrasion techniques: begin with 80-grit sandpaper using circular motions, progress to 120-grit, then finish with 220-grit wet sanding for ideal adhesion.
Review degreasing effectiveness by wiping surfaces with acetone or MEK. Inspect under bright light for a dull, contaminant-free finish. Perform a condensation test to confirm the substrate’s ready for repair material application.
Frequently Asked Questions
How Long Should I Wait After Cleaning Before Starting Fiberglass Pool Repairs?
You’ll find no specific drying time requirements mandated solely after cleaning your fiberglass surface. Once acetone evaporates, typically within minutes, you can proceed immediately with repairs. However, curing period considerations become critical afterward: allow 2-4 hours between filler layers, and observe the 15-20 minute working window for resin application. Guarantee your cleaned surface remains contaminant-free before applying sealants, as proper surface preparation directly impacts adhesion quality and structural integrity of your repair.
Can I Use Pressure Washers to Clean My Fiberglass Pool Surface?
You shouldn’t use pressure washers on your fiberglass pool surface. High-pressure water jets damage the gelcoat layer, creating micro-cracks that compromise the protective finish and invite algae colonization. Instead, minimize water pressure and utilize soft-bristled brushes or sponges for effective debris removal. Avoid harsh chemicals that accelerate gelcoat degradation. Apply fiberglass-safe cleaners with non-abrasive cloths, then rinse thoroughly. This methodical approach preserves surface integrity and guarantees ideal adhesion for subsequent repair applications.
What Temperature Is Best for Cleaning Fiberglass Pools Before Repair Work?
You’ll achieve the best results when cleaning your fiberglass pool surface at an appropriate cleaning temperature between 65°F and 85°F**. This range guarantees degreasing solvents like acetone and MEK evaporate correctly while allowing sufficient drying time for surface preparation. At approximately 70°F, you’ll maintain ideal working conditions for dust and oil removal without risking adhesion failures. Avoid cleaning below 65°F**, as cooler temperatures impair curing processes and extend solvent evaporation times considerably.
Should I Drain My Fiberglass Pool Completely Before Making Surface Repairs?
You don’t always need complete drainage, it depends on repair scope. For localized damage like small cracks or blisters, you’ll make water level adjustments by draining just below the affected area. Full drainage becomes necessary for extensive resurfacing or thorough surface evaluation. Before any repair, follow chemical treatment recommendations to neutralize residual sanitizers that could compromise gel coat adhesion. Guarantee the exposed fiberglass substrate remains completely dry during preparation and curing phases.
How Do I Know if My Fiberglass Pool Needs Professional Repair?
You’ll need professional repair when you notice signs of deterioration that extend beyond cosmetic damage. Look for deep cracks penetrating multiple layers, bulges or spongy sections indicating underlying structural issues, and hollow sounds when tapping surfaces that signal delamination. Osmosis blisters, consistent water level drops, or spider web-like cracking patterns also warrant expert evaluation. If your pool’s 15+ years old with multiple bare spots, schedule a professional structural assessment immediately.