Resurfacing your pool deck with epoxy requires methodical preparation and precise application techniques. You’ll need to thoroughly assess surface damage, clean and etch the concrete, and guarantee moisture content stays below 4%. Start by pressure washing at 3,000 PSI, apply a muriatic acid solution (1:4 ratio), then neutralize with baking soda. Mix epoxy components according to manufacturer specifications and apply with rollers in even strokes. Add non-slip additives at 4-5 pounds per 100 square feet while the first layer remains wet. Allow 24-72 hours for foot traffic and 7 days for full cure. Proper surface preparation and application techniques will determine your project’s long-term success.
Understanding Pool Deck Epoxy Materials
When selecting materials for pool deck resurfacing, epoxy coatings offer a durable and versatile solution that combines aesthetic appeal with practical protection.
You’ll find two main epoxy types: water-based and solvent-based formulations. Water-based epoxies provide better UV resistance and are environmentally friendly, while solvent-based options offer superior chemical resistance and adhesion.
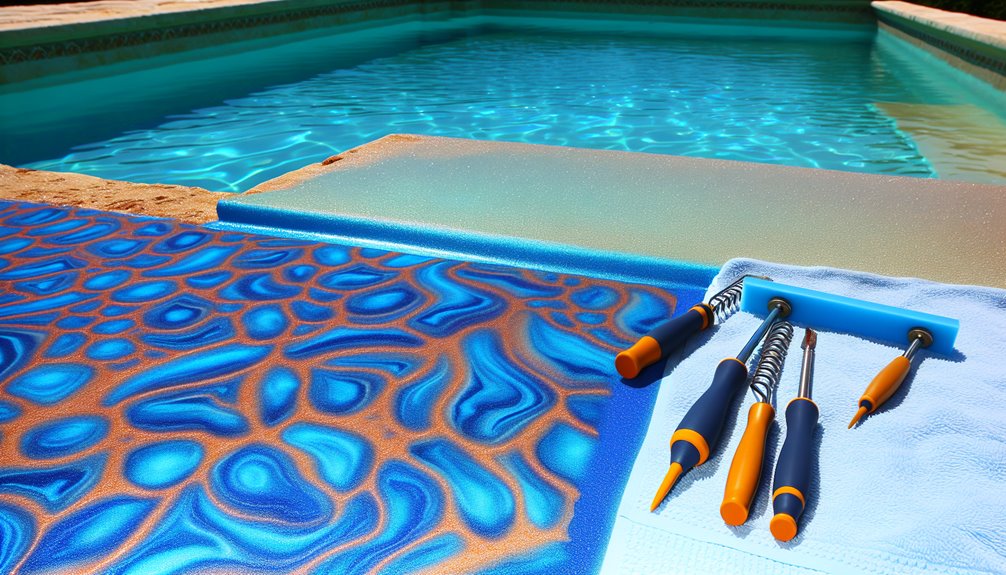
Your color options range from solid hues to decorative flake systems, allowing you to create custom designs that complement your outdoor space.
Modern epoxy formulations include advanced additives for slip resistance, UV protection, and chemical stability.
You’ll need to take into account factors like cure time, temperature requirements, and moisture tolerance when choosing your epoxy system.
The right combination of primer, base coat, and topcoat guarantees maximum durability and longevity for your pool deck surface.
Assessing Surface Damage
Before applying epoxy to your pool deck, you’ll need to thoroughly assess surface damage across three key areas: cracks and gaps, moisture issues, and texture problems.
You’ll want to map out and measure any visible cracks or separations, then check for dark spots, efflorescence, or peeling that could indicate moisture infiltration.
Testing surface texture variations with a straightedge and conducting basic moisture meter readings will help determine if additional preparation steps are required.
Identifying Cracks and Gaps
Since proper surface preparation is essential for epoxy coating success, a thorough inspection of your pool deck’s existing damage must be your first priority.
During your crack identification process, you’ll need to carefully examine the entire surface area, marking problematic spots for targeted repairs.
When conducting your gap assessment, focus on these critical areas:
- Control joints and expansion gaps that have deteriorated or separated from adjacent surfaces
- Hairline cracks less than 1/8 inch wide that may indicate surface-level damage
- Structural cracks wider than 1/8 inch that could signal deeper foundation issues
- Areas where previous patches or repairs have failed or separated
You’ll need to document each crack’s width, depth, and pattern to determine the appropriate repair method and guarantee your epoxy application achieves maximum adhesion and longevity.
Evaluating Moisture Problems
How effectively you identify moisture issues can make or break your epoxy pool deck project. You’ll need to conduct thorough moisture detection tests before applying any coating, as excess moisture can lead to delamination and bubbling.
| Moisture Sign | Required Action |
|---|---|
| Dark patches | Use moisture meter |
| Efflorescence | Remove salt deposits |
| Sweating concrete | Allow surface drying |
| Humidity readings >75% | Delay application |
| Standing water | Address drainage |
Test the concrete’s moisture content using both electronic meters and calcium chloride testing methods. Consider the humidity impact on your project timeline, as high ambient moisture levels can greatly affect curing times. Don’t rush this evaluation phase, proper moisture assessment prevents costly failures. If you detect concerning moisture levels, implement dehumidification measures or consult a professional for advanced moisture remediation solutions.
Surface Texture Analysis
Successfully dealing with moisture allows you to advance to the equally important task of surface texture assessment.
Your pool deck’s surface texture directly impacts both the final aesthetic appeal and the epoxy coating’s durability. Examine the concrete surface carefully to identify imperfections that could compromise your resurfacing project. Fixing surface imperfections is essential to prevent uneven areas and epoxy peeling. The importance of resurfacing pool decks lies in creating a long-lasting, attractive finish that boosts safety and reduces maintenance. Regular inspections help preserve your pool area’s structure and enjoyment.
- Run your hand across the surface to detect subtle variations in texture; note any rough spots, scaling, or spalling.
- Use a straightedge to identify low spots and depressions that’ll need filling.
- Mark areas of exposed aggregate or significant pitting that require additional preparation.
- Document any crack patterns or surface deterioration that might indicate deeper structural issues.
These observations will determine your surface preparation strategy and help you select the appropriate epoxy formulation for ideal results.
Essential Tools and Safety Equipment
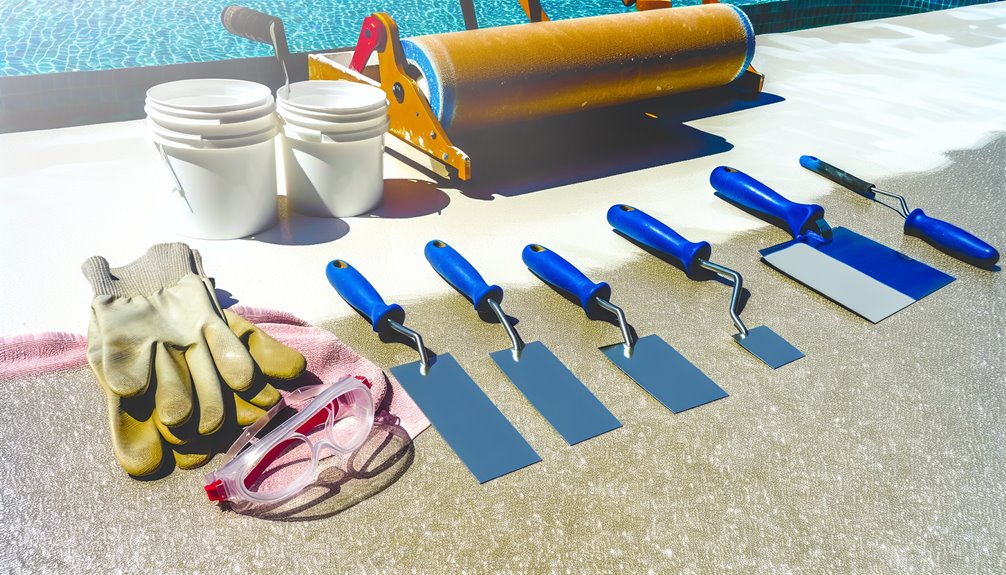
Before beginning any epoxy pool deck resurfacing project, gathering the proper tools and safety equipment is critical for both quality results and personal protection. You’ll need specific safety gear and application tools based on the epoxy types you’re using.
| Category | Essential Items | Purpose |
|---|---|---|
| Safety Gear | Respirator, Goggles, Gloves | Chemical protection |
| Surface Prep | Grinder, Vacuum, Scrapers | Substrate preparation |
| Mixing Tools | Buckets, Drill Mixer, Scales | Epoxy combination |
| Application | Rollers, Brushes, Squeegees | Material spreading |
| Clean-up | Solvent, Rags, Disposal Bags | Post-work restoration |
Following safety guidelines, you’ll need chemical-resistant gloves, a NIOSH-approved respirator, and safety goggles. For application, make sure you have a power mixer, spike rollers, and squeegees readily available. Don’t forget cleaning supplies for both tools and potential spills.
Surface Preparation and Cleaning
With your tools and safety equipment ready, proper surface preparation stands as the foundation of a lasting epoxy pool deck installation.
Surface contaminants removal must be thorough and systematic to guarantee the best adhesion of the epoxy coating. You’ll need to implement effective cleaning techniques that address both visible and microscopic debris.
- Remove all loose material, including dirt, leaves, and existing coating fragments using a pressure washer set at 3,000 PSI.
- Etch the concrete surface with muriatic acid solution (1:4 ratio) to achieve proper porosity.
- Neutralize the acid with a baking soda solution, then rinse thoroughly.
- Allow the surface to dry completely for 24-48 hours, confirming moisture content is below 4%.
Test the surface’s readiness by applying water droplets, they should absorb within 30 seconds for ideal adhesion conditions.
Crack Repair and Patching
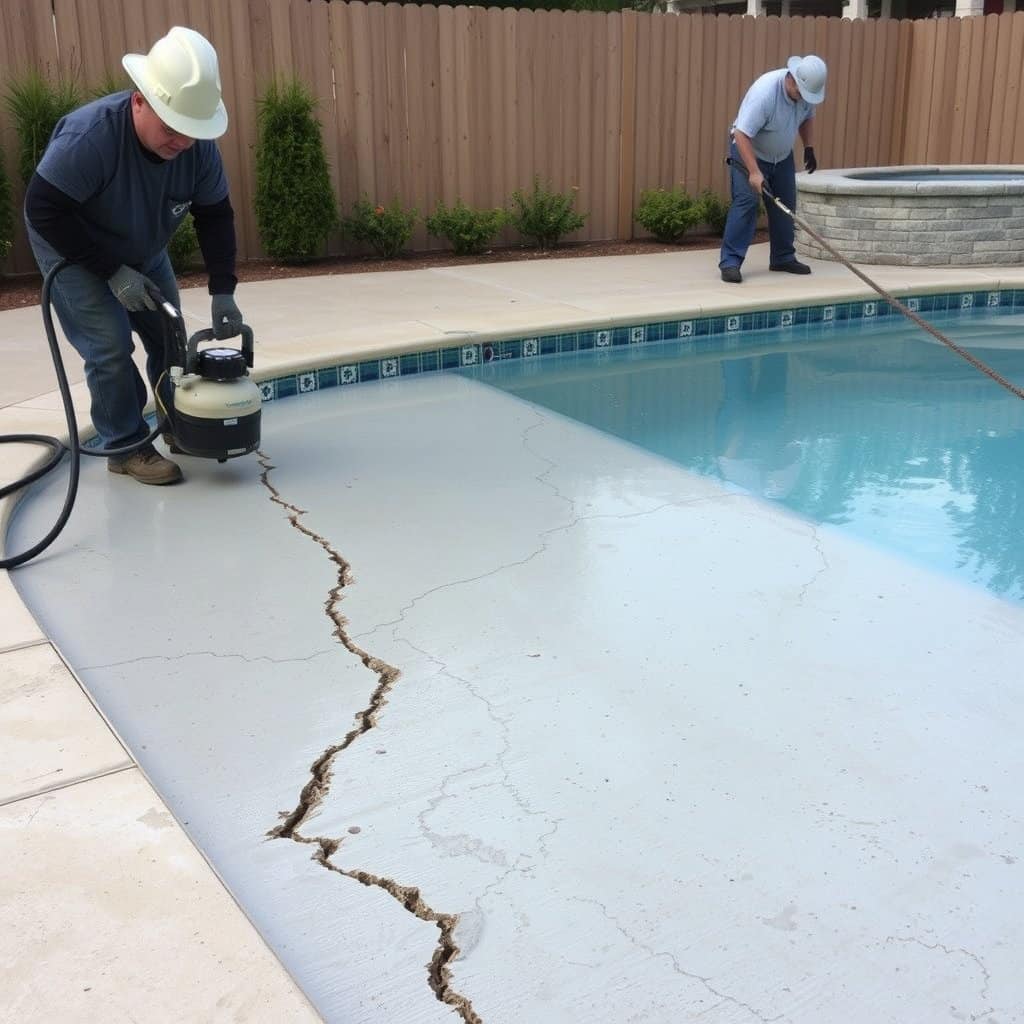
Cracks and surface imperfections in your pool deck require immediate attention before applying epoxy coating.
Begin by identifying different crack types – structural cracks require professional assessment, while hairline and surface cracks you can repair yourself.
For hairline cracks, use a V-shaped crack chaser to widen the opening, then remove debris with compressed air.
Apply an epoxy crack filler using patching techniques appropriate for the damage size.
For deeper cracks, you’ll need to utilize a two-step process: first, fill with epoxy primer, then top with epoxy paste.
Spalled areas demand special attention, cut away loose concrete, prime the area, and apply an epoxy mortar mix.
Allow all repairs to cure completely according to manufacturer specifications before proceeding with your main epoxy application.
Priming Your Pool Deck
The priming stage represents a vital foundation for successful epoxy pool deck resurfacing. You’ll need to select the right primer type based on your concrete’s condition and the epoxy system you’re using. Water-based and solvent-based primers each offer distinct advantages, but always verify compatibility with your chosen epoxy coating.
Before applying primer, confirm your deck’s surface temperature falls between 50-90°F. Apply the primer using proper application techniques and following the manufacturer’s specified coverage rates.
- Roll the primer in thin, even coats using a 3/8-inch nap roller.
- Maintain a wet edge to prevent lap marks.
- Apply in a crosshatch pattern for best coverage.
- Allow proper cure time based on humidity and temperature.
Don’t rush this essential step – proper priming greatly impacts your epoxy coating’s longevity and performance.
Mixing and Applying Epoxy
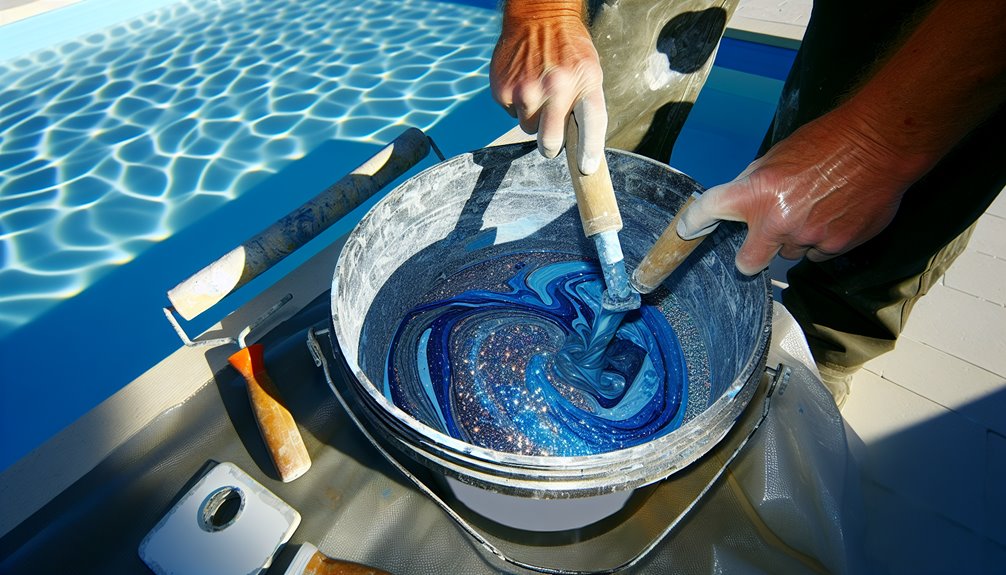
To achieve a durable epoxy pool deck finish, you’ll need to carefully measure and mix the epoxy components according to the manufacturer’s specified ratios, typically using a mechanical mixer at low speed.
You’ll apply the mixed epoxy using a roller or squeegee in even strokes, working in manageable sections to maintain a consistent wet edge throughout the application process.
The curing process requires strict temperature control between 60-85°F and typically takes 24-72 hours before allowing foot traffic, though full chemical and mechanical resistance develops over 5-7 days.
Proper Mixing Ratio Techniques
Achieving ideal performance with epoxy pool deck coating depends heavily on proper mixing ratios between resin and hardener components. You’ll need to follow manufacturer specifications precisely, as incorrect epoxy ratios can lead to incomplete curing and coating failure.
Proper mixing techniques involve carefully measuring and combining the components at room temperature for best chemical reaction.
- Use calibrated measuring containers to achieve exact manufacturer-specified ratios
- Mix components thoroughly for 3-5 minutes, scraping sides and bottom
- Don’t exceed recommended batch sizes, as larger amounts affect working time
- Watch for uniform color and consistency throughout the mixture
Always check product documentation for specific mixing requirements, as ratios can vary between brands.
Remember that environmental conditions like temperature and humidity can impact mixing effectiveness, so adjust your technique accordingly.
Epoxy Application Best Practices
Successful epoxy application requires systematic execution and proper timing during the installation process.
Begin by selecting from available epoxy color options and make certain your workspace temperature remains between 55-85°F for ideal curing.
Apply the first coat using a 3/8-inch nap roller with long, even strokes, maintaining a consistent thickness of 10-12 mils.
Among essential epoxy application techniques, the “back-rolling” method helps eliminate bubbles and guarantees uniform coverage.
Work in manageable 4×4 foot sections, and don’t exceed the product’s working time.
After 12-24 hours, lightly sand the first coat and remove all dust before applying the second coat perpendicular to the first.
For enhanced slip resistance, broadcast non-skid additives during the final coat’s application while the surface remains wet.
Curing Time and Temperature
Proper curing conditions directly impact the durability and longevity of your epoxy pool deck coating. Temperature effects play an essential role in determining how quickly and effectively your epoxy will cure.
You’ll need to maintain ambient temperatures between 60-85°F (15-29°C) throughout the curing process for ideal results.
- Initial set time: 4-6 hours at 77°F (25°C), during which the surface should remain completely undisturbed
- Light foot traffic: Allow 12-24 hours, depending on temperature and humidity levels
- Heavy foot traffic: Wait 48-72 hours before allowing regular pool deck activities
- Full chemical cure: Complete hardening takes 7 days under perfect curing conditions
Monitor weather forecasts before starting your project, as extreme temperatures can compromise the coating’s integrity.
If temperatures fall outside the recommended range, you’ll need to adjust your application timeline accordingly.
Adding Non-Slip Texture
Safety demands the integration of non-slip additives when applying epoxy to pool deck surfaces. The most effective method is broadcasting anti-slip materials between coating layers.
You’ll need to select appropriate non-slip additives like aluminum oxide, silica sand, or polymer grit, depending on your desired texture level.
For best results, you’ll want to apply your first epoxy coating, then broadcast the non-slip material while it’s still wet. Spread the additive evenly using a hopper gun or hand-casting method at a rate of 4-5 pounds per 100 square feet.
Once the initial layer cures, vacuum excess material and apply your final coating. This technique guarantees the non-slip particles are permanently embedded in the surface coatings while maintaining an even, professional finish that won’t compromise the deck’s appearance.
Curing and Protection Requirements
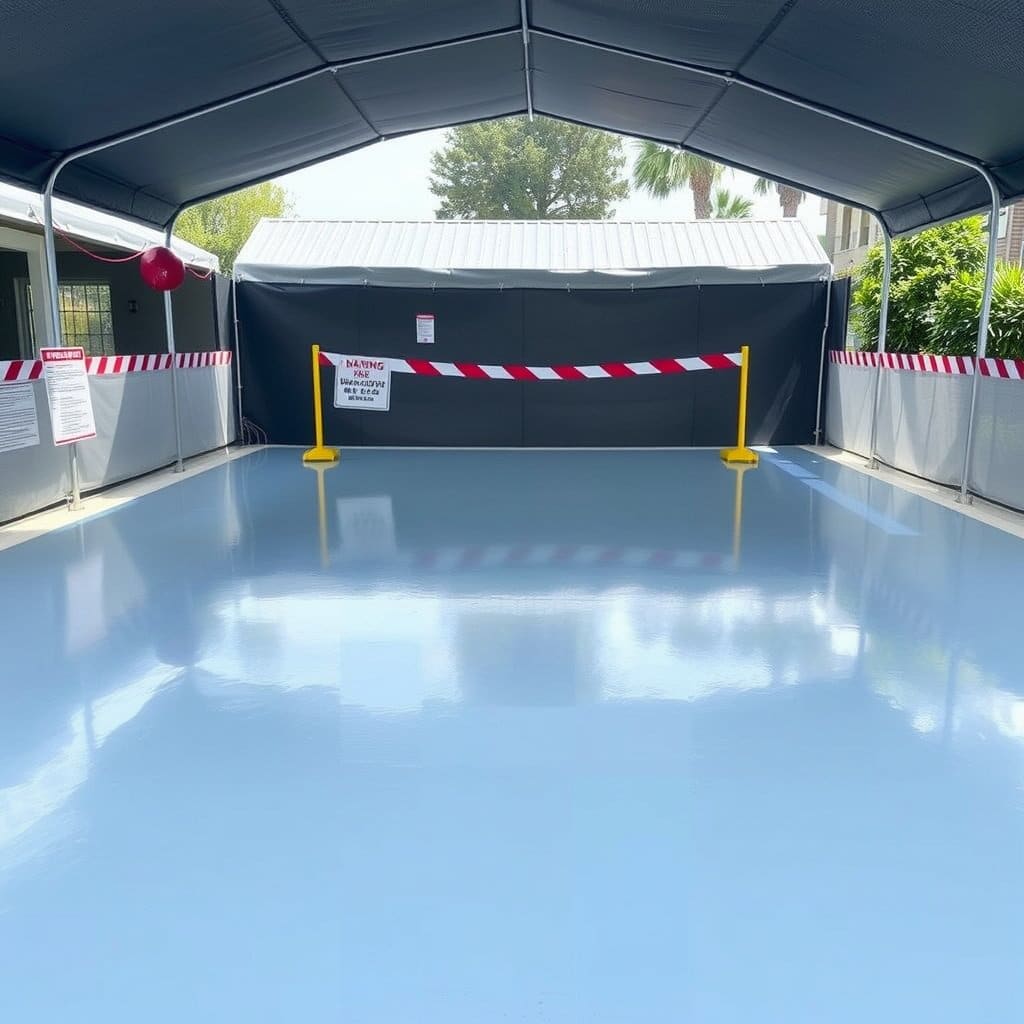
While epoxy coatings offer exceptional durability, they require specific curing conditions and protection measures to achieve prime performance.
During the epoxy curing process, you’ll need to maintain ideal temperature and humidity levels while protecting the surface from any potential damage.
- Keep the area temperature between 60-85°F (15-29°C) throughout the entire curing period, which typically spans 24-72 hours.
- Maintain relative humidity below 80% to prevent moisture interference with the epoxy curing process.
- Block all foot traffic and protect the surface from debris, water exposure, and UV rays for at least 24 hours.
- Shield the newly coated deck from pool chemicals, cleaning agents, and mechanical stress for a minimum of 7 days.
These surface protection requirements guarantee your epoxy coating develops maximum hardness and longevity.
Long-Term Maintenance Tips
You’ll need to establish a consistent cleaning schedule for your epoxy pool deck, including weekly sweeping and monthly deep cleaning with pH-neutral cleaners.
Early detection and repair of minor damages, such as scratches or small cracks, will prevent more extensive deterioration of your deck’s surface.
Regular maintenance inspections should include checking for delamination, UV damage, and chemical exposure that could compromise the epoxy coating’s integrity.
Regular Cleaning Schedule
Regularly maintaining your epoxy pool deck through proper cleaning extends its lifespan and preserves its aesthetic appeal. In addition to routine cleaning, it’s essential to inspect the surface for any cracks or damage that may require attention. Addressing these issues promptly can prevent further deterioration and may eliminate the need for costly resurfacing pool deckin the future. Additionally, keeping an eye on your pool deck’s condition allows you to plan for any necessary improvements in advance. Understanding the pool deck resurfacing cost breakdown can help you budget effectively and make informed decisions about maintenance or upgrades.
Follow a strict maintenance checklist and establish a consistent cleaning frequency to prevent buildup of debris, chemicals, and environmental contaminants.
- Sweep your deck daily to remove loose dirt, leaves, and debris that can scratch the surface.
- Perform a thorough wash with pH-neutral cleaner weekly, avoiding harsh chemicals that could damage the epoxy coating.
- Conduct monthly deep cleaning sessions using specialized epoxy-safe cleaners to remove stubborn stains and mineral deposits.
- Schedule quarterly inspections to identify any signs of wear, delamination, or damage that require immediate attention.
Don’t let puddles or standing water remain on the surface, as they can lead to premature wear and potential safety hazards.
Always use soft-bristled brushes and non-abrasive cleaning tools.
Repair Minor Damages Early
Because minor damages can quickly escalate into major problems, addressing small issues immediately is essential for maintaining your epoxy pool deck’s integrity.
During your seasonal inspections, look for hairline cracks, small chips, or areas where the epoxy coating appears thin or worn. These spots can allow moisture to penetrate beneath the surface, leading to delamination or substrate deterioration.
As part of your preventive maintenance strategy, keep epoxy repair materials on hand to address these issues promptly.
When you spot a problem area, clean it thoroughly, sand the edges smooth, and apply a matching epoxy patch compound.
Don’t wait for convenient timing, even small repairs should be completed within 48 hours of discovery to prevent water infiltration and maintain your deck’s protective barrier.
Frequently Asked Questions
Can Epoxy Pool Deck Resurfacing Be Done During Winter Months?
You shouldn’t apply epoxy pool deck coatings during winter months, as cold temperatures greatly impact the epoxy curing process.
When temperatures drop below 50°F (10°C), your epoxy won’t bond properly, won’t level correctly, and may develop surface defects.
Winter weather considerations like humidity, condensation, and frost can also compromise the coating’s integrity.
For best results, you’ll need to wait for warmer conditions when temperatures consistently stay above 50°F.
How Much Does Professional Epoxy Pool Deck Resurfacing Typically Cost?
You’ll typically pay between $7-15 per square foot for professional epoxy pool deck resurfacing, though costs can vary greatly based on several key factors.
The size of your deck, existing surface condition, and local labor rates heavily influence the final price.
The installation process complexity, including surface preparation and multiple coating layers, affects costs.
High-end metallic epoxy finishes or custom designs can push prices close to $20 per square foot.
Will Chlorine From Pool Splashes Affect the Epoxy Coating?
You don’t need to worry about chlorine effects on your epoxy pool deck coating.
Quality epoxy formulations are specifically designed to resist chemical exposure, including pool chemicals. The coating’s durability won’t be compromised by regular chlorine splashes or pool water contact.
However, you should still rinse off any chemical spills or standing pool water to maintain the coating’s appearance and prevent mineral deposits from forming on the surface.
Can I Resurface Only Part of My Pool Deck?
While you can bite the bullet and do partial resurfacing, it’s not the ideal solution for your pool deck.
You’ll likely encounter color matching issues and visible junction lines where new and old surfaces meet. This inconsistency affects deck aesthetics considerably.
For best results, you should resurface the entire deck to guarantee uniform appearance, texture, and protection.
If budget’s a concern, consider completing the project in planned phases over time.
Does Epoxy Pool Deck Coating Increase Home Resale Value?
Yes, epoxy pool deck coating can boost your home’s resale value when done properly.
You’ll see multiple benefits that appeal to potential buyers: enhanced curb appeal, improved safety through slip resistance, and extended deck longevity.
This home improvement typically offers a solid return on investment, as buyers value well-maintained outdoor spaces.
While it’s difficult to quantify the exact value increase, you’ll find that a professionally coated deck becomes a strong selling point.