Repairing your fiberglass pool involves seven key steps: recognizing warning signs like spider cracks or blistering, draining while preventing flotation, examining and cleaning damaged areas, sanding and applying fiberglass reinforcement, finishing with gel coat and sealing joints, allowing proper curing time, and testing for leaks. You’ll need professional help when you spot bulging walls, soft floor spots, or deep structural cracks. Comprehending each step’s specific techniques guarantees your repair lasts for years.
Recognizing the Warning Signs That Your Fiberglass Pool Needs Repair
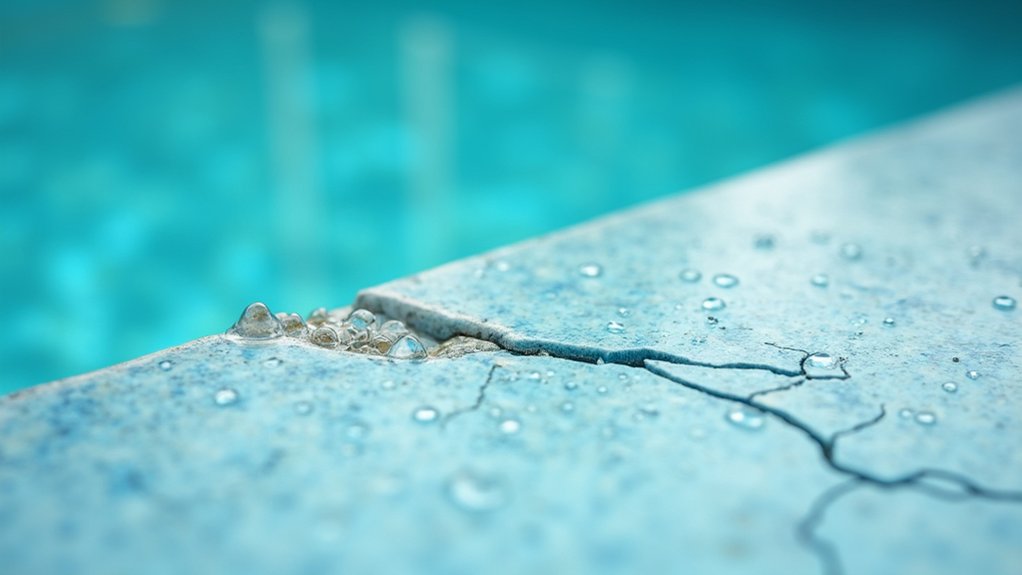
Your fiberglass pool communicates its condition through visible changes that, when caught early, prevent minor issues from becoming major expenses. Spider cracks, fine, web-like fractures in the gelcoat, often result from shipping stress or minor impacts. Diagnosing crack causes quickly determines whether you’re facing cosmetic concerns or structural problems. Quality manufacturers use flexible gelcoats that resist these fractures better than standard formulations. Professional repair using fiberglass patch and color-matched gelcoat can effectively address these spider cracks.
Osmotic blistering appears as small bumps where water penetrates the gelcoat surface. The vinyl ester resin layer beneath the gelcoat serves as a crucial barrier against this water infiltration and osmotic damage. Surface discoloration and chalking indicate UV damage or chemical imbalance. Monitoring water chemistry keeps pH between 7.2-7.6, preventing accelerated deterioration.
Bulging walls signal backfill shifts or groundwater pressure requiring professional evaluation. Unexplained water level drops point to leaks from faulty seals or plumbing issues. Watch for these warning signs during annual inspections to address repairs before costs escalate substantially.
Draining the Pool and Preparing the Work Area
Once you’ve identified damage that requires hands-on repair, you’ll face a decision that demands careful consideration: draining your fiberglass pool. This process carries significant risk of structural damage, including shifting or popping out of the ground.
Draining a fiberglass pool isn’t routine maintenance, it’s a high-stakes decision that could destroy your entire investment.
Before draining, you’ll need to complete these critical steps:
- Evaluating groundwater levels to determine floating risk
- Installing temporary pool bracing across the width with 3 supports positioned 18, 24 inches below the wall tops
- Shutting down all equipment and opening the hydrostatic relief valve
- Placing 6, 8 large trash cans inside for downward floor pressure
- Verifying dry weather conditions throughout the entire process
Position your submersible pump at the pool’s deepest point and direct drainage to approved locations. Use professional pumps and valves to control flow rate and avoid pressure shock to the fiberglass shell. Never leave the draining pool unattended, monitor constantly for floor lifting or sponginess. To protect your investment and avoid voiding your warranty, ensure that only authorized fiberglass pool professionals handle the draining process. After the pool is fully drained, thoroughly clean and inspect the surface for any damage, then perform necessary repairs before beginning the refilling process.
Assessing the Damage and Cleaning the Affected Surface
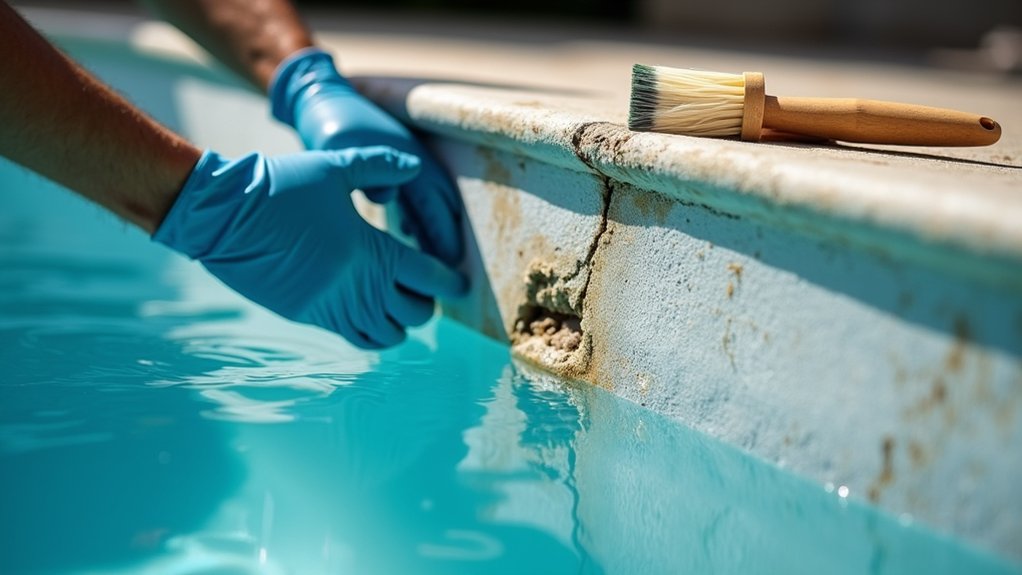
Before you can apply any repair materials, you’ll need to conduct a thorough damage assessment to determine the scope of work ahead.
Visual Inspection Techniques
Start by examining the surface for chalking, crazing, blistering, and color fading. Tap the gelcoat to detect hollow sounds indicating delamination. Measure any cracks’ length, width, and depth, then photograph everything from multiple angles with size references. Since pool damage usually starts after 10 to 15 years, understanding your pool’s age helps contextualize the wear you’re observing.
Damage Severity Assessment
Surface scratches affecting only gelcoat differ greatly from deep gouges penetrating the fiberglass substrate. Soft blisters signal moisture intrusion requiring urgent attention, while structural cracks need professional evaluation. Remember that while fiberglass pools are durable, they can still be damaged without proper maintenance and care. Always purchase slightly more materials than your initial estimates suggest to account for unexpected repairs or application errors.
Surface Preparation
Clean the affected area using non-abrasive cleaner to remove algae and calcium deposits. Abrade with 180-220 grit sandpaper in circular motions, maintaining consistent pressure to avoid gouging. Run your fingertips across the surface to identify remaining rough spots.
Sanding and Applying Fiberglass Reinforcement
Once you’ve assessed and cleaned the damaged area, you’ll need to sand methodically using progressively finer grits while employing step sanding techniques that expose fiberglass layers in concentric circles from the damage center. After achieving a rough, even texture and degreasing the surface with acetone or MEK, you can begin saturating and applying fiberglass cloth layers that match the original fabric’s type and orientation. Each ply must be built up systematically to fill voids completely, then allowed to cure fully before you proceed to gelcoat application. This methodical approach to increasing surface area strengthens the bond between the repair patch and the original pool structure. Leaving untreated erosion during this process can eventually lead to structural issues like leaks and cracks in your pool. Following manufacturer’s instructions carefully during this process ensures proper mixing ratios and application techniques for a durable, long-lasting repair.
Progressive Grit Sanding Technique
The progressive grit sanding technique forms the foundation of any successful fiberglass pool repair, transforming rough, damaged surfaces into smooth substrates ready for reinforcement and finishing. You’ll start with 80-grit sandpaper using circular sanding patterns to remove jagged edges and major imperfections. Your sanding equipment should include variable speed orbital sanders for large areas and detail sanders for tight spots.
Progress through these grits systematically:
- 80-grit removes major damage and rough edges
- 120-grit provides intermediate smoothing and edge blending
- 220-grit delivers finishing touches and surface integration
- 400-grit wet sanding prepares surfaces for gelcoat application
- 600-1500 grit refines scratches for even gloss
Keep surfaces wet during sanding to prevent airborne dust. Clean thoroughly between grits and check your work by touch to guarantee seamless continuity. For superficial scratches, lightly sanding with fine-grit sandpaper and applying a matching gel coat can effectively restore the pool’s surface appearance.
Applying Fiberglass Cloth Layers
Laying down fiberglass cloth layers requires precise preparation and systematic application to restore your pool’s structural integrity.
Start by cutting marine-grade fiberglass cloth to extend 6-8 inches beyond crack edges. Position the cloth using the dry method for accurate placement before saturating. Your bonding resin application should work from center outward, eliminating wrinkles while fully wetting the mat.
Build layers incrementally, stacking repair plies until you’ve restored the original fabric volume. After every 3-5 plies, employ air evacuation techniques using a bubble roller or squeegee to compact the laminate and eliminate voids. This debulking process creates a dense, structurally sound repair.
Apply a final surfacing layer over the entire patch. Allow 48 hours for full cure, and inspect for complete saturation before proceeding with finishing steps. A well-executed repair using these techniques can help your pool last 25, 50 years with proper ongoing maintenance.
Filling Voids and Curing
Before sanding and applying fiberglass reinforcement, you’ll need to address any voids beneath your pool’s surface that cause dangerous flexing and structural weakness. Start by drilling access holes to assess void depth, which can exceed 12 inches in pool steps.
A precise foam/grout mixture determines your repair’s success. For large step voids, mix approximately 4 cubic feet of backfilling foam, stirring thoroughly before pouring into the deepest areas first. When addressing backfill-related voids, remember that gravel backfill is preferred over sand because it doesn’t settle over time, which helps prevent the void formation that leads to these repairs.
Key steps for thorough pre-sanding preparation:
- Pour expanding foam like Secure Set into side voids for structural support
- Allow foam to fully cure before cutting excess flush with the surface
- Pump flowable grout through 2-inch cored holes for hydrostatic pressure voids
- Add set retarder to grout for 4-5 hours of workable flowability
- Monitor curing progress to guarantee solid support before sanding begins
If you notice the pool shell has shifted during your assessment, be aware that correcting misaligned pools may require lifting and resetting the shell before void filling can proceed effectively.
Finishing With Gel Coat and Sealing All Joints
Once you’ve completed your fiberglass repair and primer has fully cured, applying gel coat becomes the critical final step that determines both appearance and longevity.
Your catalyzed gelcoat application requires precise measurements, use 1.2% to 3% MEKP catalyst depending on ambient temperature. A thorough mixing process of 2-3 minutes eliminates air bubbles that cause surface defects. Apply 4-5 layers at 5 mils each, targeting 20-24 mils total thickness for underwater areas to guarantee blistering does not occur.
For sealing joints, thin your gelcoat with styrene monomer to improve flow into tight spaces. Apply multiple thin passes rather than heavy coats to prevent cracking in stressed areas. Add styrene wax or PVA release film as air inhibitors to verify complete curing. Allow 24-48 hours before wet sanding with 400-grit paper.
Curing Time and Testing for Leaks
After applying gel coat and sealing all joints, you’ll need to allow adequate curing time before refilling your pool, typically 24 to 48 hours depending on temperature and humidity conditions. Once you’ve refilled the pool, conduct a bucket test by placing a water-filled bucket on the steps and comparing evaporation rates over 24 hours to confirm your repair holds water effectively. If you suspect any remaining issues, use the dye test method around your repaired areas to verify that no water is escaping through the sealed joints.
Proper Cure Time Requirements
Rushing through cure times ranks among the most common mistakes in fiberglass pool repair, often undoing hours of careful work. Understanding curing environment effects helps you plan repairs effectively. Temperature below 70°F and high humidity substantially extend drying periods for resins and sealants.
When evaluating cured condition, use these verification methods:
- Apply water drops to test absorption, wet spots indicate incomplete curing
- Perform light sanding on primer; fine powder without stickiness confirms readiness
- Wait 72 hours before applying pressure to repaired areas
- Allow 7 days before water exposure for maximum sealant strength
- Conduct 400-grit wet sanding on gelcoat only after 24-48 hour cure
Initial fiberglass resin patches need 24-48 hours before sanding. Gelcoat achieves full hardness over 28 days, so fill carefully to prevent damage.
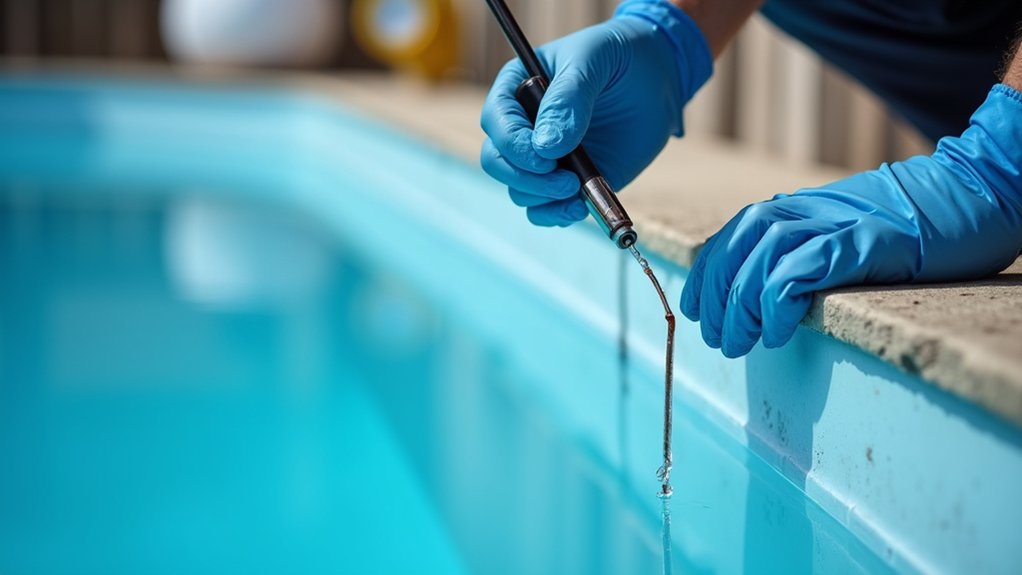
Post-Repair Leak Detection
Confirming your fiberglass pool repair holds water requires systematic leak detection before returning the pool to normal use. Start with the bucket test, fill a bucket with pool water, mark both levels, and compare water loss over 24 hours. If pool loss exceeds bucket evaporation beyond 1/4 inch daily, you’ve got a problem.
For precise leak verification, apply dye testing around your repair site. Turn off the pump, let water settle, then release dye near the repaired area. Watch closely, if dye pulls toward the repair, the seal hasn’t held.
These detection methods guarantee long term pool stability by catching failures early. Don’t skip this step; discovering a compromised repair now prevents costly damage later and verifies your work meets professional standards.
Knowing When to Call a Professional for Major Repairs
While minor surface blemishes and small spider cracks often fall within DIY territory, certain warning signs demand immediate professional intervention to prevent costly damage.
Troubling structural shifts like bulging walls indicate serious ground movement or backfill failure that requires expert assessment. Hidden water leaks can erode your pool’s foundation before you notice visible damage, making specialist diagnosis essential.
Contact a professional immediately if you observe:
- Broad, deep cracks extending through multiple structural layers
- Bulging walls or uneven surfaces around your pool
- Unexplained water loss exceeding normal evaporation rates
- Soft spots detected in your pool floor during inspection
- Osmotic blistering or widespread gelcoat delamination
These issues compromise your pool’s structural integrity and worsen rapidly without proper repair techniques.
Frequently Asked Questions
How Much Does a Typical Fiberglass Pool Repair Cost on Average?
You’ll typically pay between $300 and $15,000 for fiberglass pool repairs, depending on the scope of work needed. Average repair costs break down as follows: gel coat fixes for scratches run $300 to $400, while full resurfacing ranges from $6,500 to $15,000. Your repair material selection considerably impacts the final price, basic gel coat applications cost less than epoxy or polymer coatings. Structural crack repairs add $1,000 to $5,000 to your total.
Can I Swim in My Pool During the Repair Curing Process?
No, you can’t swim during the repair curing process. You’ll need to stay out of the pool for 7, 12 days total, which includes the curing phase and water stabilization period. Limited water use is essential during the first 28 days to protect the gelcoat surface. The repair timeline impact depends on weather conditions, humidity, and coating type. Keep the pool filled but avoid swimming until chemicals fully balance.
How Long Will a Professional Fiberglass Pool Repair Typically Last?
A professional fiberglass pool repair typically lasts 10-20 years when done correctly. Your pool repair lifespan depends heavily on repair quality considerations like the technician’s expertise, materials used, and proper surface preparation. You’ll extend durability by maintaining balanced water chemistry and addressing issues promptly. High-quality repairs using premium gel coat and professional application techniques guarantee your fix integrates seamlessly with the original surface, maximizing longevity and protecting your investment.
Does Homeowner’s Insurance Cover Fiberglass Pool Repair Costs?
Your homeowner’s insurance typically covers fiberglass pool repairs for specific perils like fire, vandalism, windstorms, and lightning strikes. However, insurance policy exclusions apply to wear and tear, poor maintenance, flooding, and freeze damage from improper winterization. You’ll need to meet your deductible requirements before coverage kicks in. In-ground fiberglass pools usually fall under “other structures” coverage at 10% of your dwelling limit. Check your specific policy for exact terms.
What Weather Conditions Are Best for Completing Fiberglass Pool Repairs?
You’ll achieve the best fiberglass pool repair results during spring or fall when conditions are favorable. The preferred temperature range sits between 50-80°F, allowing repair materials to cure properly without rapid evaporation or freezing complications. Adequate humidity levels should remain low to prevent drying delays and guarantee strong adhesion. Choose dry, stable days with minimal wind for precise compound application. Avoid scheduling repairs during winter’s freezing temperatures or summer’s extreme heat peaks.