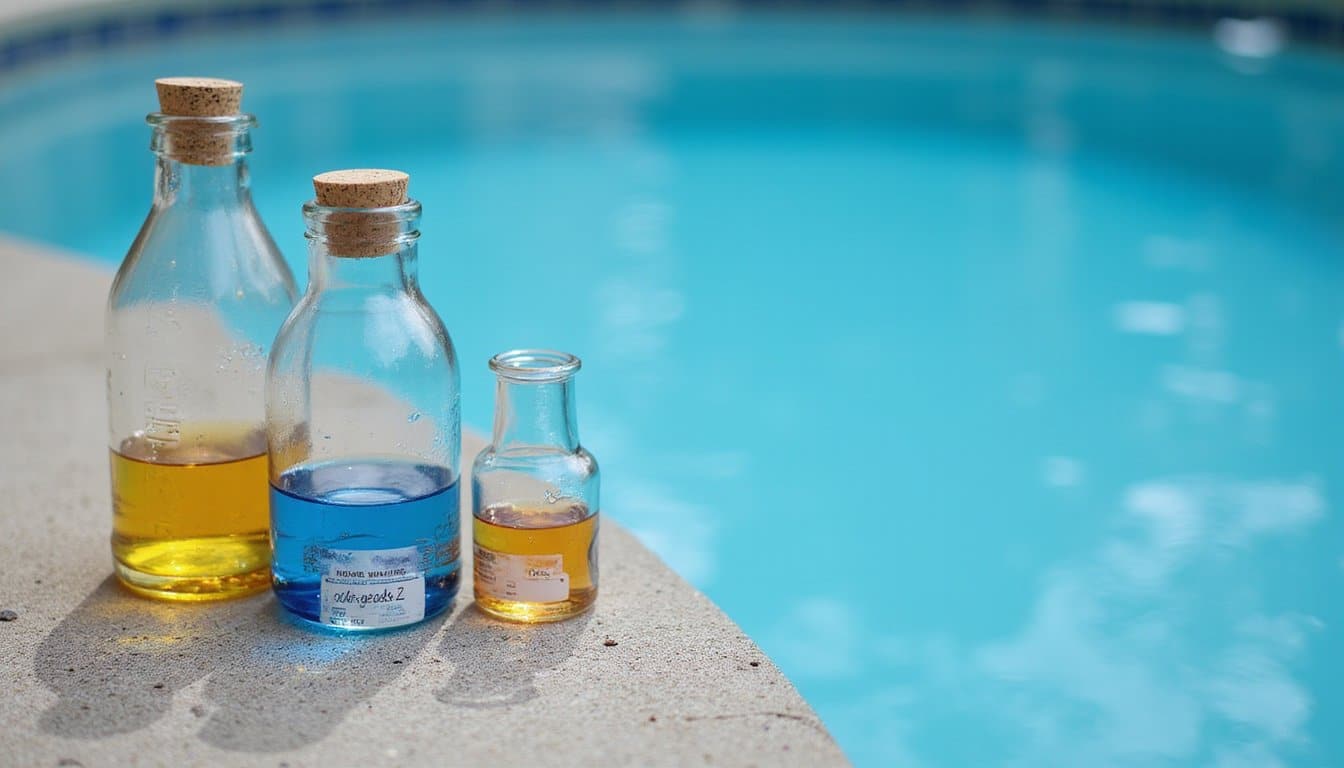
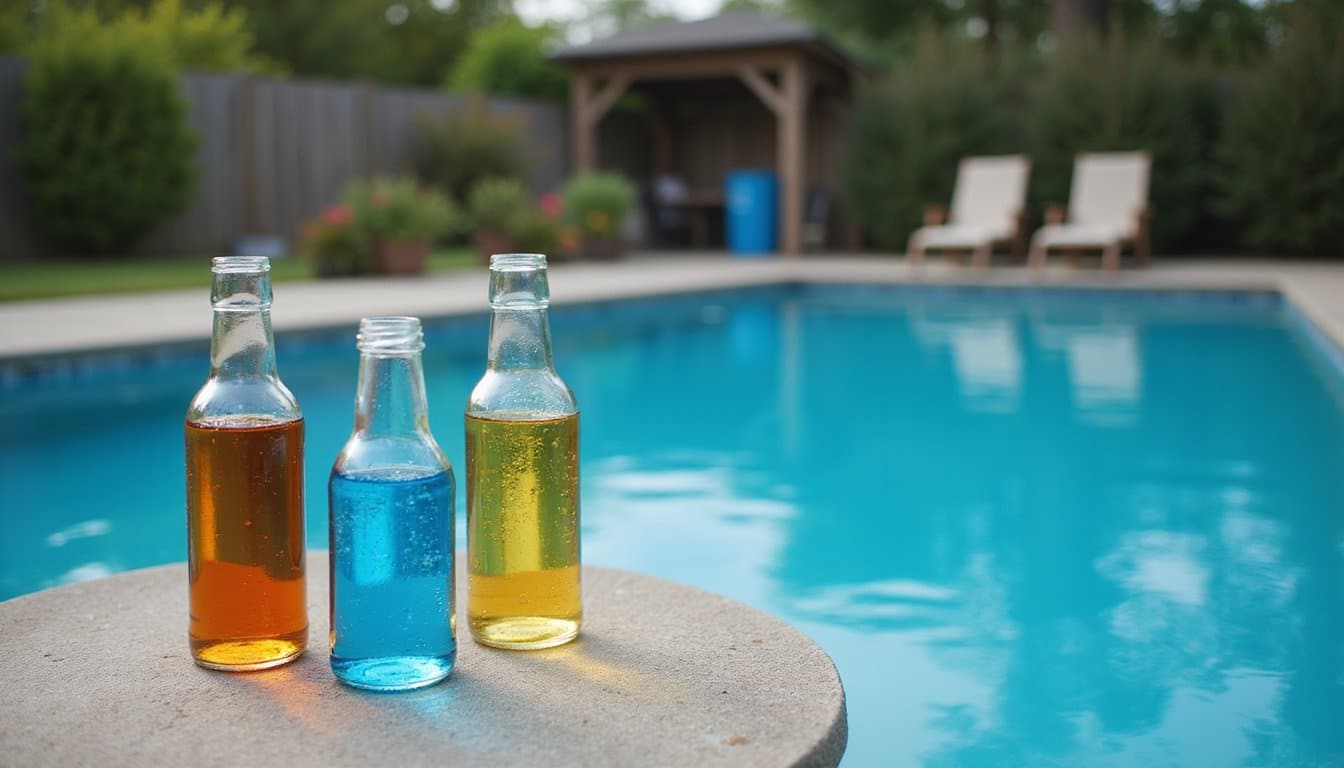
To maintain ideal pool chemistry, you’ll need to regularly test and balance five core parameters: pH (7.2-7.8), total alkalinity (80-120 ppm), calcium hardness (200-400 ppm), cyanuric acid (30-50 ppm), and free chlorine (1-3 ppm). Test pH weekly, alkalinity monthly, and hardness bi-annually using reliable test kits. Apply chemicals at night for maximum effectiveness, and distribute them evenly throughout your pool. Proper chemical management extends far beyond these basic parameters.
The Core Chemical Parameters Every Pool Owner Must Monitor

While maintaining a swimming pool requires attention to various factors, understanding and monitoring core chemical parameters stands as the foundation of proper pool care. You’ll need to focus on five essential measurements: pH levels (7.2-7.8), total alkalinity (80-120 ppm), calcium hardness (200-400 ppm), cyanuric acid (30-50 ppm), and sanitizer levels. These chemical interactions work together to create a safe, balanced swimming environment. Testing should include monitoring free chlorine levels between 1.0-3.0 ppm to ensure proper sanitization and prevent bacterial growth. When pH levels rise above 7.6, using a pH Reducer can help restore optimal conditions. For enhanced precision and reliability, consider using electronic pH meters that provide instant digital readings. Your maintenance schedules should include weekly pH testing, monthly alkalinity and hardness checks, and bi-annual cyanuric acid monitoring. Remember to adjust chemicals in the correct sequence: start with alkalinity, then pH, followed by stabilizers, and finally sanitizers. This methodical approach prevents wasteful corrections and guarantees each parameter effectively supports the others in maintaining water quality.
Understanding Free Chlorine and Its Critical Role
Free chlorine serves as the primary sanitizing agent in swimming pools, existing as a combination of hypochlorous acid (HOCl) and hypochlorite ions (OCl-) when chlorine dissolves in water. Understanding free chlorine‘s importance is vital for maintaining a safe and clean swimming environment. Regular free chlorine testing helps guarantee proper sanitization levels, typically recommended between 1-3 ppm, though some sources suggest 2-4 ppm. This sanitizing chemical actively breaks down contaminants through oxidation when it encounters bacteria and other harmful microorganisms. Unlike combined chlorine, free chlorine provides superior disinfection power in pool water. Regular testing is essential since free chlorine is the active sanitizer that keeps swimmers healthy.
- Test free chlorine levels at least weekly using DPD test kits or test strips
- Monitor levels more frequently during heavy pool use or after rainstorms
- Maintain proper pH levels (7.2-7.8) to optimize free chlorine effectiveness
- Add chlorine through tablets, granules, or liquid feeders as needed
- Account for factors like UV exposure, bather load, and temperature that affect chlorine levels
Mastering Ph Balance for Crystal Clear Water

Maintaining proper pH balance stands as a cornerstone of pool chemistry, directly impacting both water clarity and sanitizer effectiveness. You’ll need to monitor your pool’s pH daily, targeting a range of 7.2-7.8, with 7.3-7.6 being ideal for swimmer comfort and chemical stability. Pool tap water typically starts with a pH between 6.5 and 8.5. For accurate results, collect samples from elbow-depth water away from skimmers and returns.
Understanding pH fluctuation causes is essential. Rainfall, heavy swimmer load, and environmental factors can disrupt your pool’s chemistry. When pH drops too low, you’ll notice eye irritation and metal corrosion. Combat this using sodium carbonate or sodium bicarbonate. For high pH levels causing scaling and reduced chlorine efficiency, apply muriatic acid or sodium bisulfate during evening hours. Regular water tests are crucial for maintaining optimal chemical balance.
Master pH adjustment techniques by testing alkalinity first, maintaining CYA levels between 30-50 ppm, and making incremental changes. Always retest after 24 hours to confirm your adjustments have achieved the desired balance.
Total Alkalinity: Your Pool’s Chemical Buffer
When your pool’s total alkalinity (TA) rises above 120 ppm, you’ll need to address scaling issues and potential pH lock, which can be corrected through careful acid addition. Low alkalinity below 60 ppm creates unstable conditions where your pool’s pH bounces erratically, reducing sanitizer effectiveness and potentially damaging pool surfaces. Bicarbonate buffers help maintain consistent pH levels by absorbing and releasing hydrogen ions as needed. Regular exposure to body fluids and sunscreen can gradually alter your pool’s alkalinity levels over time. You’ll find maintaining proper TA levels is essential for protecting your pool’s equipment and ensuring consistent chemical performance. The recommended range of 80 to 120 ppm provides optimal buffering capacity to help neutralize acids and maintain stable water chemistry.
Balancing High TA Levels
High total alkalinity (TA) levels can destabilize your pool’s chemical balance, requiring prompt correction to prevent scaling and pH fluctuations. Effective alkalinity control demands regular testing frequency and precise chemical adjustments to maintain ideal levels. When left untreated, excessive alkalinity typically causes cloudy swimming water and surface roughness. The ideal range for total alkalinity should stay within 80 to 120 parts per million. Total alkalinity testing should be done 2-3 times per week for optimal monitoring.
- Use pH Down or muriatic acid as your primary treatment, calculating the required amount based on your pool’s volume and current TA levels
- Monitor pH levels closely after treatment, as lowering TA will affect your pool’s pH balance
- Follow a consistent testing schedule to catch TA fluctuations early
- Apply pH-lowering products gradually, testing between applications to avoid overcorrection
- Maintain detailed records of chemical additions and test results to track treatment effectiveness
Regular monitoring and prompt adjustments will help maintain your pool’s chemical stability, preventing the cascade of issues that high TA can trigger. By keeping an eye on your pool’s chemical levels, you can address imbalances before they escalate. Utilizing a complete checklist for pool chemicals will ensure that you’re not overlooking any essential components. Additionally, understanding pool chemical pricing is crucial for effective budgeting and ensuring that you have the necessary products on hand. Regularly comparing prices from various suppliers can help you find the best deals while maintaining quality.
Effects of Low Alkalinity
Low total alkalinity in pool water creates a cascade of chemical instabilities that can severely impact your pool’s maintenance, equipment longevity, and swimmer comfort. When your pool’s chemical balance lacks sufficient buffering capacity, you’ll notice rapid pH fluctuations that reduce chlorine effectiveness and promote algae growth. You’ll need to increase your chemical usage to maintain proper sanitization levels.
The consequences extend beyond chemical balance issues. Your pool’s infrastructure faces accelerated deterioration, with metal components corroding and concrete surfaces eroding. You’ll observe staining on pool walls and increased scale buildup. Swimming in water with low alkalinity often causes skin and eye irritation. Additionally, swimmers may experience eye irritation and skin discomfort. The combination of these effects makes pool maintenance considerably more challenging, requiring frequent pH adjustments and increased monitoring to prevent further complications.
Essential Guide to Calcium Hardness Management
Your pool’s calcium hardness levels must stay within 200-400 ppm to prevent both corrosive damage and scale buildup on surfaces and equipment. You’ll need to test calcium hardness weekly using a reliable liquid test kit, alongside pH and alkalinity measurements, to catch imbalances early. When levels rise above 400 ppm, you’ll have to partially drain and refill your pool with fresh water, as there aren’t any chemical solutions to lower calcium hardness.
Preventing Scale Buildup
Managing calcium hardness levels effectively requires a multi-faceted approach that combines precise chemical balancing with physical prevention strategies. You’ll need to maintain pH between 7.2-7.6 and total alkalinity at 80-120 ppm while applying scale inhibitors to suppress crystal formation. Regular brushing techniques, particularly on plaster and pebble surfaces, help disrupt early scale deposits before they become problematic.
Key prevention strategies include:
- Install a pre-filter on refill hoses to remove contaminants
- Use reverse osmosis systems for high-mineral source water
- Apply sequestration agents to bind free calcium
- Maintain consistent water circulation
- Monitor water temperature, as higher temps increase scaling risk
Remember to coordinate your pH and alkalinity levels while keeping chlorine between 2-4 ppm, especially when water temperatures exceed 70°F.
Testing and Adjustment Methods
Accurate calcium hardness testing forms the foundation of effective scale prevention and chemical balance maintenance. Using Taylor test kits, you’ll need to follow a precise reagent sequence: add 20 drops of calcium buffer, followed by 5 drops of indicator, then count hardness reagent drops and multiply by 10 for your ppm reading.
Testing frequency should include monthly checks, post-water changes, and after significant weather events. When adjustments are needed, follow specific procedures: for low levels, gradually add calcium chloride; for high levels, partially drain and refill with fresh water. You’ll want to maintain 200-400 ppm for best results. Always use fresh reagents from a single manufacturer, and verify thorough mixing with a magnetic stirrer when available. Cross-check results periodically with testing strips for verification.
Stabilizer Levels and UV Protection Strategies
While maintaining proper pool chemistry involves multiple factors, stabilizer levels play an essential role in protecting chlorine from UV degradation. You’ll need to adjust your stabilizer types and UV protectants based on your pool’s specific exposure conditions. For standard chlorine pools, maintain levels between 20-50 ppm, while saltwater pools require 50-70 ppm for peak performance.
- Test stabilizer levels weekly during high-UV conditions or every 2-4 weeks in moderate conditions
- Keep levels at 30-50 ppm for peak chlorine protection in standard pools
- Adjust levels based on sun exposure higher for uncovered pools, lower for shaded areas
- Monitor using dedicated cyanuric acid test kits for accurate readings
- Consider supplemental UV protection methods like solar covers during non-use periods
If your stabilizer exceeds 50 ppm, you’ll need to partially drain and refill your pool to restore proper chemical balance.
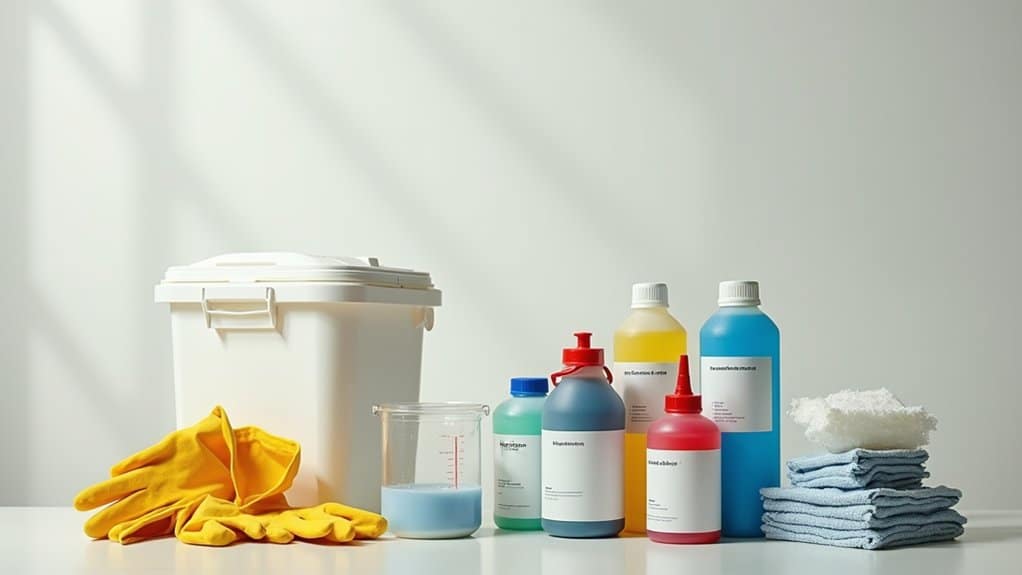
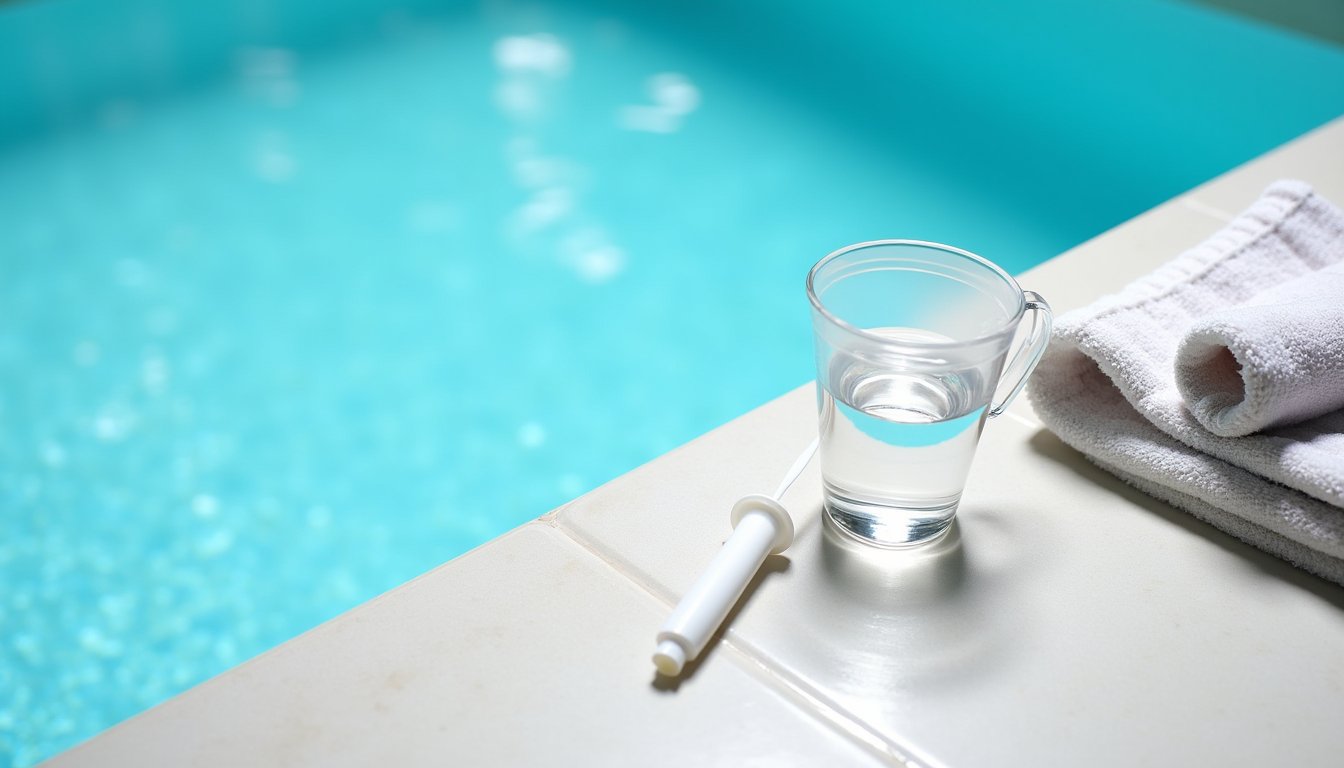
Chemical Testing Methods and Best Practices
To maintain proper pool chemistry, you’ll need to master three essential testing methods: test strips that require precise color matching against standardized charts, digital testing equipment that connects to smartphones for detailed analysis, and professional test kits that use reagents for highly accurate measurements. Your testing protocol should include proper sampling techniques at 18 inches below the surface to avoid contamination and skewed readings. When using test strips, you must avoid shaking them after submersion and instead allow the colors to develop for exactly 15 seconds before comparing to the reference chart.
Test Strip Color Matching
Proper test strip color matching serves as the foundation for maintaining precise chemical balance in your pool. To guarantee test strip accuracy, you’ll need to follow specific protocols for color interpretation within strict timing parameters. Match your strip’s colors to the manufacturer’s chart within 15-30 seconds after submersion, when the chemical reactions have fully stabilized.
- Hold strips by the non-pad end to prevent contamination from skin oils
- Submerge strips 6-8 inches deep for 3-4 seconds to guarantee complete saturation
- Use adequate lighting to distinguish subtle color variations
- Compare colors to your specific brand’s chart, as scales vary between manufacturers
- Check that all pads have developed fully before making your final assessment
Remember to discard expired strips and store them properly to maintain their reliability for future testing.
Digital Testing Equipment
Digital testing equipment represents a significant advancement in pool chemistry management, offering pool owners unprecedented accuracy and convenience compared to traditional testing methods. Modern digital testers measure multiple parameters simultaneously, including pH, chlorine levels, alkalinity, and ORP, while eliminating the guesswork of color matching.
The user benefits are substantial: you’ll get instant results within seconds, store historical data for trend analysis, and receive precise measurements through digital sensors. Today’s models feature waterproof designs, Bluetooth connectivity for smartphone integration, and user-friendly interfaces that guide you through the testing process.
To maintain accuracy, you’ll need to calibrate your equipment regularly, replace sensors every 1-2 years, and rinse components with distilled water after each use. Leading brands like Solaxx and Lamotte offer extensive testing capabilities suitable for both standard and saltwater pools.
Professional Test Kit Basics
Professional test kits serve as the cornerstone of accurate pool chemistry management, combining essential reagents and specialized equipment to measure vital water parameters. You’ll need to understand different test kit types and maintain strict reagent safety protocols to guarantee reliable results. Store your reagents in a cool, dry place and replace them according to manufacturer schedules typically every 2-3 months for liquid reagents and 6 months for tablets.
- DPD tablets measure free and total chlorine levels between 1-3 ppm
- Phenol red indicators track pH within the significant 7.2-7.8 range
- Double-tube methods accurately assess CYA stabilizer levels
- FAS-DPD kits distinguish between free and combined chlorine
- OTO liquid reagents provide quick total chlorine readings
Always collect samples using clean vials and test under controlled lighting conditions for peak accuracy.
Balancing Multiple Parameters Successfully
Successfully balancing multiple pool chemical parameters requires a systematic approach that follows a specific order of operations. The chemical synergy between different parameters demands careful adjustment timing to achieve ideal results.
You’ll need to start by testing and adjusting your Total Alkalinity to 80-120 ppm, as it serves as your pH buffer. Once TA is balanced, adjust your pH to 7.2-7.8, ideally targeting 7.4-7.6 for equipment protection. Next, address your chlorine levels, aiming for 1.0-3.0 ppm, with 1.5 ppm being ideal. Finally, maintain your CYA between 30-70 ppm to stabilize chlorine effectiveness.
Remember that high pH reduces chlorine’s effectiveness, while proper calcium hardness (200-400 ppm) protects your pool’s surfaces. Never shock your pool until pH and TA are within their target ranges.
Seasonal Adjustments for Chemical Maintenance
While maintaining consistent chemical parameters forms the foundation of pool care, seasonal changes require specific adjustments to your maintenance routine. Your chemical maintenance strategy must adapt to varying conditions throughout the year, from summer’s intense usage to fall’s organic debris challenges. You’ll need to implement seasonal adjustments that account for temperature fluctuations, debris loads, and usage patterns.
Proper pool maintenance isn’t static it’s a dynamic process that evolves with the seasons to ensure optimal water quality year-round.
- Increase chlorine levels to 1-3 ppm and extend filtration time to 8-12 hours during peak summer months
- Test and stabilize CYA (30-50 ppm) and alkalinity (80-120 ppm) during spring startup
- Monitor sanitizer consumption and apply algaecides more frequently during fall’s heavy debris periods
- Adjust chemical maintenance schedules based on your region’s specific climate conditions
- Maintain consistent filtration cycles and backwash when pressure increases, regardless of season
Preventing Common Chemical Imbalance Issues
Effective prevention of chemical imbalances requires a systematic approach to monitoring and maintaining your pool’s essential parameters. To control chemical reactions, you’ll need to maintain pH between 7.2-7.6 while keeping free chlorine at 1-3 ppm. Test pH weekly and chlorine daily to catch fluctuations early.
Combat seasonal fluctuations by maintaining proper stabilizer levels (30-50 ppm) to protect chlorine from UV degradation. You’ll want to monitor alkalinity (80-120 ppm) to prevent corrosive conditions and pH swings. Address foam issues by testing calcium hardness monthly and ensuring levels stay between 200-400 ppm. When applying chemicals, dose at night for maximum retention and distribute evenly. For ideal results, shock-treat with chlorine levels above 10 ppm during periods of high UV exposure.
Frequently Asked Questions
How Long Should I Wait to Swim After Adding Pool Chemicals?
You’ll need to follow specific waiting periods for swimming safety after adding pool chemicals. Most pH balancers and clarifiers require 20-60 minutes for proper chemical absorption. However, you must wait 24 hours after shock treatments or until chlorine levels drop below 5 ppm. For routine maintenance chemicals like algaecides, wait 15-30 minutes. Always test water parameters before entering and follow manufacturer’s guidelines for specific products.
Can I Use Household Bleach Instead of Pool Chlorine?
While you can technically use household bleach, it’s not recommended due to significant bleach effectiveness limitations. You’ll need twice the volume to match pool chlorine’s sanitizing power since bleach contains only 5-6% sodium hypochlorite versus pool chlorine’s higher concentration. Safety concerns arise from bleach’s additives, which can introduce contaminants and cause foaming. You’ll also face frequent dosing adjustments and potential water quality issues with household bleach.
Why Does My Pool Water Turn Green After Heavy Rain?
Your pool turns green after heavy rain due to multiple rainwater effects. First, rainwater dilutes your pool’s chlorine levels, weakening its sanitizing ability. Second, it introduces nutrients like phosphates and nitrogen from the atmosphere. These conditions create an ideal environment for rapid algae growth. The combination of depleted sanitizer and added nutrients allows algae to multiply quickly, turning your pool water green within 24-48 hours.
What Chemicals Should Never Be Mixed in Pool Maintenance?
Never mix chlorine with muriatic acid or dry acid, as these chemical reactions release deadly chlorine gas. You’ll also need to avoid combining stabilized and unstabilized chlorine products, which can cause fires or explosions. Don’t mix chlorine shock with algaecides or sequestrants, as this reduces their effectiveness and can damage equipment. For safety precautions, keep clarifiers separate from high pH solutions or shock treatments to prevent coagulation problems.
How Do I Reduce Chlorine Smell Without Compromising Sanitization Levels?
The strong chlorine smell you’re noticing isn’t from chlorine itself, but from chloramine, a byproduct of chlorine reacting with contaminants. To reduce odors while maintaining sanitization, you’ll need to break down these chloramines. Install UV or ozone systems as chlorine alternatives for effective odor control. Require pre-swim showers to reduce contaminants, and shock your pool when combined chlorine levels rise above 0.2 ppm. Regular testing guarantees proper sanitization.