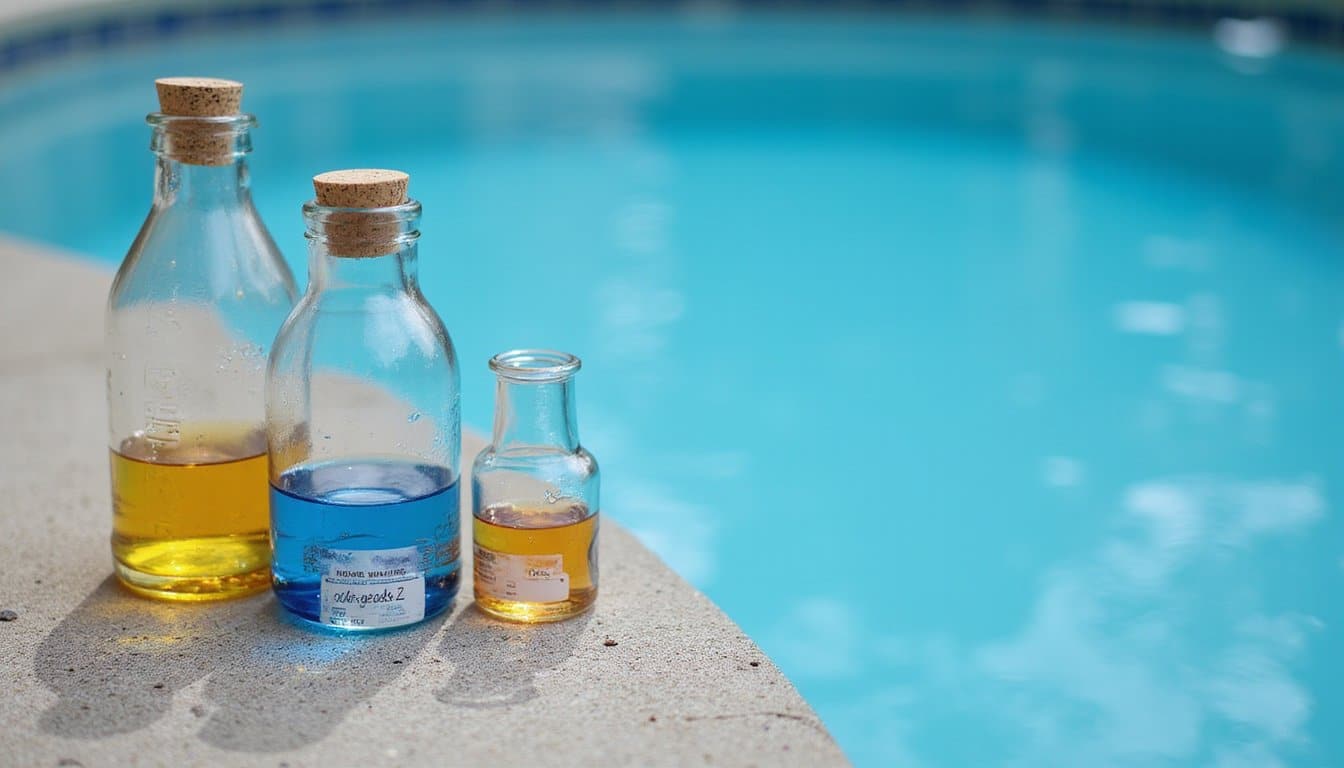
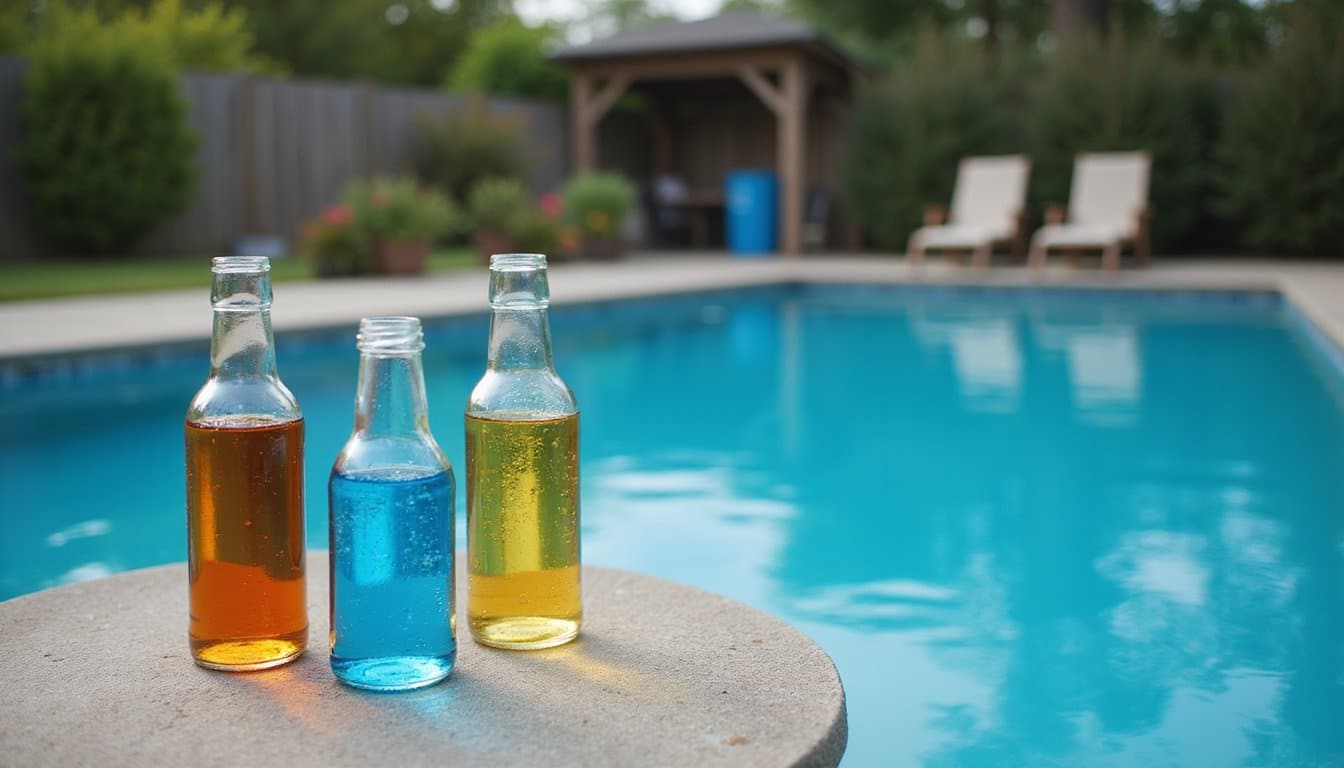
To safely add chlorine to your pool, first put on protective equipment including chemical-resistant gloves, goggles, and respiratory protection. Test your water‘s pH (aim for 7.2-7.8) and total alkalinity (80-120 ppm) before beginning. Pre-mix granular chlorine in a clean plastic bucket with pool water, following manufacturer ratios. Add the solution slowly around the pool’s perimeter while the pump is running. Never mix different types of chlorine products. Following proper safety protocols guarantees successful pool maintenance and protects your health.
Essential Safety Equipment for Chlorine Handling
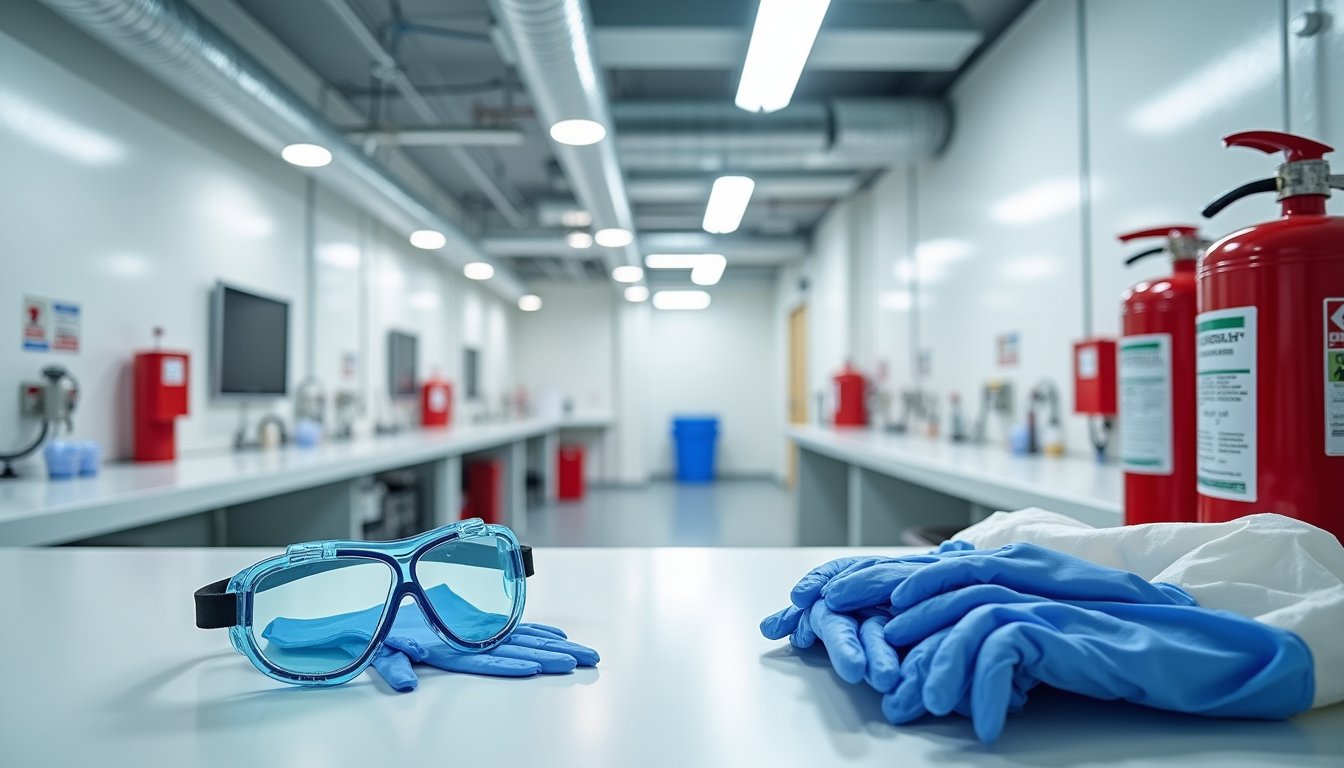
Three critical safety systems must be in place before handling pool chlorine: personal protective equipment, engineering controls, and emergency response equipment.
You’ll need proper personal protective equipment including chemical-resistant nitrile gloves, safety goggles, and respiratory protection when handling powdered chlorine. Goggles are mandatory safety equipment for handling any form of chlorine products. Keep safety data sheets readily accessible in your storage area and near emergency stations. Only trained personnel should be allowed to handle and maintain pool chemicals. Well-ventilated areas are essential when working with any pool chemicals to prevent harmful fume buildup.
For engineering controls, verify you’ve installed adequate lighting, secure access controls, and chemical spill containment systems. Your storage area must have proper ventilation to prevent vapor buildup, and pump monitoring systems should automatically shut down if flow problems occur.
Emergency response equipment must include safety showers, eyewash stations, and spill containment kits with absorbent materials. Position fire extinguishers rated for chemical fires near storage areas, and maintain clear access to all safety equipment.
Pre-Treatment Pool Water Testing
Before adding chlorine, you’ll need to check your pool’s chemical balance using test strips or a liquid test kit, comparing the colors against the manufacturer’s guide for accurate readings. Your pool’s pH should measure between 7.2 and 7.8, as improper pH levels can reduce chlorine’s effectiveness and cause eye irritation. Total alkalinity serves as a pH buffer and must be tested next, ensuring it falls within 80-120 ppm to maintain stable chemical conditions. Testing should be performed 2-3 times weekly for proper maintenance. For optimal accuracy, ensure the pool water has been circulated for testing at least one hour before taking your water sample. Balanced water chemistry is essential for safe swimming and maintaining proper pool health throughout the season.
Test Strip Color Guide
Properly interpreting test strip colors guarantees accurate pool chemistry measurements and safe chlorine additions. You’ll need to dip the strip horizontally at elbow depth and hold it level while reading the results within 15 seconds. For peak test strip accuracy, conduct your testing in natural daylight, comparing the wet strip directly to your test kit’s color chart without wiping or drying. Maintaining a pH between 7.2-7.6 is essential for optimal pool chemistry and equipment longevity. Total alkalinity helps prevent pH fluctuations that can affect your readings. AquaChek test strips are considered among the most reliable testing solutions available.
Pay close attention to the distinct color changes for each parameter. Your color comparison should focus on free chlorine (1-4 ppm), total chlorine, alkalinity (80-150 ppm), and cyanuric acid (≥30 ppm) levels. Don’t guess or approximate colors – match them exactly to the chart. If you’re using bromine instead of chlorine, verify you’re using the appropriate test strips for your sanitizer system.
Ph Balance Requirements
Maintaining ideal pH levels forms the cornerstone of effective pool sanitization. You’ll need to keep your pool’s pH between 7.4 and 7.6 for best results, though readings from 7.2 to 7.8 remain acceptable. Never let pH drop below 7.0, as this can damage your equipment, or exceed 8.0, which severely reduces chlorine effectiveness. Stagnant water can significantly decrease pH as dissolved carbon dioxide builds up in the pool.
To prevent pH fluctuations, first balance your alkalinity to 80-120 ppm. Using aeration methods like spillways and fountains can help naturally raise pH levels without affecting alkalinity. This critical step guarantees pH stabilization before adding chlorine. If you encounter issues accessing online pool maintenance resources, you may need to contact website owners through their security service. Test your water during cooler hours for accurate readings, and adjust using pH Plus or Minus as needed. Remember, proper pH directly impacts your chlorine’s sanitizing power at higher pH levels, you’ll need more free chlorine to maintain effective disinfection. Always retest 24 hours after making adjustments to confirm stability.
Total Alkalinity Check
Testing total alkalinity (TA) serves as the foundation for safe chlorine addition and effective pH control. Before adding any chlorine, you’ll need to verify your pool’s TA levels fall within 80-120 ppm, with 100 ppm being ideal. Use fresh water samples and test strips for quick checks, though liquid reagent kits offer better accuracy for precise measurements. Regular testing aids in maintaining proper chemical balance throughout the swimming season. Ensure accurate results by rinsing the sample tube with pool water before conducting your test. Proper sample collection and testing requires using clean containers to avoid contamination of results.
The alkalinity importance can’t be overstated, as incorrect levels can trigger equipment corrosion and reduce chlorine effectiveness. You should check TA before each chemical treatment, collecting uncontaminated water samples away from return jets. If you’re using a digital meter, confirm it’s properly calibrated. Document your readings alongside pH values to track trends and make informed adjustments. Remember, stable TA prevents rapid pH fluctuations and protects both your pool equipment and swimmers’ comfort.
Step-by-Step Chlorine Addition Process
Before adding any chlorine, you’ll need to verify your pool’s pH (7.2-7.6) and alkalinity (80-120 ppm) levels to guarantee maximum chemical effectiveness. Proper chemical balancing prevents harmful reactions when introducing new substances to your pool water. You must wear protective equipment, including chemical-resistant gloves and safety goggles, to prevent skin and eye exposure during the handling process. Next, you’ll need to prepare your chlorine solution in a clean plastic bucket filled with pool water, following specific mixing ratios based on whether you’re using liquid, stabilized, or unstabilized chlorine. Ensure that you thoroughly read the instructions on your chlorine product before proceeding, as different products may have varying guidelines for dilution and application. Additionally, consider testing your pool water regularly to maintain balanced chemistry, safeguarding against pool chemical risks.
Pre-Addition Safety Checks
When handling pool chemicals, thorough safety checks must precede any chlorine addition to protect both the operator and swimmers. Before you begin, verify you’re compliant with local safety regulations and properly trained in chlorine handling protocols. Your preparation should include inspecting all personal protective equipment for expiration dates and functionality. Additionally, always keep the right tools and materials on hand, such as measuring equipment and neutralizing agents, to respond effectively to accidents. Remember, handling pool chemicals safely is crucial for your well-being and for maintaining a safe swimming environment. Regular training updates and review sessions can further strengthen safety awareness and proper chemical management.
Essential pre-addition safety measures include:
- Don chemical-resistant gloves, goggles, and face masks while confirming proper ventilation in your work area
- Verify chemical compatibility by checking pH levels (7.2-7.8) and confirming no organic materials are present near the application zone
- Position emergency response equipment nearby, including first aid kits, fire extinguishers rated for chemical fires, and a water source for decontamination
Clear the pool area of swimmers and secure all access points before proceeding with chemical addition.
Proper Chemical Mixing Steps
The proper addition of chlorine requires meticulous attention to mixing ratios and application methods to guarantee both safety and effectiveness. When implementing chlorine mixing techniques, you’ll need to pre-dilute granular products in a bucket filled with pool water, stirring thoroughly to prevent undissolved particles. For tablets, place them in a dedicated feeder or skimmer basket, using one tablet per 5,000 gallons of water.
Chemical reaction awareness is essential during the process. You’ll want to maintain circulation throughout the addition, whether you’re using liquid, granular, or tablet forms. Pour pre-mixed solutions slowly around the pool’s perimeter or into return jets while the filter runs. Never mix different types of chlorine products together, and always follow specific manufacturer guidelines for your chosen formulation to ascertain proper sanitization levels. Additionally, it’s crucial to regularly test your pool water to ensure that the chemical balance remains within the ideal range. Familiarize yourself with the steps for measuring pool chemicals accurately, as this will help you maintain optimal water quality.
Common Mistakes to Avoid

Five critical mistakes can compromise pool safety and maintenance when adding chlorine. Incorrect chlorine dosage and improper chemical interactions can lead to dangerous situations, equipment damage, and costly repairs.
When adding chlorine to your pool, avoid these hazardous practices:
- Don’t pour undissolved shock directly into the pool this causes liner damage and creates concentrated “hot spots” that can bleach or deteriorate surfaces.
- Never mix different chlorine products or add chemicals through skimmers, as this risks toxic gas release and potential filter explosions.
- Skip daytime chlorine application, which reduces effectiveness due to UV degradation and wastes product through rapid evaporation.
Always dissolve chemicals properly in a bucket first, add chlorine at night, and maintain proper pH levels for ideal results and safety.
Emergency Response and First Aid
Maintaining proper emergency response protocols can mean the difference between a minor incident and a serious catastrophe. Your emergency preparedness should include keeping Safety Data Sheets readily accessible and storing first aid supplies near your pool’s chemical storage area. If you experience a chlorine spill, don’t hesitate to activate emergency services for severe exposures.
For minor incidents, wear appropriate PPE including gloves and goggles before attempting cleanup. If skin or eye exposure occurs, immediately flush the affected area with clean water following SDS guidelines. You’ll need to document all exposure details, including the duration and areas affected. Keep emergency contact numbers prominently displayed, and guarantee you’ve mapped out clear evacuation routes from your pool area in case of a major chemical incident.
Proper Storage and Maintenance Practices
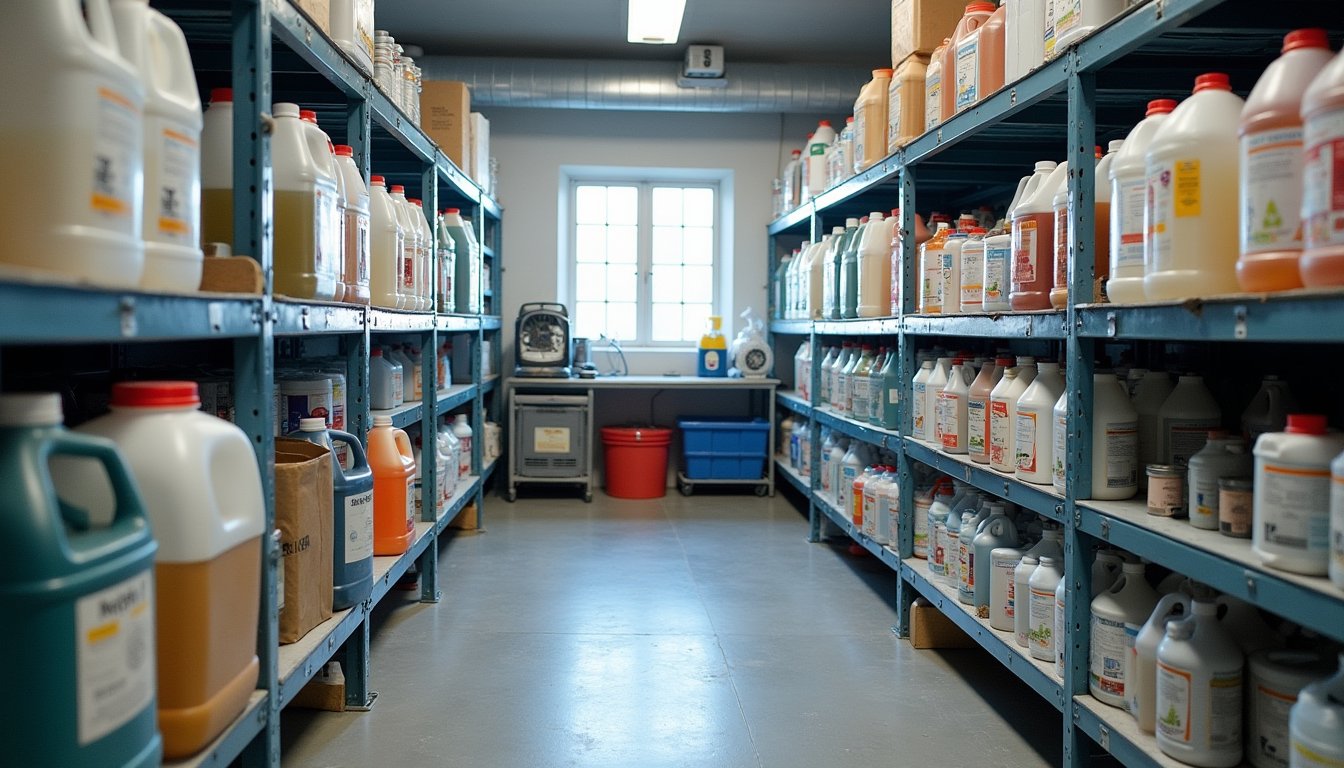
Safe chemical storage practices form the foundation of pool maintenance safety. You’ll need to maintain strict inventory management and proper chemical storage protocols to prevent hazardous situations. Store your pool chemicals in a well-ventilated, dry area away from direct sunlight and heat sources, keeping temperatures below 95°F (35°C).
Follow these critical storage requirements:
- Keep chemicals in their original, properly labeled containers raised off the floor, and never stack incompatible products that could leak and mix
- Maintain separate storage locations for different chemical types, especially keeping chlorine products isolated from acids
- Conduct regular inspections for container damage, water intrusion, or temperature issues, and dispose of expired or deteriorated chemicals through approved channels
Your vigilance in proper storage will help prevent dangerous chemical reactions and maintain product effectiveness.
Frequently Asked Questions
How Long Should I Wait to Swim After Adding Chlorine?
You’ll need to wait 4-8 hours after adding regular chlorine, or 24 hours after shock treatment, before swimming. Always test the water before entering chlorine levels must be at or below 5 ppm for swimming safety. For ideal waiting periods, add chlorine in the evening and test the next day. Using test strips or kits is essential to confirm safe levels. Never enter the pool immediately after chemical addition.
Can I Add Chlorine During Rainy Weather?
While you can add chlorine during rainy weather, it’s not recommended due to poor chlorine stability and immediate rain impact. You’ll waste chemicals since rainfall dilutes the chlorine and reduces its effectiveness. Instead, wait until the rain stops, then test your water chemistry and add chlorine as needed. If you must treat during rain, use stabilized chlorine products and guarantee your pool’s CYA levels are between 30-50 ppm.
Why Does My Pool Turn Cloudy After Adding Chlorine?
Your pool’s cloudiness after adding chlorine typically occurs due to chemical reactions and imbalances. When you shock your pool, the chlorine rapidly oxidizes contaminants, creating tiny suspended particles. High pH levels from hypochlorite-based chlorine can also trigger calcium carbonate precipitation. To maintain proper pool maintenance, you’ll need to check your chlorine balance, guarantee adequate filtration, and monitor pH levels after shocking to prevent cloudiness issues.
Does UV Exposure Affect Chlorine Effectiveness in Outdoor Pools?
Yes, UV exposure notably impacts your pool’s chlorine effectiveness. Sunlight causes rapid UV degradation of free chlorine, reducing its disinfecting power by up to 90% within two hours. You’ll notice faster chlorine depletion in outdoor pools compared to indoor ones. To combat this, you’ll need to implement proper chlorine stabilization using cyanuric acid (CYA) and maintain higher chlorine levels. Regular testing becomes essential to monitor and adjust chlorine levels accordingly.
Should I Adjust Chlorine Levels Differently for Saltwater Pools?
Yes, you’ll adjust chlorine differently in saltwater pools. Your salt chlorine generator (SCG) acts as your primary chlorine source, maintaining lower but steadier levels (1-3 ppm) compared to traditional pools. You won’t need daily manual chlorine additions, as the SCG continuously converts salt to chlorine. One key saltwater benefit is reduced chemical handling, though you’ll still need to monitor levels weekly and clean the generator cell periodically for peak performance.