Building a DIY pool waterfall starts with careful site planning and gathering essential materials like natural stone, EPDM liner, and a quality pump system. You’ll need to prepare your pool wall, establish plumbing routes, and create a stable foundation using pressure-treated lumber. Layer your rocks strategically while incorporating waterfall foam to direct water flow. Add appropriate landscaping to complete your tropical retreat. This detailed project transforms your backyard into a private resort when executed properly.
Planning Your Pool Waterfall Design
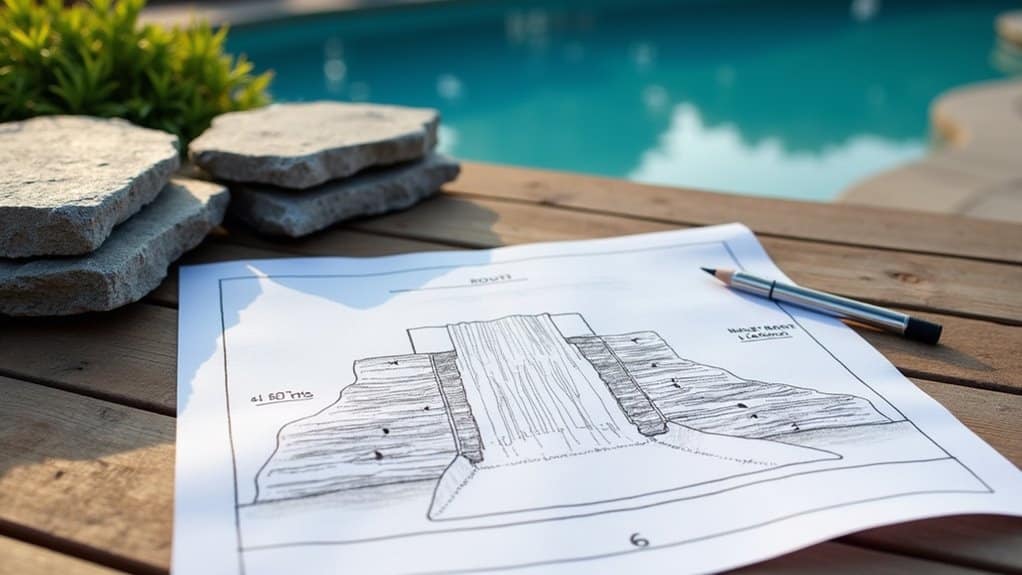
Before diving into construction, careful planning of your pool waterfall design guarantees both aesthetic appeal and functional performance. Start by analyzing your pool’s size and shape to determine the ideal waterfall placement that won’t interfere with existing features like steps or entry points. The success of your waterfall depends on selecting the right foundation support to handle the weight load. Consider landscaping considerations such as surrounding vegetation and hardscaping elements to make sure your design creates a cohesive outdoor environment. Creating a tropical oasis theme can transform your backyard pool into an exotic retreat with the right plant selection and rock formations. For enhanced enjoyment, incorporate a custom slide feature that integrates seamlessly with your waterfall design.
When coordinating with existing pool features, evaluate your available space for both the waterfall structure and its impact zone. You’ll need to factor in setbacks from walkways and calculate proper water flow requirements based on your spillway width. Choose materials that complement your pool’s architecture, whether you’re aiming for a modern sheet fall with clean lines or a naturalistic rock formation. Remember to incorporate maintenance access points and verify that your design meets local safety regulations.
Gathering Essential Materials and Tools
To transform your pool waterfall vision into reality, you’ll need to acquire both fundamental construction materials and specialized water-handling components from your local home improvement center or scenery provider. Your essential materials list should include pressure-treated lumber for structural support, concrete and mortar for the base, pond liner for waterproofing, and PVC components for the plumbing system. Your tools arsenal must encompass excavation equipment like shovels and wheelbarrows, cutting tools such as circular saws, and precision instruments including levels and measuring tapes. You’ll also need cement color for creating realistic-looking artificial rocks. Consider investing in easy-to-install kits that include pre-selected pumps and filters to ensure proper water circulation. Visiting local state parks and nature preserves can provide valuable design inspiration for your rock formation choices.
Required Tools List
Successfully building a backyard rock waterfall requires a thorough set of tools spanning safety equipment, excavation gear, and specialized instruments for precision installation. You’ll need protective gear including work gloves, steel-toe boots, safety glasses, and ear protection, with proper equipment maintenance guaranteeing long-term reliability. Selecting the right pump and plumbing components is critical for achieving optimal water flow throughout your waterfall system. A reliable waterfall kit can provide all essential components in one convenient package. For sealing and securing rocks, you’ll need foam sealant applicators to ensure professional-grade installation.
Your core toolkit should include excavation essentials: a shovel, digging bar, tamper, and rake. For material transport, invest in a wheelbarrow, ball cart, and 5-gallon buckets. Assembly tools like a utility knife, wire clippers, and mallet are vital for precise installation. Don’t overlook measuring instruments; a laser level ensures proper water flow, while a tape measure confirms accurate dimensions. Remember to maintain all safety precautions by keeping a first-aid kit nearby and regularly inspecting tools for wear.
Essential Building Materials
Building a professional rock waterfall requires five essential material categories that work in harmony to create a stunning water feature. You’ll need natural stone or decorative rock for the waterfall structure, selecting materials based on your desired rock aesthetics and local availability. A high-quality EPDM or PVC liner with protective geotextile underlayment guarantees proper water containment. A quality pump delivering water through UV-resistant tubing ensures reliable water circulation throughout your feature. For the foundation, you’ll need specialty construction materials, including a manufactured spillway, pondless vault, and water matrix blocks to support the structure. Concrete and mortar are indispensable for bonding rocks and creating custom features, while waterproof sealants maintain structural integrity. Ultimately, your plumbing system requires Schedule 40 PVC pipe, appropriate fittings, and secure connections to deliver water efficiently from pump to spillway. Each component plays a pivotal role in creating a sustainable, long-lasting water feature.
Preparing the Pool Installation Site
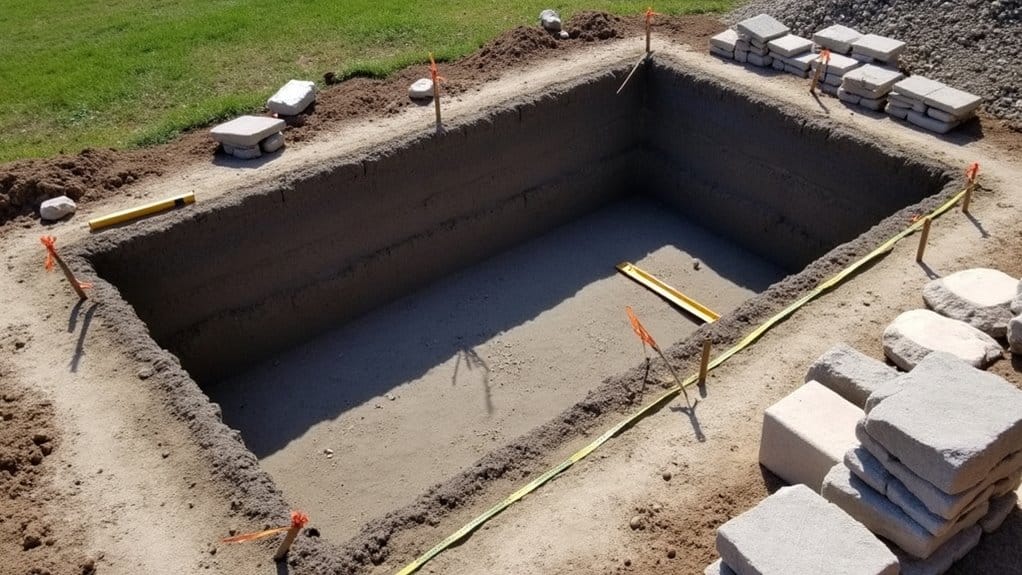
Before installing your rock waterfall, you’ll need to guarantee the ground around your pool is perfectly level using a laser level and adjusting the soil as needed. Next, carefully inspect your pool’s wall integrity where the waterfall will attach, checking for any cracks or weaknesses that could compromise the installation. Lastly, use stakes with bright ribbon to clearly mark your installation reference points and contact utility companies to identify underground lines, preventing costly mistakes during the construction process. Ensure you have all necessary mounting blocks ready before beginning the installation, as these will provide crucial support for securing the rocks to your pool wall. Building retaining walls with stone blocks will create a stable foundation for your waterfall structure. Consider using faux rock materials for easier installation and maintenance while maintaining a natural appearance.
Level The Ground First
Proper ground leveling forms the foundation for a successful backyard rock waterfall installation. Before excavating, you’ll need to achieve ideal soil compaction to prevent component shifting that could compromise your waterfall’s structural integrity over time. Create a gradual slope of 2 inches for every 10 feet to ensure proper water flow.
Create a precise installation blueprint by marking your chosen location with these essential steps:
- Contact utility companies to identify underground lines
- Mark the site perimeter using stakes and bright ribbon
- Spray paint component outlines with a 6-inch buffer zone
- Establish a nearby staging area for materials and tools
- Set up a clean water source for construction needs
Use a rubber mallet to compact the basin floor, ensuring a stable base for your waterfall vault and aqua blocks. Cut vertical walls straight during excavation, and verify component fit before finalizing the liner installation. This careful preparation will guarantee your waterfall’s long-term stability.
Check Pool Wall Integrity
Since your waterfall will connect directly to your pool structure, a thorough assessment of pool wall integrity must precede any installation work. Perform structural integrity testing by conducting an extensive visual inspection of your pool walls, looking for cracks, chips, or signs of displacement. Pay special attention to the area where you’ll attach the waterfall feature.
Using specialized equipment, monitor pool wall displacement and test for potential voids or weaknesses. You’ll want to tap the walls to listen for hollow spots and use ground-penetrating radar if available to detect subsurface issues. Checking for signs of stress at wall-floor junctions is critical since these areas experience the highest concentrated forces. Document any concerning findings with high-resolution photos. If you uncover structural problems like pronounced cracks or bulging, consult a professional engineer before proceeding. Remember, a stable foundation is vital for your waterfall’s long-term success and your pool’s overall integrity.
Mark Installation Reference Points
Where you position your waterfall’s reference points will define the success of your entire installation. Begin by using high contrast markers to outline your workspace, guaranteeing precise measurements for the waterfall unit with 1-inch margins on each side and a 3.5-inch depth allowance. Recording material staging locations helps maintain an organized, eco-conscious workflow while protecting the existing pool deck.
Essential marking steps include:
- Stake out the waterfall’s footprint using weather-resistant ribbon
- Mark plumbing channels for water inlets (5 gallons per minute per foot)
- Indicate utility-safe excavation zones
- Label designated areas for rock and material storage
- Identify water source stations for mixing and cleanup
Verify all reference points with a level tool and document measurements against your pool plans before proceeding with foundation work. Daily inspection of markings assures accuracy throughout the installation process.
Setting Up the Plumbing System
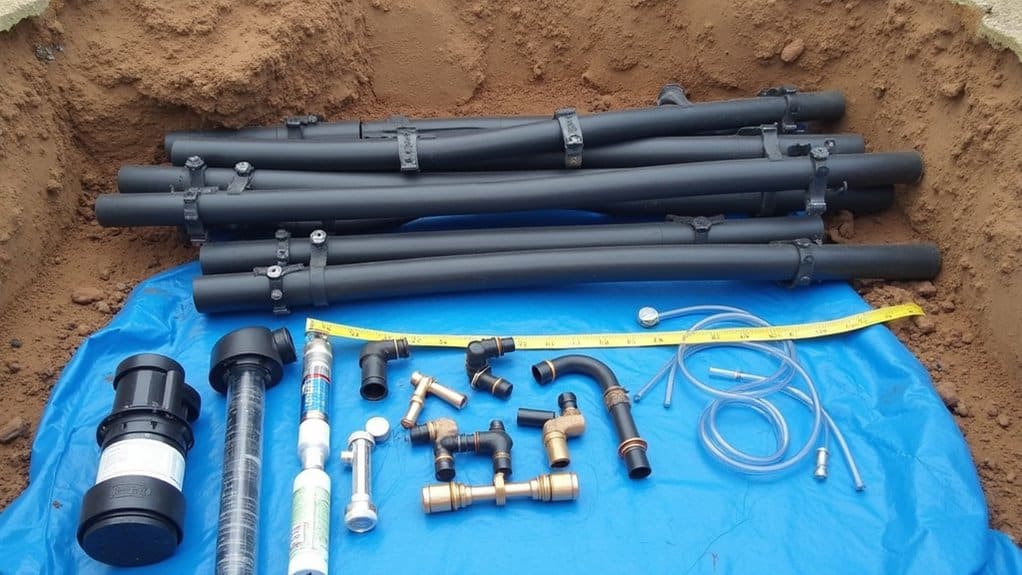
When building a backyard rock waterfall, establishing a reliable plumbing system serves as the project’s circulatory backbone. You’ll need to coordinate plumbing layout using Schedule 40 PVC pipe, ensuring proper handling of union connections at strategic points. Start by routing pipes from your equipment area to the waterfall site, incorporating maintenance access points.
| Component | Installation Method |
|---|---|
| Main Line | Schedule 40 PVC beneath liner |
| Pump Connection | Threaded barb with clamps |
| Flow Control | Ball valve integration |
| Spillway | Silicone-sealed connections |
| Union Points | Before/after key components |
Once you’ve mapped the layout, install the pump in its vault and connect it to the spillway using flexible hosing. Don’t forget to incorporate ball valves for flow control and perform pressure testing before finalizing connections. Remember to protect pipes with adequate soil coverage and stabilizing gravel.
Building the Rock Waterfall Structure
With your plumbing system in place, the next phase focuses on constructing the rock waterfall’s physical structure, the centerpiece of your aquatic feature. Begin by excavating the site 12-24 inches deep, ensuring stable footing and proper integration with your pool’s edge. After leveling and tamping the ground, construct the frame structure using pressure-treated lumber, securing it with 3-inch screws for maximum stability.
Building a rock waterfall requires careful excavation, solid ground preparation, and sturdy framing to create a lasting aquatic centerpiece.
Essential steps for sculpting the rock placements:
- Install protective underlayment followed by EPDM or PVC liner
- Position large anchor rocks first as focal points
- Apply waterfall foam between rocks to direct water flow
- Create a natural look with varied rock sizes
- Add a 1-inch concrete skim coat for durability
Complete the design by strategically placing plants and mulch around the base, effectively concealing liner edges while promoting ecological integration with your environment.
Installing the Water Flow Components
The three essential water flow components, pump vault, tubing, and spillway, form the circulatory system of your backyard waterfall. Begin by installing the submersible pump in the vault at your basin’s lowest point, properly securing pump connections with threaded barb fittings and clamps. Route your flexible tubing through a pre-dug trench to the spillway, avoiding sharp bends that could restrict flow.
Position the waterfall spillway on a level surface, ensuring even water distribution. While concealing mechanical components with rocks, avoid over encasement of the pump vault to maintain accessibility for future maintenance. Install a check valve to prevent backflow, and test the system before final positioning. Seal any gaps between rocks with waterfall foam, creating controlled flow channels that bolster both efficiency and aesthetic appeal.
Adding Final Touches and Testing
Successful waterfall installation hinges on thorough attention to final details and extensive testing procedures. When finalizing structural integrity, guarantee you’ve applied a uniform skim coat and secured all decorative elements. You’ll need to test water functionality by connecting and adjusting the water supply for ideal flow patterns.
Attention to detail and rigorous testing are essential for creating a stunning and reliable waterfall feature in your outdoor space.
Key completion steps include:
- Inspecting all structural supports and securing loose components
- Testing water flow rates and adjusting for desired visual effects
- Checking for potential leaks throughout the system
- Verifying rock stability and edge design effectiveness
- Confirming proper integration with your pool’s existing systems
Once you’ve completed these checks, monitor your waterfall’s performance for several days to identify any potential issues. Remember to integrate environmentally-conscious features like water-saving flow regulators and drought-resistant vegetation around the structure’s perimeter.
Frequently Asked Questions
How Much Water Pressure Loss Occurs Through a Pool Waterfall System?
You’ll experience pressure losses of 3-10 GPM per foot of waterfall width, depending on your plumbing configuration. Your water flow rate drops markedly with narrow pipes, long runs, and multiple fittings; each bend can reduce pressure by 5-15%. To minimize losses, you’ll want to use larger diameter pipes (2″ or more) for runs over 60 feet. Regular system maintenance, including filter cleaning and descaling, helps maintain prime pressure performance.
Can Pool Waterfalls Be Installed on Existing Vinyl Liner Pools?
Yes, you can install waterfalls on your existing vinyl liner pool, but you’ll need to carefully consider liner material composition and specialized mounting requirements. Your waterfall design considerations must include a reinforced concrete foundation to prevent settling and protect the vinyl. You’ll want to use manufacturer-approved gaskets and flexible seals specifically designed for vinyl applications. For best results, consider timing your waterfall installation with your next liner replacement.
What’s the Average Lifespan of a DIY Pool Waterfall?
Your DIY pool waterfall will typically last 10-15 years, though this depends heavily on your maintenance requirements and the materials you’ve chosen. To optimize structural integrity, you’ll need to perform regular cleaning, seal natural stone surfaces every 2-3 years, and monitor for early signs of wear. With proper care and quality materials, you can prolong your waterfall’s lifespan, but be prepared to replace pumps and filters every 5-10 years.
How Does Winter Freezing Affect Pool Waterfall Components?
Winter freezing can severely impact your pool waterfall’s integrity. You’ll notice that when water freezing damage occurs, it expands by 9%, potentially cracking PVC pipes, pump housings, and stone features. To guarantee waterfall components protection, you should remove drain plugs, install freeze sensors, and use air pillows to absorb ice pressure. Without proper winterization, you’ll risk structural damage, seal failures, and electrical malfunctions in pumps and lighting systems.
Will a Pool Waterfall Significantly Increase My Monthly Electricity Costs?
Your waterfall’s impact on electricity costs will be moderate if you implement smart energy efficiency considerations. You’ll typically see a $5-30 monthly increase for standard features, though costs can rise drastically with larger pumps running 24/7. To minimize expenses, you’ll want to use a variable-speed pump, set timers for peak viewing hours, and maintain proper equipment function. Regular maintenance requirements like cleaning and flow adjustments will help optimize energy consumption.