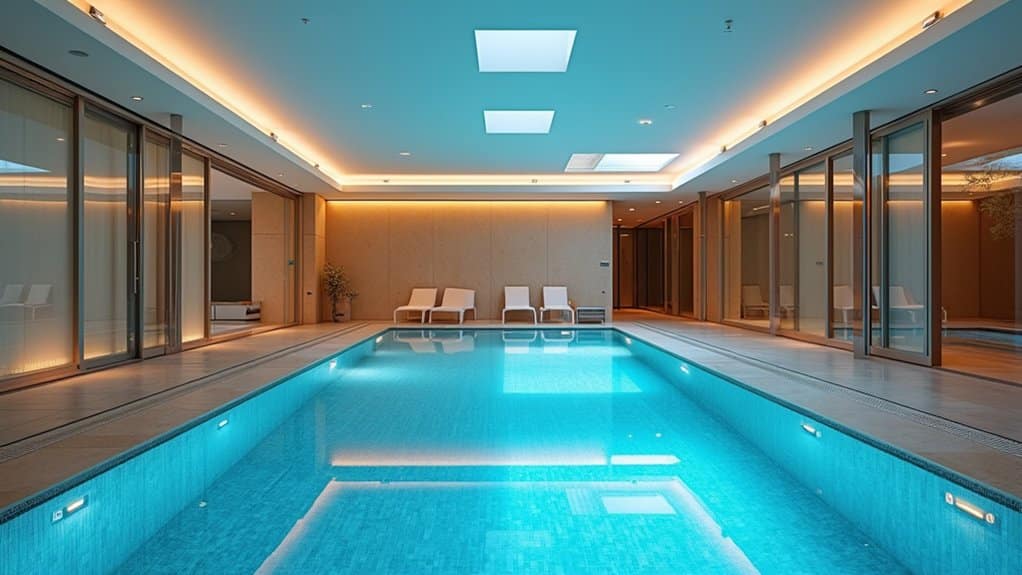
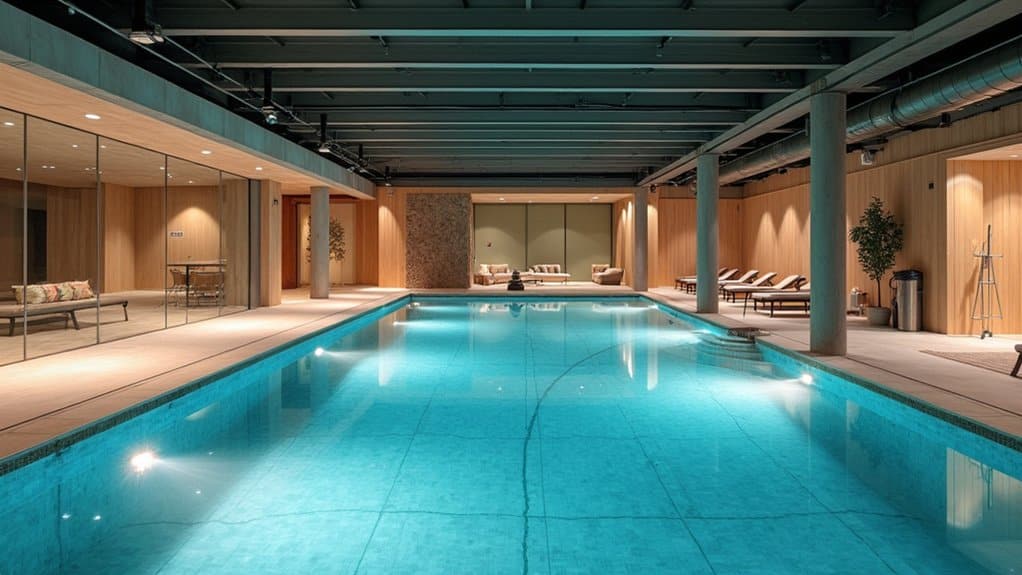
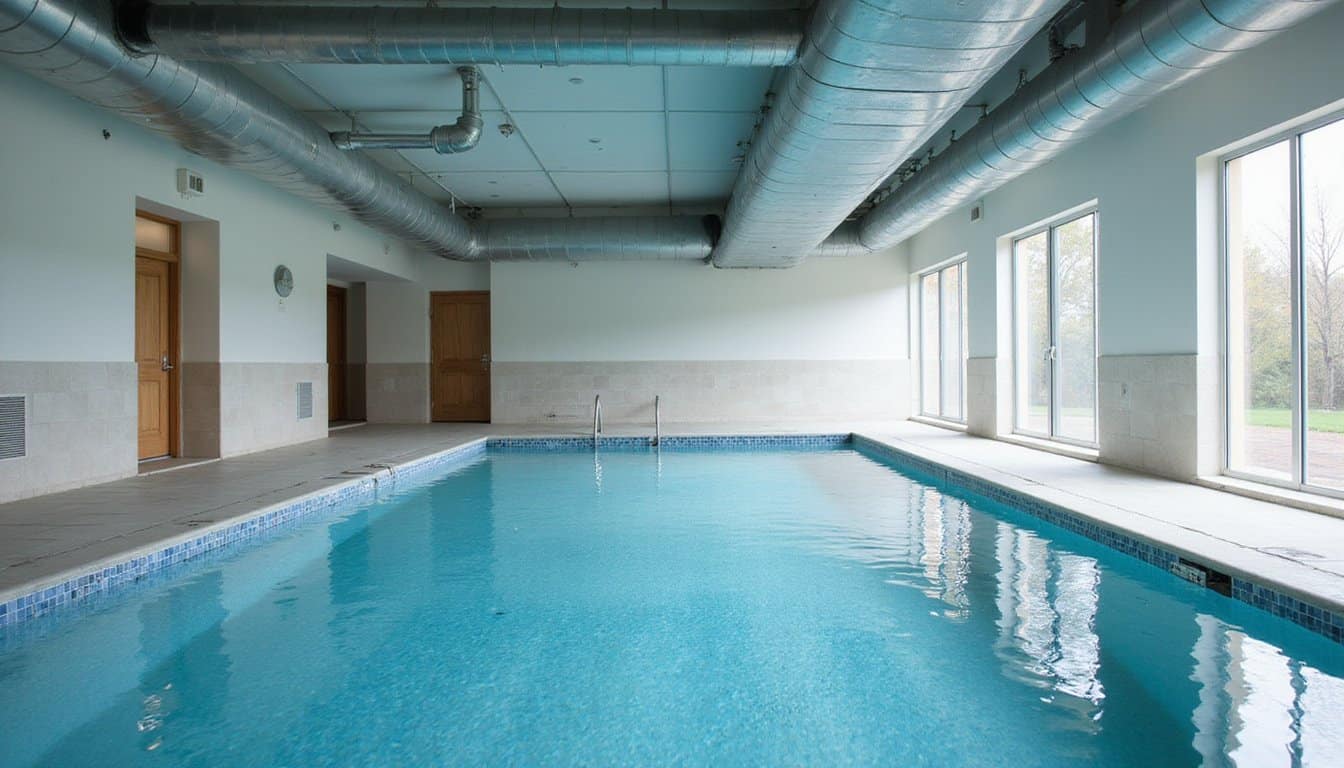
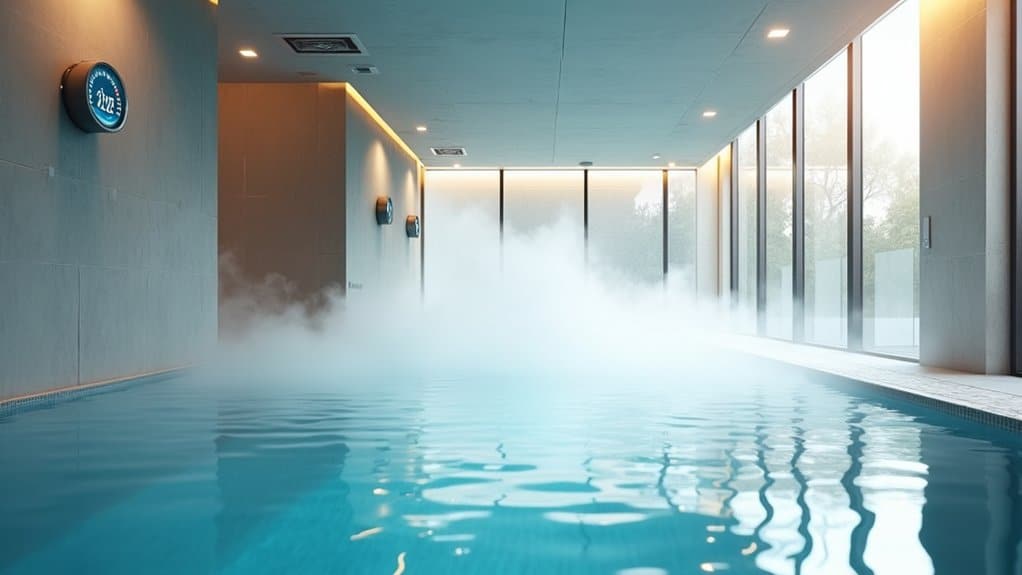
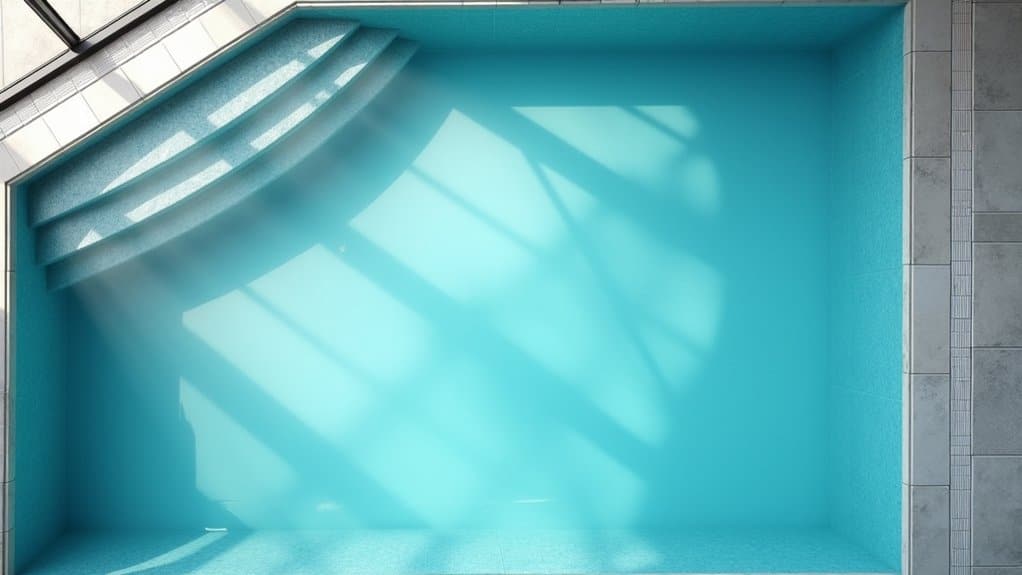
Start by matching your pool shape to the room’s footprint, rectangular for lap lanes, L-shaped to separate swim and lounge zones, or compact spools for tighter spaces. Pair break-resistant glazing with UV-blocking film to control natural light, and maintain 50, 60% relative humidity through dedicated dehumidification. Choose interior finishes like quartz aggregate or glass tile to set your water’s color tone and complement surrounding materials. Each detail below breaks down the specs you’ll need.
Choose an Indoor Pool Shape That Fits Your Space
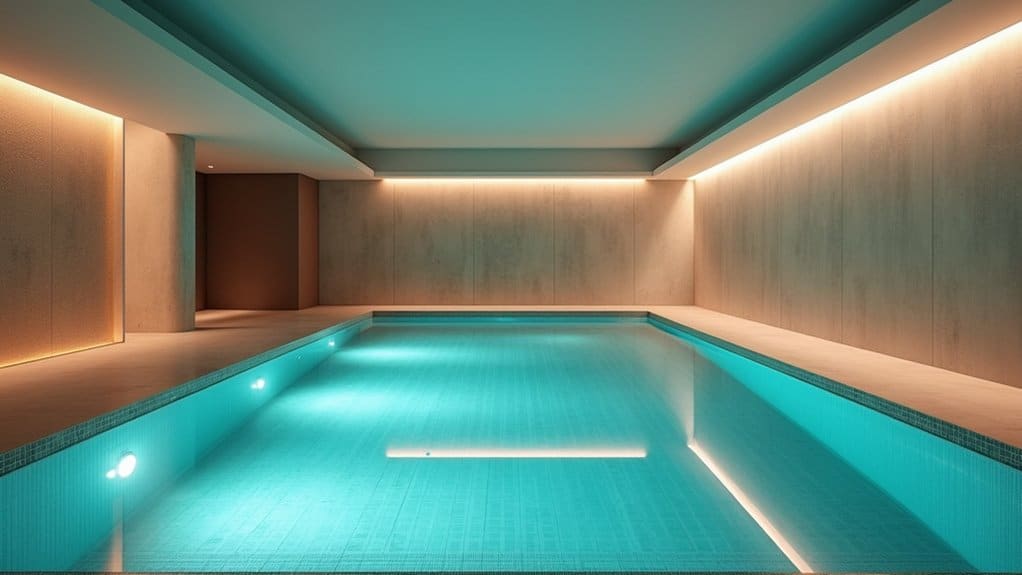
How effectively your indoor pool performs depends largely on matching the pool shape to your room’s dimensions and intended use. A rectangular pool suits narrow footprints and lap swimming, with compact options starting at 10 ft × 16 ft. Square pools work best in evenly proportioned rooms, functioning as plunge or lounge formats with built-in seating.
For indoor pool inspiration that balances zoned functionality, consider an L-shaped layout, it separates swim and lounge areas within a single footprint. Freeform shapes adapt to irregular rooms and architectural obstacles, softening hard lines with organic curves. Curved shapes can also soften narrow spaces and enhance modern aesthetics, making them a strong choice for rooms with tight or angular proportions. If your space can’t accommodate a full-size pool, a compact plunge or spool design (8, 12 ft wide, 12, 24 ft long) delivers usable water area without overwhelming the room’s proportions.
Where to Place an Indoor Pool in Your Home
Once you’ve settled on a pool shape, the next decision, where to place it within your home, carries equal weight in determining long-term performance and cost. Basement or lower-level zones offer the structural capacity needed for high water loads, and construction typically starts around $200,000, making early siting critical for budget control.
Position your pool room within short travel distance of main living areas to support year-round use, but separate it from moisture-sensitive finishes like wood doors and untreated millwork. A transitional area, mudroom or locker hall, manages wet traffic effectively.
Plan placement near mechanical infrastructure. Dehumidification systems average $20,000, $30,000, and proximity to existing mechanical rooms simplifies HVAC routing. For indoor lap pool designs, elongated spaces along foundation walls maximize structural efficiency while maintaining clean, uninterrupted sightlines. Building a separate structure for the pool is often easier than retrofitting existing spaces, so consider whether a dedicated pool addition better suits your home’s layout before committing to an interior location.
Deck Grading and Drainage for Indoor Pools
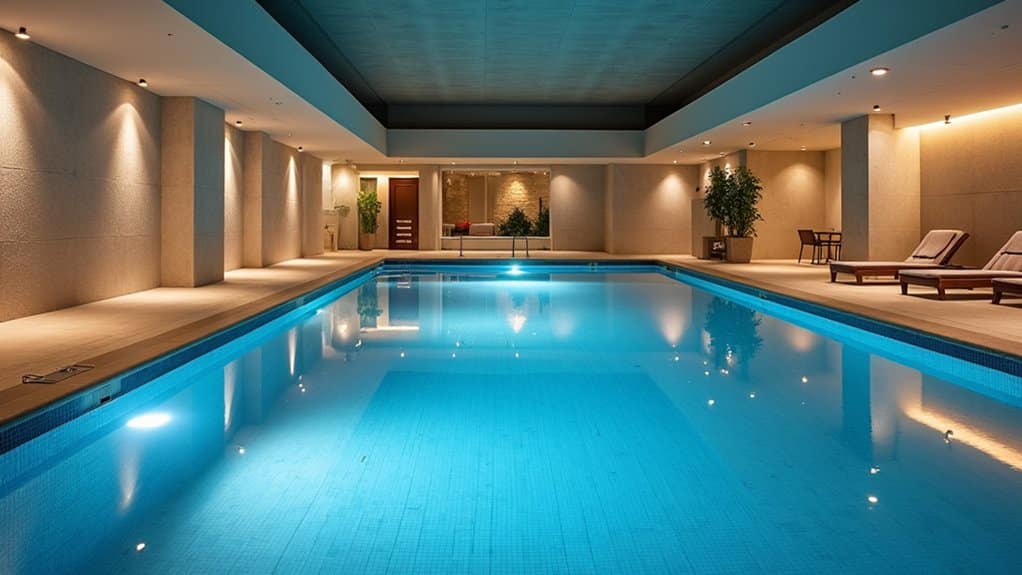
You’ll want to slope your indoor pool deck at roughly one-quarter inch per foot, directing water toward the pool edge rather than away from it, since indoor environments lack natural ground absorption. A perimeter strip drain installed along the pool’s edge captures this directed runoff before it enters the pool, channeling it through PVC piping to an approved discharge point. This combination of controlled grade and linear drainage keeps your deck surface dry while protecting surrounding finishes from sustained moisture exposure. Effective drainage also reduces slip hazards around the pool area, making it essential for any indoor installation where foot traffic is constant.
Slope Toward The Pool
Every indoor pool deck requires intentional slope to move water toward drains rather than letting it stand on finished surfaces. You’ll want to target 1/4 inch per foot of slope away from the pool coping, directing runoff toward designated drain locations. This specification guarantees gravity handles water movement without mechanical intervention.
When exploring indoor pool design ideas, you should establish elevation points and runoff paths before installing finish materials. Your grading plan must account for strip drains, spot drains, or valley drain configurations that capture surface water efficiently. Route drain pipes to discharge areas with sufficient capacity. Keep roof downspouts outside the pool zone to prevent drainage overload. Test your slope performance before final installation, blocked or incorrectly graded surfaces create standing water that damages finishes and compromises safety.
Perimeter Strip Drain Design
Because surface water follows the path of least resistance, perimeter strip drains give you a controlled interception line that captures runoff before it reaches walls, doorways, or equipment zones. Position runs no more than 10, 12 feet from the pool edge, minimize corners to maintain flow continuity, and specify removable grate tops for maintenance access.
| Specification | Recommendation |
|---|---|
| Minimum drain size (residential) | 2-inch I.D. |
| Minimum drain size (commercial) | 4-inch I.D. |
| Outlet pipe diameter | 4 inches or larger |
| Outlet spacing (non-sloping bodies) | 20, 30 feet |
| Deck grade toward drain | ¼ inch per foot |
Align inverts at connections, seal joints at turns, and verify drain depth against buried utilities before finalizing your layout.
How to Use Windows and Skylights in an Indoor Pool Room
Windows and skylights serve two critical functions in an indoor pool room: they introduce natural daylight that reflects off the water surface, and they visually connect the enclosed space to the surrounding landscape. When specifying windows in an indoor pool room, you’ll need to balance daylighting goals with UV-A control and moisture resistance.
- Use break-resistant glazing in the 8 mm to 12 mm thickness range for safety and durability
- Apply UV-blocking window film or treated glazing to reduce sunlight-driven algae growth
- Install venting skylights to release excess heat and support natural air circulation
- Orient windows to maximize daylight while controlling direct sun exposure on pool water
- Select moisture-resistant framing systems rated for sustained high-humidity environments
Ventilation and Climate Control for Indoor Pools
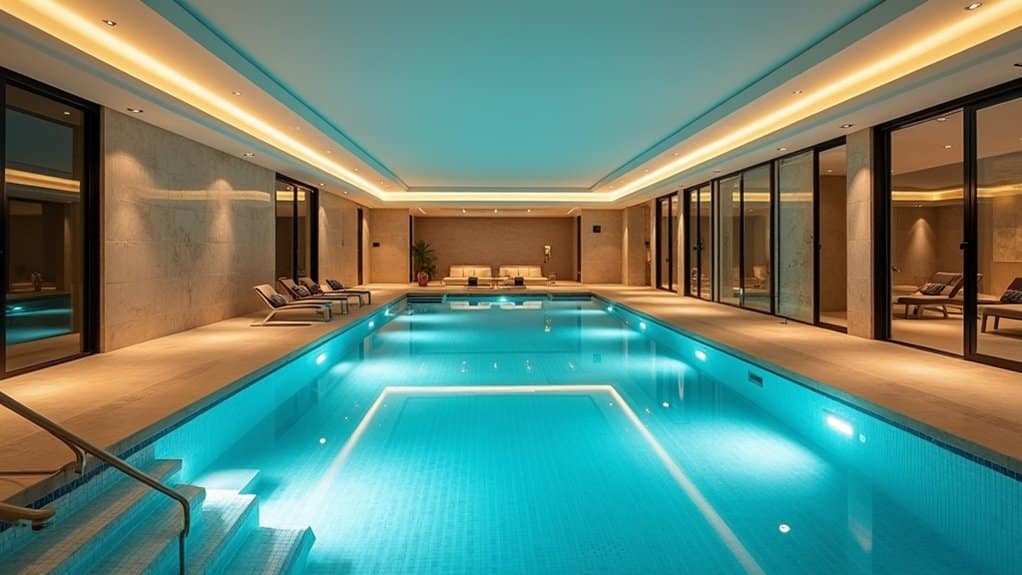
You’ll want to pair your pool room’s dehumidification system with radiant floor heating, which delivers warmth directly to deck surfaces without introducing additional airflow that accelerates evaporation. Managing humid air requires maintaining 4, 6 ACH with supply air directed across exterior walls and glazing to prevent condensation on cool surfaces. Integrating these systems through coordinated controls lets you stabilize both air and surface temperatures while keeping moisture levels within a safe, comfortable range.
Radiant Floor Heating Benefits
While the primary heating and dehumidification system handles the bulk of a pool room’s thermal load, radiant floor heating serves a distinct supplemental role, warming the deck surface itself rather than conditioning the air.
The radiant floor heating benefits center on localized performance rather than whole-room climate control:
- Deck comfort: Hydronic tubing warms tile and stone surfaces, eliminating the cold-underfoot sensation when you exit the pool
- Surface drying: Heated decks accelerate water evaporation, reducing standing moisture and improving slip resistance
- Energy efficiency: Radiant systems outperform forced-air and baseboard alternatives for targeted zone heating
- System scope: Radiant floor heating won’t satisfy total room heating requirements, it’s floor conditioning, not space conditioning
- Design integration: Tubing installs beneath finished deck materials without visible hardware, preserving clean poolside aesthetics
Managing Humid Air
Because every square foot of exposed water surface continuously releases moisture into the room, managing humid air becomes the single most critical mechanical challenge in indoor pool design. You’ll target 50% to 60% relative humidity and maintain air temperature 2°F to 4°F above water temperature to limit evaporation rates.
Your dehumidification system should deliver 4 to 6 air changes per hour, with supply air washing exterior walls and glazing to prevent condensation. ASHRAE 62.1 guidance specifies 0.48 cfm per square foot of pool and wetted deck area. Direct supply air across all micro-zones, swimming, deck, and spectator areas, using longitudinal or cross-ventilation patterns. Introduce outdoor air downstream of the evaporator coil to maximize system capacity. Avoid negative pressure, which worsens moisture migration and compromises your indoor pool envelope.
How to Stop Fog and Condensation on Pool Room Glass
Fog and condensation on pool room glass occur when the glass surface temperature drops below the room air’s dew point, a threshold determined by the relationship between indoor temperature and relative humidity. You’ll need dehumidification systems sized to maintain precise RH setpoints across the entire enclosure.
Condensation forms when glass temperatures fall below the dew point, proper dehumidification keeps your pool room clear.
- Direct warm airflow across all glazing surfaces to prevent stagnant, moisture-laden air from settling on cold panes.
- Specify heated glass or anti-fog coatings to keep pane surfaces above dew point thresholds.
- Install a continuous vapor barrier within the pool room envelope to eliminate cold bridges near window frames.
- Replace damaged door gaskets that allow humid air infiltration and localized condensation.
- Upgrade to higher-performance insulated glazing units to raise interior surface temperatures and reduce condensation risk.
Radiant Heating and Comfort Under Bare Feet
When you step out of an indoor pool onto an unheated stone or concrete surface, the rapid heat transfer from bare skin to cold flooring creates immediate discomfort, a problem radiant floor heating solves by maintaining surface temperatures that feel neutral or warm underfoot.
Hydronic radiant-floor heating circulates warm water through embedded tubing, delivering consistent warmth across walk paths, entry areas, and seating zones. You’ll achieve barefoot comfort at lower air temperatures, around 65°F versus 68, 70°F with forced-air systems, reducing overall heating demand.
For ideal performance, concentrate tubing density along high-traffic circulation routes and separate wet splash zones from standing areas. Insulate below and around heated slabs to minimize structural heat loss. Zoning individual areas lets you target comfort precisely without overheating the full enclosure, improving both energy efficiency and occupant control.
Indoor Pool Finishes That Match Your Home’s Style
Radiant heating keeps your feet comfortable, but the finishes surrounding and lining your pool determine whether the space visually belongs to your home. Select interior surfaces, plaster, pebble, quartz, or tile, that echo your home’s material language. White, blue, or gray pigments produce blue water tones; green, tan, or black pigments shift toward green. When exploring indoor spa pool ideas, align finish texture and color with adjacent architectural surfaces for seamless integration.
- Porcelain or glass tile in glazed or hand-painted variations for modern and Mediterranean interiors
- Quartz aggregate finishes delivering subtle sparkle and upscale texture
- Pebble surfaces paired with flagstone decking for naturalistic architectural styles
- Stone-inspired coping matching exterior stone facades for visual continuity
- Neutral-toned large-format surrounds establishing a timeless, elegant foundation
Furniture and Lounge Layout Around an Indoor Pool
You’ll want to measure your pool room’s full footprint before selecting any furniture, ensuring a minimum three-foot clearance along the pool edge and between seating groupings for safe circulation. Group chaise lounges in pairs or clusters to define a dedicated relaxation zone, and position them parallel to the pool’s longest edge in tighter layouts to preserve open walkways. Separate your lounge seating from any conversation or dining arrangements so each zone serves a distinct function without competing for floor space.
Poolside Seating Arrangements
Three key measurements shape every indoor poolside furniture layout: the deck width from pool edge to wall, the clear walkway zone (minimum 3 feet around the pool perimeter), and the spacing between individual pieces (18 to 24 inches between chairs, 36 inches of pull-out clearance from dining tables). These dimensions directly influence how pool lighting concepts interact with furniture placement after sunset.
- Position chaise lounges in pairs parallel to the longest pool edge to preserve circulation on narrow decks.
- Build conversation clusters of 4 to 6 seats centered around a coffee table or fire-pit table.
- Place side tables between loungers for drinks and accessories without crowding walkways.
- Use bar-height tables in tight layouts to reduce the footprint.
- Secure lightweight pieces where ventilation systems create airflow concerns.
Lounge Space Planning
Every effective lounge layout starts with a single step: measuring the full footprint of your available deck and floor space before selecting a single piece of furniture. Proper lounge space planning requires 3-foot clearance around furniture groupings and pool edges. For contemporary pool room layouts, divide zones by function, lounging, dining, conversation, using planters or furniture orientation as visual boundaries.
| Specification | Guideline |
|---|---|
| Walkway clearance | 3 feet minimum |
| Chair pull-out space | 36 inches from tables |
| Material requirement | Weather-resistant (teak, aluminum, resin) |
| Upholstery spec | Fade-resistant, quick-drying fabric |
Drawing indoor infinity pool inspiration, align symmetrical seating along both pool sides for resort-caliber aesthetics. Specify modular, lightweight pieces that accommodate layout reconfiguration. Maintain open sightlines to water surfaces, this preserves spatial connectivity and visual depth.
Where to Put Indoor Pool Equipment Out of Sight
Because indoor pool rooms depend on clean sightlines and uncluttered surfaces to maintain their design intent, equipment concealment should be addressed during the earliest layout phases, not retrofitted after construction. In luxury indoor pool concepts, you’ll want to integrate mechanical zones directly into the architectural plan so pumps, heaters, and filtration systems remain accessible but invisible from the natatorium.
- Built-in privacy stalls with fence-style enclosures can hide pumps, filters, heaters, and electrical boxes while keeping one side open for service access.
- Lockable cabinetry in ventilated, cool areas keeps chemicals secure and separated by type.
- Under-bench pull-out drawers conceal covers and maintenance tools within existing built-ins.
- Wall-mounted racks store long-handled skimmers and poles vertically, eliminating floor clutter.
- Enclosed storage cabinets in adjacent mechanical rooms protect vacuums and cleaners from humidity exposure.
Call Today and Plan a Pool Built for Every Season
Indoor pools deliver year-round enjoyment, but only when built with the right design, ventilation, and finishes. At Cristallo Pools in Jupiter, FL, our skilled team delivers dependable Design and Planning built around your space, lifestyle, and luxury standards. Call +1 (561) 766-0353 today and turn your indoor pool dream into a reality.
Frequently Asked Questions
How Much Does It Cost to Build an Indoor Pool?
You’ll typically spend $100,000 to $500,000+ on an indoor pool project, with most mid-size residential builds falling between $150,000 and $250,000. Your major cost drivers include the pool shell ($30,000, $100,000+), enclosure structure ($50,000, $200,000+), HVAC and dehumidification ($20,000, $60,000), and finishes ($10,000, $50,000+). You should also budget $8,000, $20,000 annually for heating and climate control operations.
Do Indoor Pools Increase or Decrease Home Resale Value?
Indoor pools typically increase your home’s resale value by 5% to 8%, though ROI usually recovers only 40% to 60% of your installation cost. In Sun Belt markets, you’ll see gains of 10% to 15%+, while colder climates may yield just 2% to 5%. High-quality finishes, integrated wellness components, and year-round usability strengthen your return. However, indoor pools attract a narrower buyer pool, so your local market norms heavily influence actual impact.
How Often Does Indoor Pool Water Need to Be Tested?
You should test pH and free chlorine at least once per week, increasing to two or three times weekly during heavy use. Check total alkalinity weekly, and test calcium hardness and cyanuric acid monthly. After contamination events or unusual bather loads, retest immediately. Sample water 12, 18 inches below the surface, away from skimmers and return jets, and log all results to track trends and maintain spec-compliant water balance.
What Permits Are Required to Build an Indoor Pool?
You’ll need a building permit from your local municipality and, in many jurisdictions, a separate swimming-facility or health permit before any excavation or construction begins. Your submittal package typically includes a completed application, plat of survey with setbacks, pool plans detailing layout and filtration, electrical documentation, and barrier/fencing compliance specs. You’ll also need underground utility marking through 811 at least 48 hours before digging and must pass rough and final inspections.
How Long Does Indoor Pool Construction Typically Take to Complete?
You can expect indoor pool construction to take approximately 10 to 20 weeks from design through final inspection. You’ll spend 1, 4 weeks on design, 2, 6 weeks on permitting, and 8, 12 weeks on active construction. Concrete and gunite builds require longer curing periods, while fiberglass shells accelerate the timeline considerably. Complex specifications, integrated wellness components, retractable glass systems, and custom ventilation, will extend your schedule beyond standard estimates.