
You’ll need a reinforced concrete pad at least 150 mm thick using 25 MPa concrete with SL82 mesh to support up to 25,000 pounds when filled. Run a dedicated 240V circuit with a 50- to 100-amp GFCI breaker and 6 AWG wire to a disconnect box mounted 5 to 10 feet from the spa. Maintain three feet of clearance on all sides for service access. Each of these steps involves critical details that’ll determine your spa’s long-term performance.
Pick the Best Location for Your Swim Spa
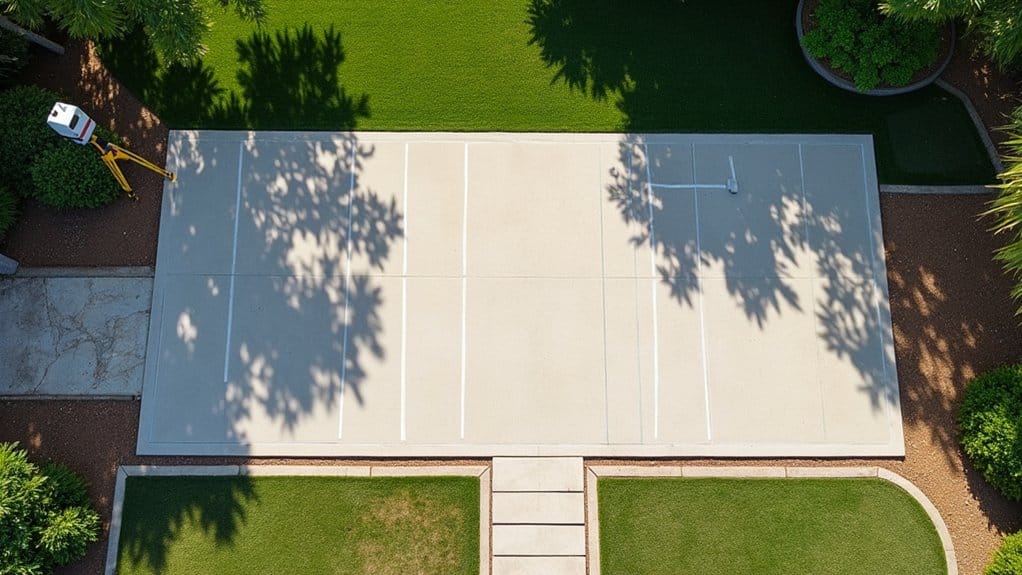
Before you finalize a swim spa model, you’ll need to evaluate your installation site for ground stability, access clearance, drainage, utility placement, and local code requirements. A solid, level base is non-negotiable, grass and uneven surfaces won’t support a unit that can exceed 20,000 pounds when filled. Cost differences between swim options can vary widely based on features and size. It’s essential to compare the long-term costs of ownership, including maintenance and energy consumption.
During swim spa site preparation, maintain at least 3 feet of clearance on all sides for service access, with extra space near equipment panels. Direct drainage away from the foundation to prevent water pooling around the unit. Proper drainage systems are critical for long-term performance and should be planned early in the installation process.
Consider sun exposure, privacy, and proximity to your home. Indoor placements, including walk-out basements and sunrooms, require wet-rated flooring with adequate traction. Verify local permit requirements and confirm your electrical panel can support a dedicated 240-volt, 100- to 130-amp GFCI circuit before breaking ground.
Decide Between In-Ground and Above-Ground Installation
You’ll need to choose between an above-ground setup, where the swim spa sits on a reinforced concrete pad, and an in-ground installation, which requires excavation and a structural vault to support the unit’s full operating weight. Above-ground installations are faster and less complex since the self-contained unit can often be placed in a few hours to a day on a properly cured slab. In-ground builds demand considerably more planning, including excavation, drainage infrastructure, and reinforced concrete vault construction to safely bear loads that can exceed 15,000 to 25,000 pounds. In-ground installations are also considered permanent improvements that add more value to homes compared to above-ground setups, making them worth the additional investment for long-term homeowners.
Above-Ground Setup Basics
Above-ground installation is the fastest, least disruptive way to get a swim spa operational, but it demands careful attention to three critical factors: base support, clearance, and electrical service.
Your swim spa installation requirements start with a reinforced concrete pad, at least 4 to 6 inches thick, capable of supporting up to 20,000 pounds when the unit’s filled. Verify the surface is level and properly compacted to prevent shifting. Before any ground preparation, check for underground utilities to avoid dangerous and costly damage during excavation.
Maintain a minimum of 3 feet of clearance on all sides, prioritizing the component side for service access. Leave room for the cover to open without obstruction.
You’ll need a dedicated 240-volt line with a GFCI breaker, typically rated between 100 and 130 amps. Hire a licensed electrician, local permits and codes apply even for above-ground setups.
In-Ground Excavation Needs
Going in-ground transforms your swim spa into a permanent fixture, and demands considerably more planning than an above-ground setup. Before excavation begins, you’ll need to confirm the site is free of buried power lines, plumbing pipes, and other utilities. Your in-ground swim spa installation requires a hole sized for the unit plus a surrounding service area, with at least 600 mm to 1 metre of clearance on all sides for maintenance access. Considering the features comparison for endless pools can help you choose the right option for your needs. It’s essential to evaluate aspects such as energy efficiency, design versatility, and available sizes.
- A reinforced concrete vault with a 150 mm steel-reinforced pad capable of supporting at least 12,000 kg
- A dual-layer drainage system with a dedicated sump pit and automated submersible pump
- A 220-volt, GFCI-protected dedicated circuit installed by a licensed electrician before the unit is set
Verify local permits and electrical codes before breaking ground.
Pour a Concrete Pad That Supports the Full Load
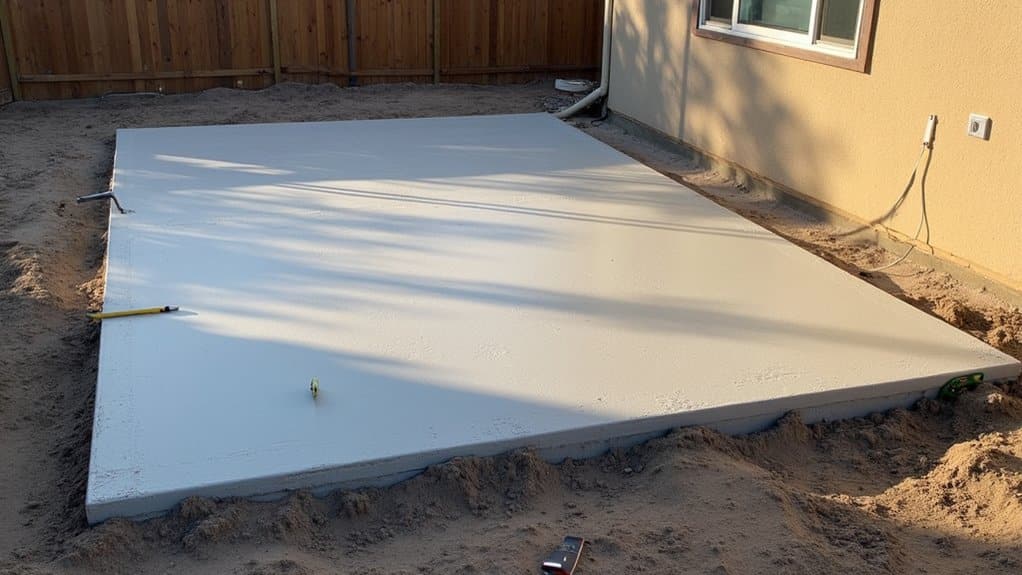
A swim spa filled with water and occupants can impose 15,000 to 25,000 pounds on the foundation, so the concrete pad for swim spa installations must be engineered for the full operating load, not just the empty shell weight. You’ll need a reinforced slab at least 150 mm thick, poured with 25 MPa concrete at 65 mm slump over a stable, undisturbed subgrade with minimum 50 kPa bearing pressure.
Reinforce with SL82 mesh, maintaining 60 mm clear cover and 225 mm mesh laps in both directions. Place a 0.2 mm vapour barrier beneath a 50 mm sand layer to control moisture ingress. Cut control joints at 3,000 mm centres to manage shrinkage cracking. Use mechanical vibration during placement to guarantee proper compaction throughout the slab.
Wire a Dedicated 240V Circuit for Your Swim Spa
With your reinforced concrete pad poured and curing, the next critical step is running a dedicated 240V circuit from your home’s electrical panel to the swim spa. Most swim spa electrical needs call for a 50- to 100-amp GFCI breaker, a 4-wire configuration (two hot, one neutral, one ground), and 6 AWG wire routed through conduit.
- A GFCI disconnect box mounted within line of sight and at least 5 feet from the spa’s edge
- Liquid-tight flexible PVC conduit connecting the disconnect to the spa’s control pack
- A dedicated breaker in your main panel that shares no load with other circuits
Hire a licensed electrician for this work. Hard-wired 240V connections near water demand proper grounding, fault protection, and code-compliant placement, no exceptions.
Leave Three Feet of Clearance for Swim Spa Access
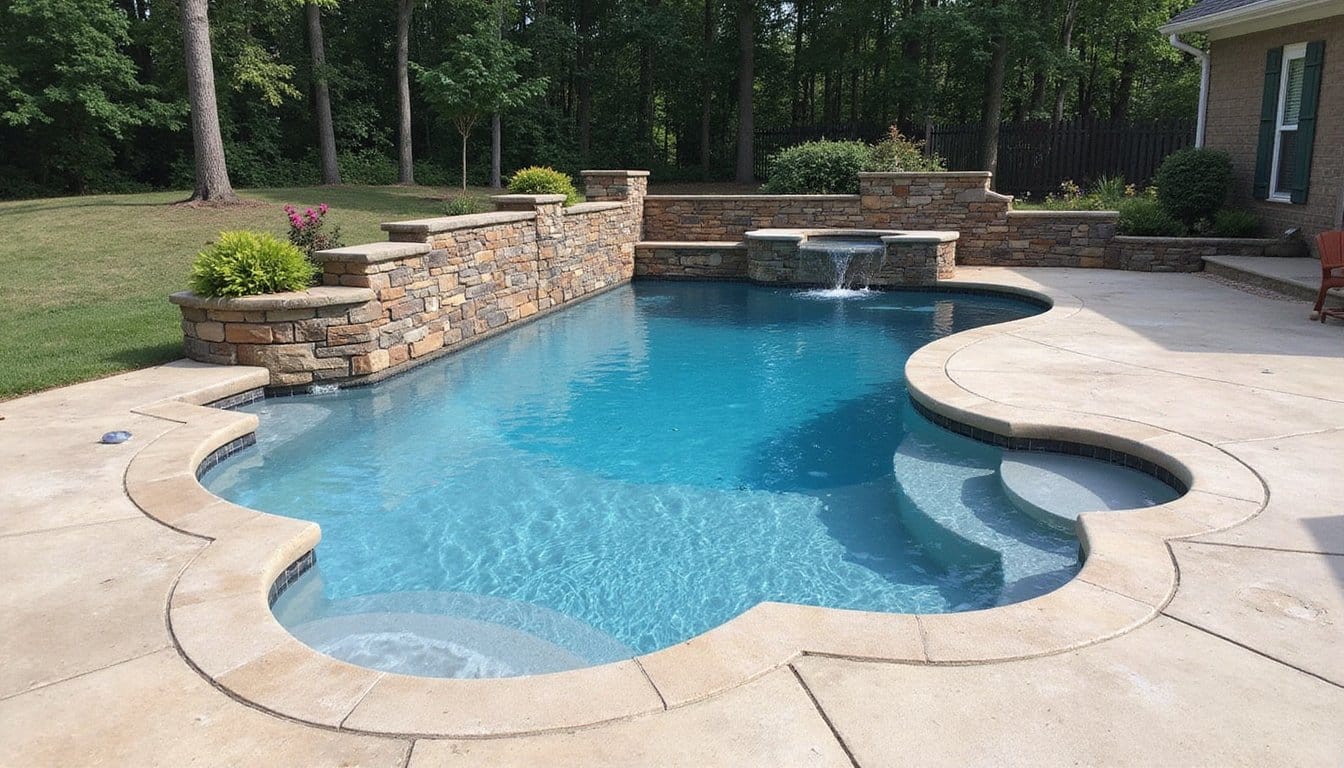
Every side of your swim spa needs at least three feet of unobstructed clearance, particularly the service side where pumps, controls, and plumbing connections are housed. Without this space, routine filter changes, component inspections, and repairs become unnecessarily difficult and time-consuming.
Any swim spa installation guide worth following will stress that clearance planning starts before your pad is poured. Measure for cover removal, stair placement, and panel access. Account for nearby walls, fences, shrubs, and retaining structures that reduce usable space.
If you’re building a recessed vault or adding surrounding decking, don’t sacrifice serviceability for aesthetics. Tight installations may look clean initially but create long-term maintenance complications. Technicians need room to open panels, access equipment bays, and work safely. Plan your layout so every serviceable component remains reachable.
Measure Your Delivery Route Before the Spa Arrives
Once your clearance zones are mapped out, shift your attention to the path the swim spa will actually travel on delivery day. Measure the full route from the truck staging area to the final pad, recording both width and height at every gate, side yard, and turn. Use the spa’s actual dimensions to identify the tightest pinch point, if the unit travels on its side during swim spa delivery and placement, its height becomes the controlling width requirement.
- Narrow gate between house and fence, measure the opening against the spa’s widest transported dimension before assuming it fits.
- Low-hanging branch over the side yard, overhead obstructions can block a tilted spa mid-route.
- Sharp 90-degree turn at the patio corner, tight angles stall delivery crews and risk equipment damage.
Share route photos with your delivery team in advance to confirm feasibility.
Check Your Deck’s Load Capacity Before Placing a Swim Spa
Before you position a swim spa on any raised deck, you need to verify that the structure can handle the load, because most residential decks aren’t built for it. Standard residential decks support 40, 50 pounds per square foot, while a filled swim spa with occupants can exceed 24,000 pounds total. To check your deck’s load capacity before placing a swim spa, divide the total weight by the spa’s footprint area and compare against your deck’s rating.
Understanding structural load basics matters here. Calculate empty spa weight, water weight (8.34 pounds per gallon), and maximum occupant weight (estimate 175 pounds per person). If loads exceed capacity, reinforcement options include additional support beams, upgraded joists, concrete piers, or compacted gravel bases. Always have a structural engineer verify conditions before placement.
Handle Permits and Local Codes for Swim Spa Installation
Structural integrity isn’t the only box you need to check, local permits and code compliance can stall or shut down a swim spa project if you skip them. Prefabricated, above-ground units often don’t require a building permit, but in-ground and custom-built installations typically trigger building, electrical, and plumbing permits. Your swim spa setup process must account for jurisdiction-specific rules governing setbacks, drainage, and zoning compliance.
- Site plans showing exact placement relative to property lines, structures, and equipment locations
- Barrier documentation detailing gate hardware, latch specs, and elevation requirements
- Separate electrical permits covering bonding, one-line diagrams, and dedicated circuit sizing
Contact your local building department early. Requirements vary by state, city, county, and HOA, so confirm exact submittal triggers before breaking ground.
Coordinate Installation Day With Your Dealer and Electrician
You’ll want to book a licensed electrician early in the process, since most swim spas require a dedicated 220V to 240V circuit with 50 to 100 amps depending on the model’s pump and heater configuration. Confirm your dealer’s delivery details, including crane or forklift needs, access route clearances, and final set location, well before installation day. Coordinating both schedules guarantees the electrical rough-in is complete before the unit arrives, preventing costly delays or unsafe sequencing.
Schedule Electrical Work Early
Once you’ve confirmed your swim spa model, schedule your electrician immediately, don’t wait until delivery day. The electrical requirements swim spas demand, typically a dedicated 240-volt, 50-amp circuit with No. 6 gauge wire, require advance coordination. Dual-zone models may need 100-amp service or separate 50-amp connections per zone.
Your electrician should review the wiring diagram, assess your panel’s current load, and complete trenching and conduit runs before the spa arrives.
- A GFCI-protected disconnect box mounted 5 to 10 feet from the spa, within line of sight
- Trenched conduit carrying two hot wires, one neutral, and one ground to the disconnect location
- A 200-amp home panel capable of supporting the added electrical demand without upgrades
Delayed electrical work stalls startup, even after delivery’s complete.
Confirm Dealer Delivery Details
With your electrical prep underway, shift your focus to locking in delivery logistics with your dealer. Confirm dealer delivery details early, verify access width, gate clearance, and overhead obstructions along the route. Send photos and measurements so the crew arrives with the right equipment, whether that’s a forklift or crane.
| Coordination Item | Action Required |
|---|---|
| Access path | Measure width, remove obstacles |
| Placement spot | Mark final position on prepared pad |
| Electrician scheduling | Confirm same-day availability |
| Arrival inspection | Check for damage before signing |
Delivery-day scheduling with the electrician guarantees your spa connects to its dedicated power source immediately after placement. Without this coordination, your unit sits unused. Inspect the shell for scratches, cracks, or missing components before accepting delivery documentation.
Bring Resort-Style Spa Living Home
Whether you’re investing in a lap pool, swim spa, or endless pool, expert design and installation make the difference between good and unforgettable. At Cristallo Pools in Jupiter, FL, our experienced team provides trusted Spa Additions with luxury craftsmanship and a personalized approach. Call +1 (561) 766-0353 today and start designing the perfect addition for your backyard.
Frequently Asked Questions
How Long Does It Take to Fill a Swim Spa With Water?
You can expect filling your swim spa to take approximately 4 to 12 hours, depending on your unit’s capacity and your home’s water pressure. Most residential swim spas hold 1,500 to 3,000 gallons. You’ll want to fill through the filter housing to prevent airlocks, and you should attach a pre-filter to your garden hose. Don’t forget, after filling, you’ll still need to complete priming and water balancing before use.
What Are the Monthly Electricity Costs for Running a Swim Spa?
You’ll typically spend $50 to $200 per month on electricity for your swim spa, though costs vary considerably based on climate, insulation quality, usage frequency, and local utility rates. Heating drives the largest share of consumption. In colder climates, expect bills exceeding $200 monthly. You can reduce costs by installing full foam insulation (cutting energy use up to 40%), using energy-efficient pumps, maintaining a quality cover, and lowering temperature settings.
How Often Should Swim Spa Filters Be Cleaned or Replaced?
You should rinse your swim spa filters weekly and perform a deep soak with filter cleaner monthly. Replace cartridges every 6 to 12 months, depending on usage and water conditions. Watch for persistent discoloration, frayed pleats, or reduced water clarity, these signal it’s time for replacement. Always turn off spa power before removing filters, rinse top-down with a garden hose, and let them dry completely before reinstalling.
How Long Do Swim Spas Typically Last With Proper Maintenance?
With proper maintenance, you can expect your swim spa to last 15 to 20 years or more. The acrylic shell often holds up for 20+ years, while pumps typically need replacement every 5 to 10 years and heaters around 7 to 10 years. You’ll extend your spa’s lifespan by balancing water chemistry regularly, cleaning filters consistently, and scheduling annual professional inspections to catch issues early.
What Humidity Control Is Needed for Indoor Swim Spa Installations?
You’ll need a dedicated dehumidification system capable of maintaining 50% to 60% relative humidity in your indoor swim spa room. You should install exhaust fans near the spa, guarantee proper ventilation pathways, and use vapor barriers on walls and ceilings. Choose pool-rated dehumidifiers sized for your water surface area and evaporation load. Without adequate moisture control, you’ll risk mold growth, condensation damage, and accelerated structural deterioration throughout the enclosed space.