To replace your vinyl liner, you’ll first measure your pool and order the correct size and mil thickness. Drain the pool, remove the old liner, then clean and inspect the walls and floor for damage. Unfold the new liner starting at the shallow end, lock the bead into the coping track, and use a shop vac to pull it tight. Fill the pool, cut in fittings, and balance your water chemistry, each step below breaks down the full process.
Measure Your Pool and Order the Right Liner
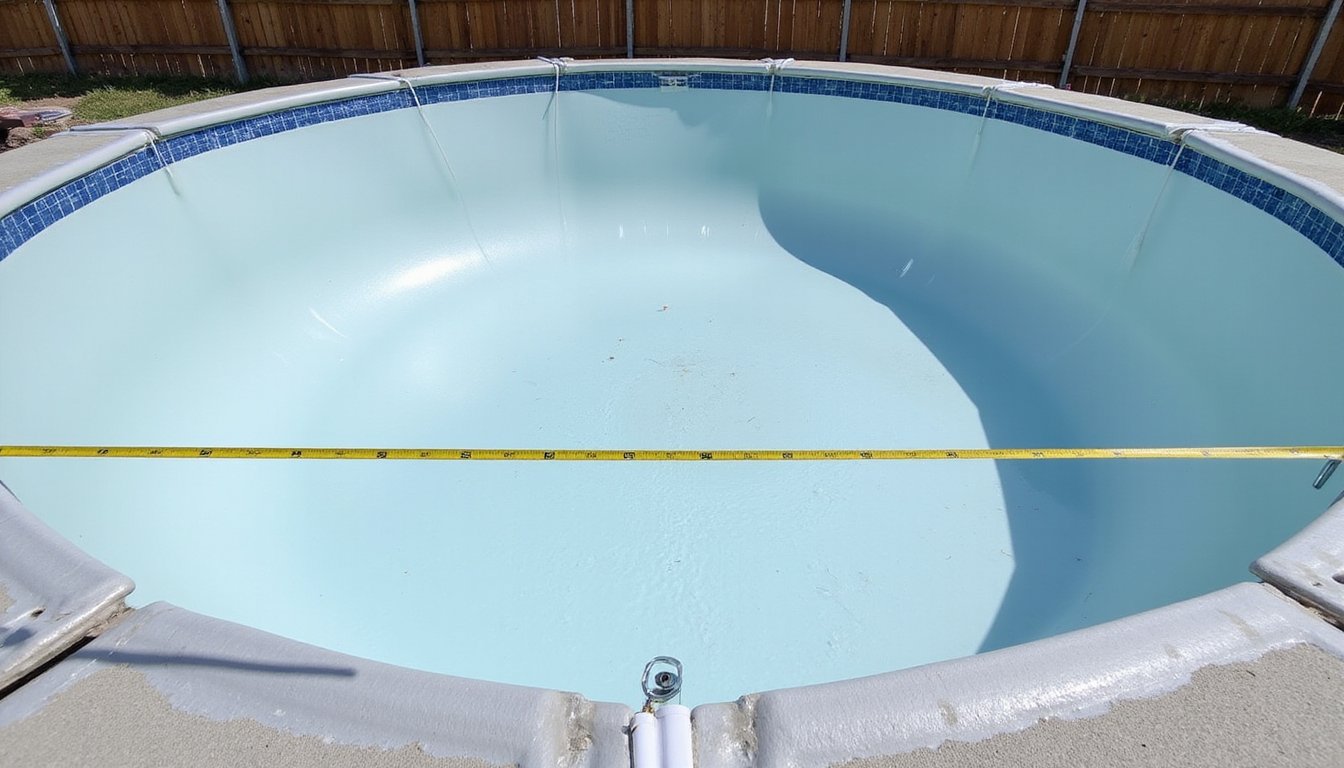
Before you order a replacement liner, you’ll need accurate measurements of your pool’s shape, dimensions, and wall height. For round above-ground pools, take two measurements: diameter and wall height. Oval pools require three: width, length, and wall height. Measure length and width inside the pool, wall to wall, at the water line. Measure wall height from the bottom track to the top track, don’t include the top ledge or cap.
Proper liner measurement and fitting depends on checking each dimension in multiple spots to verify consistency. For pools with steps, hoppers, or slopes, record those dimensions separately. Identify your corner style, square, diagonal, or radius, before ordering. Your liner order must match the pool’s exact shape, dimensions, and configuration to prevent wrinkles or fit problems after installation. Overlap liners are versatile because they do not require pool height measurement, making them suitable for pools ranging from 48 to 54 inches in height.
Gather Tools and Prep for Liner Day
Before your liner arrives, confirm that the ordered specifications match your pool’s recorded measurements, pattern selection, and bead type. Assemble your core tools, shop vacuum, utility knife, Phillips screwdriver, pliers, submersible pump, duct tape, and replacement gaskets, so everything’s staged and ready on installation day. Inspect your existing coping track, wall panels, fittings, and fasteners now, replacing any corroded or damaged components while access is still easy. Consider adding a Liner Mule to your toolkit, as it simplifies re-installing pool liner beads into the receiver track.
Verify Liner Specifications
Once your replacement liner ships, you’ll want to verify every specification against your original pool measurements before installation day arrives. This vinyl liner installation guide step prevents costly mismatches between your liner and pool shell. Understanding the pros and cons of vinyl pools can help you make an informed decision. Vinyl pools are often more affordable and customizable than concrete or fiberglass options.
Cross-check these three critical specifications:
- Dimensions, Confirm length, width, wall height, deep-end depth, and bottom contour match your bead receiver measurements, not coping-edge dimensions.
- Material thickness, Verify you’ve received the correct mil rating (20, 27, 28, or 30 mil), since thicker liners offer greater puncture resistance.
- Shape and bead compatibility, Ascertain the liner matches your pool’s shape category and bead receiver channel system so it snaps into place correctly.
Address any discrepancies with your supplier immediately, corrections after draining aren’t practical. Keep in mind that even under proper conditions, liners last 6 to 12 years, so confirming the right specifications now ensures you maximize that lifespan from the start.
Assemble Required Tools
A successful liner replacement hinges on having every tool staged and ready before your pool is drained, once the old liner comes out, delays cost time and risk exposing the pool floor to weather. To assemble required tools for your vinyl liner replacement process, organize supplies into three categories: When planning the renovation, consider affordable inground pool options that fit your budget and space. Research various designs and materials to find the best match for your needs.
| Hand Tools | Vacuum & Drainage | Fasteners & Prep |
|---|---|---|
| Phillips screwdriver, utility knife, pliers | 5, 6 HP shop vac, submersible pump | Liner clips, coping strips, duct tape |
| Cordless drill, screwdriver set | Garden hose, bucket | Gaskets, faceplates, bead lock |
| Channel locks for stubborn fittings | Vacuum hose for skimmer insertion | Cleaning brush, broom, mop |
You’ll also need plastic wedges and hot water for bead-seating adjustments during installation.
Inspect Existing Components
Every component in your pool, walls, floor, coping track, fittings, and the liner itself, needs a thorough inspection before liner day arrives. When you inspect existing components, you’re building a clear damage assessment that guides repairs and installation decisions.
Start by evaluating the existing liner condition, check for tears, wrinkles, brittleness, seam separation, and slipped bead sections along the coping track.
- Walls and floor: Feel for rust, corrosion, bulges, soft spots, and floor erosion behind the liner. Verify walls are straight and structurally sound.
- Coping and track: Examine the track for cracks, brittleness, or looseness. Confirm hardware can support bead retention during reinstallation.
- Fittings and penetrations: Inspect skimmers, returns, drains, lights, and faceplates for cracking, gasket failure, and corroded screw holes.
Document all findings with photos before work begins.
Drain the Pool and Remove the Old Liner
Once your tools are staged and the area is prepped, you’ll drain the pool completely using a submersible or trash pump, directing discharge away from the pool structure. After the water is out, remove all faceplates, gaskets, drain covers, return fittings, and skimmer hardware, keeping screws in labeled bags for reassembly. Then cut the old liner into manageable sections with a razor knife and extract it carefully to avoid damaging the wall panels or track system.
Pump Out All Water
Drain the pool completely before removing the old liner. Use a sump pump or trash pump to remove the bulk of the water, directing discharge downhill or to a storm drain so it doesn’t flow back under the structure. A drained pool liner replacement requires careful attention to groundwater conditions, don’t proceed if groundwater pressure is present, as it can cause structural damage.
After primary pumping, remove residual water and debris using these methods:
- Extract remaining water from low spots with a wet/dry vacuum.
- Bail stubborn puddles manually with a bucket.
- Clear sludge and sediment from the main drain area and floor deposits.
Complete water removal prevents moisture from becoming trapped beneath the new liner, which can interfere with fit and vacuum sealing during installation.
Remove Faceplates and Gaskets
With the pool fully drained and residual water cleared, shift focus to removing all faceplates, gaskets, drain covers, return fittings, and light niche hardware from the pool walls and floor. Disconnect outside plumbing connections from skimmers and returns before unfastening interior faceplates. Use a #3 Phillips head driver for faceplate screws. Remove step seal strips so the liner can be fully freed from step areas.
As you remove faceplates and gaskets, bag and label all screws and small parts separately to simplify reassembly. Inspect each gasket for compression or deterioration, replace skimmer, drain, and return gaskets as a set during pool liner installation steps. Existing step faceplates can be reused if they fit correctly, but swap any questionable components to prevent future sealing failures.
Cut and Extract Liner
After all faceplates, gaskets, and hardware have been removed and labeled, the next step is draining the pool and cutting out the old liner. Use a sump pump or set your pool pump to waste to lower the water level. Rinse the liner with a garden hose as water drops to keep the material pliable for cutting.
When replacing an inground pool liner, follow this sequence to cut and extract liner sections efficiently:
- Cut the liner at the wall base using a utility knife all the way around the pool, then make vertical cuts through the top bead to free wall sections.
- Remove wall sections first by rolling them up and lifting them out before addressing the floor.
- Cut the floor into 3- to 4-foot strips, roll each section, and remove for disposal.
Clean and Inspect the Pool Shell
Once the old liner is out, clear the entire pool shell of dirt, leaves, grit, and loose residue. Vacuum the bottom thoroughly, then scrub walls and floor with soft-bristle brushes to remove oils, chemical buildup, and waterline staining. Avoid abrasive pads that can damage prepared surfaces. Vinyl pool liner lifespan expectations can vary based on several factors, including exposure to sunlight and chemicals. Regular maintenance and proper cleaning can significantly enhance durability and longevity.
When you clean and inspect the pool shell, examine every surface for cracks, holes, and weak spots. Focus on corners, steps, fittings, and other high-stress areas. Check for moisture around the perimeter and dropping water levels that suggest active leaks. Repair any structural issues now, once the new liner’s in place, you won’t have access.
This step in the pool renovation process guarantees a smooth, dry foundation that prevents wrinkles, leaks, and premature liner failure.
Unfold and Set the New Liner in Place
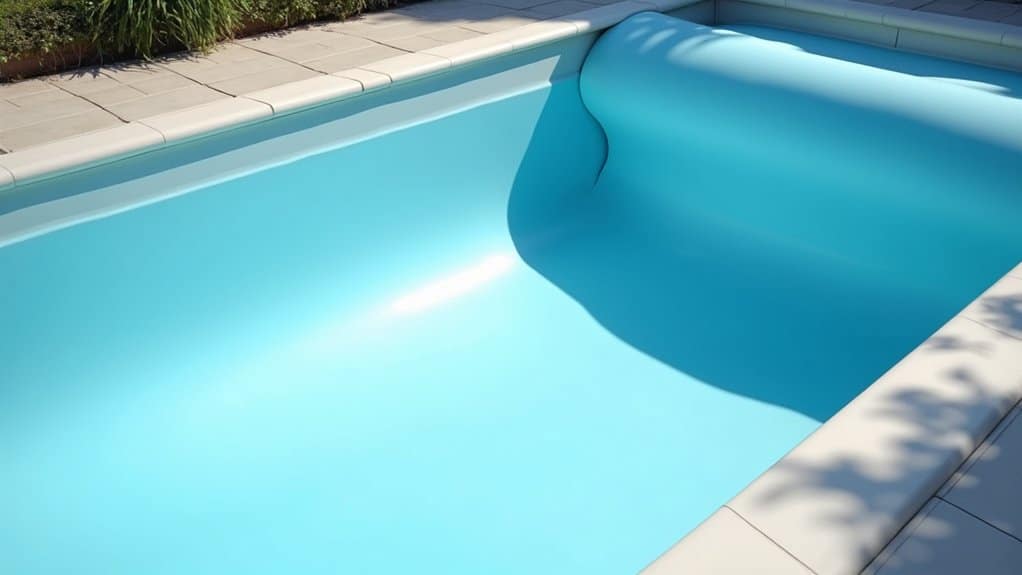
A clean, inspected pool shell sets the stage for the most hands-on phase of the project, unfolding and positioning the new liner. During custom liner installation, you’ll keep the liner rolled until it’s positioned near the shallow end, then unfold it toward the deep end without dragging it across the floor.
When you unfold and set the new liner in place, follow this sequence:
- Align the bottom corners in the shallow end first, then advance the material down the grade slope into the deep end.
- Insert the bead into the coping track at the corners, then work toward the midpoints of each wall.
- Leave one small section untucked near the midsection so you can insert a vacuum hose for air removal before filling begins.
Pull the Liner Tight With a Shop Vac
Sealing the liner against the pool structure requires a shop vac to draw out trapped air and pull the material tight to the walls, floor, and corners before water filling begins. Feed the hose through the return port or skimmer wall until it reaches the cove area near the pool floor. Cover the skimmer opening with cardboard and tape to maintain suction. Place a pool noodle or towel near the hose to prevent liner abrasion.
Turn the vac on and allow 30 seconds to a couple of minutes for suction to engage. As the vacuum draws the liner down, work around the pool and kick out wrinkles in small, controlled movements. Once the liner lies flat, add two to three inches of water while the vac runs, then shut it off.
Fill the Pool and Work Out Wrinkles
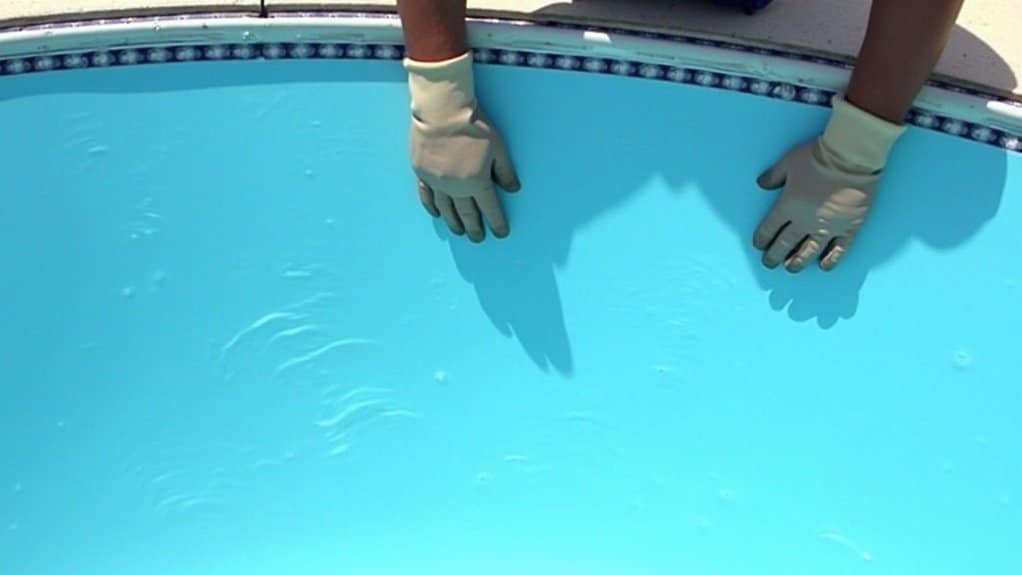
With the vacuum removed and the first few inches of water anchoring the liner, filling continues at a steady rate while you monitor for wrinkles forming ahead of the rising water line. As you fill the pool and work out wrinkles, act quickly, corrections become harder once water weight locks the vinyl pool liner in place.
- Warm the water to 90°F or higher before addressing stubborn wrinkles, since heat increases vinyl flexibility and responsiveness to pressure.
- Press outward from the wrinkle edge toward the center using hands or soft-soled water shoes, working gradually to redistribute excess material without creating new folds.
- Use a clean toilet plunger on floor wrinkles, applying repeated light suction to gently stretch the liner flat.
Keep water at a manageable level, remove only about a foot at a time if adjustments require lowering.
Cut in Fittings and Start Up the Pool
Once the liner sits tight against the walls and floor under vacuum pressure, you’re ready to cut openings for the main drain, returns, skimmers, lights, and steps. Locate screw holes by feel, install gaskets and faceplates, then trim the vinyl inside each frame with a razor knife. For step sections, start screws at the center of each strip and work outward to minimize distortion.
When you cut in fittings and start up the pool, begin filling from the deep end while maintaining vacuum suction. Install return and skimmer faceplates once water reaches roughly 12 to 18 inches in the shallow end. Tighten all faceplate screws firmly and recheck gasket compression. Flood plumbing lines to confirm seals, then balance water chemistry and verify circulation before resuming normal operation.
Call Today and Design a Pool Made for You
From concept to completion, building a custom pool deserves a builder who treats your vision with care and attention to detail. At Cristallo Pools in Jupiter, FL, our skilled team provides trusted New Pool Construction built around your lifestyle and outdoor space. Call +1 (561) 766-0353 today and turn your backyard into a private retreat.
Frequently Asked Questions
How Long Does a Vinyl Pool Liner Typically Last Before Needing Replacement?
You can expect your vinyl pool liner to last about 7 to 12 years under normal conditions, though well-maintained liners can reach 15 years or more. UV exposure, poor water chemistry, and physical wear shorten that timeline. You’ll extend your liner’s life by maintaining balanced pH and chlorine levels, using soft cleaning tools, and minimizing prolonged sun exposure. Watch for cracking, fading, wrinkling, or unexplained water loss as signs you’re approaching replacement.
How Much Does a Complete Vinyl Liner Replacement Usually Cost?
You’ll typically spend $4,000 to $8,000 for a complete inground vinyl liner replacement, including material, labor, and refill water. The liner itself usually runs $1,500 to $4,000, while professional installation adds roughly $1,500 to $2,000. Drain and refill costs contribute another $400 to $800. Custom shapes, structural repairs, or premium liner patterns can push your total higher. You should collect multiple quotes since regional labor rates vary considerably.
Can I Change My Pool’s Color or Pattern When Replacing the Liner?
Yes, you can select a completely different color or pattern when you replace your vinyl liner. Manufacturers offer dozens of options, including borders, tile designs, and full-pattern styles. Keep in mind that lighter liners make water appear brighter but show wear more easily, while darker liners create a deeper look and hide aging better. The replacement process stays the same regardless of which cosmetic option you choose.
How Long Does It Take to Manufacture and Deliver a Custom Liner?
Most manufacturers complete a custom liner in about 4 to 10 business days, with some facilities finishing production in under 96 hours. You’ll then need a few additional days for shipping, so you can typically have the liner on hand within about 10 days of finalizing your order. Accurate measurements speed this up, errors or missing details can stall production before it even starts. During peak season, expect slightly longer lead times.
Is It Better to Replace a Liner in a Specific Season or Time of Year?
You’ll get the best results scheduling your liner replacement in fall or early spring. Temperatures above 65, 70°F help vinyl stretch and seat properly, and drier conditions reduce groundwater risks during installation. You’ll also find contractors have more availability outside peak summer demand, which can shorten lead times and sometimes lower costs. Plan your replacement to coincide with pool closing or opening so you minimize downtime during swim season.